Storing Green Wood For Turning 40,Solid Brass Small Box Hardware Australia,Makita 2301fc Router Test,Plane Carpentry Worthing Model - Tips For You

Irregular-shape logs often yield more than two bowl blanks. It is helpful to draw potential bowl shapes arrayed around the pith before slicing the log into blanks.
Not all log sections must be sliced lengthwise to make bowl blanks. You can leave some log sections whole for turning end-grain bowls, which allows you to get the largest possible bowl from a given diameter log. Be warned: End grain is more difficult to turn than face grain, and end-grain bowls have a greater tendency to crack than face-grain bowls. Apply sealer to the blank ends with an inexpensive 3" brush.
When processing large quantities of stock at the same time, speed the task by using a paint roller. Seal the end grain of blanks, as shown above. If the wood is particularly prone to drying stress, such as some fruitwoods, coat the entire piece. When the sealer dries, mark each blank, as shown below. Because the sealer leaves a waxy surface, mark blanks that will be completely coated before applying the sealer.
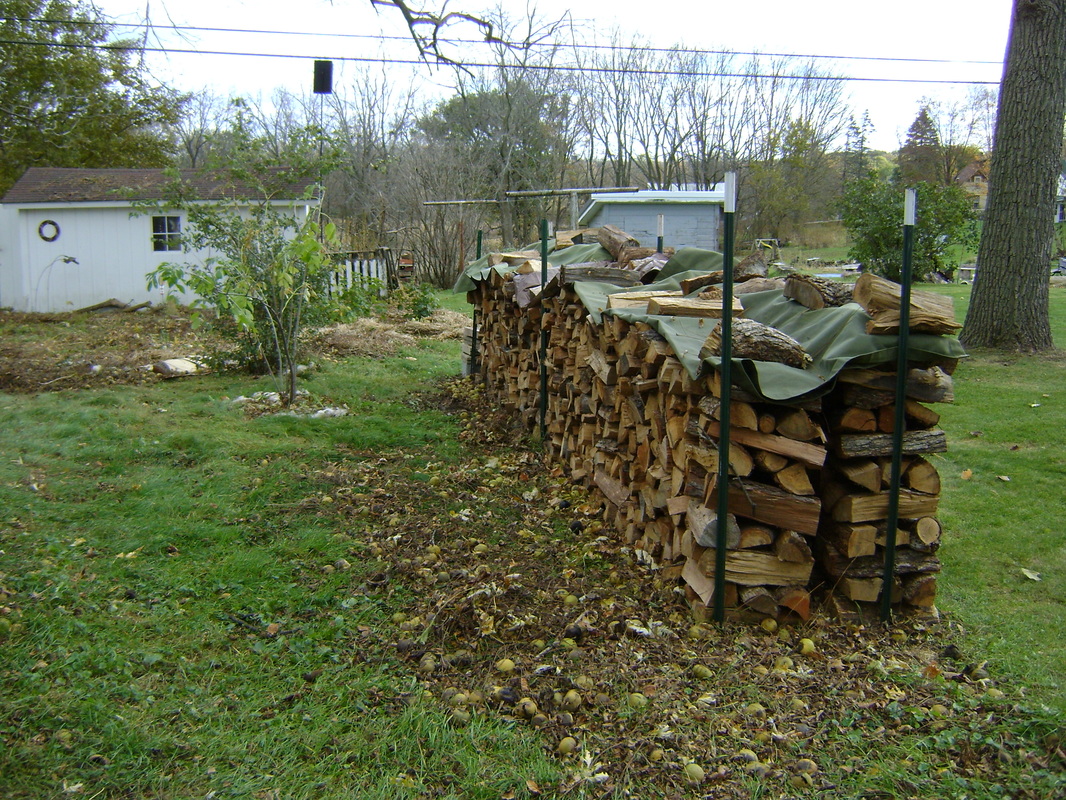
Store blanks off the ground in a dry, well-ventilated area. When the sealer dries, use a permanent marker to label each bowl blank on an uncoated surface, identifying the species and the date it was prepared. After marking and installing biscuit joints in Storing Green Wood For Turning Vale several boards that I've glued up edge-to-edge, I Skip to main content.
From Trees to Turning Blanks. If a tree falls in the forest or your neighborhood , can you salvage it for turning stock? Here we'll show you how to make quality bowl blanks from a promising log. Preparing the log What woodturner can drive by a downed tree without thinking, "Hmmm, turning stock!
Facebook Pinterest Twitter Text. Printer-friendly version. What's the best way to cut acrylics and plastics? Introduction To Cold-Bend Hardwood. Hidden Gems at the Home Center. Air-drying lumber is more than a matter of time. For more related content, subscribe to our newsletter! How To Mortise Box Hinges. Tip of the Day. Find Those Hidden Biscuits.
It not only looks strong but also gives an ethnic look. The eco-friendly aspect of green wood can never be denied. Using green wood is much safer and economical than mechanically dried or seasoned wood. Do not allow moisture to be completely removed from your wood.
By using green wood, you would also be contributing to the growth of the local economy. With a rise in the use of green wood, the local economy would also thrive and prosper. Using green wood supports small scale industries and helps local sawyers to earn their livelihood.
Sealing green wood is a great technique that prevents the wood from swelling, shrinking, and splitting. It does not technically seal the wood. What it does is that it displaces the water so that the cells get dried up without letting any shrinkage to happen.
To use PEG effectively, first of all, let it melt completely into the water. It will have a wax-like appearance. Then, submerge the wood into it for some weeks. PEG has certain drawbacks or limitations as well.
It is best suitable only in cases of smaller pieces of wood. It also leaves a residue that makes it difficult to glue the wood and give it a proper finish. It is a kind of wood stabilizer. You will be able to brush it on the surface easily. It also penetrates quickly into the wood. You can apply it to both small and large pieces.
Since it does not leave any residue, you have the liberty to use any glue of your choice and complete the finishing of the wood. Only remember to let the wood dry up before you use the glue. The general products which can be used to paint dry wood will not work in the case of green wood. If you have made up your mind to use the freshly cut green wood for your wooden work, you will be happy to know that there are some special products available in the market that will help you to paint.
Before starting with the painting, you only need a bit of preparation. With the proper preparation, you will be able, to begin with, the painting process right away. You will also be able to avoid the long waiting period for the wood to dry. Take grit sandpaper. Sand all the overly rough spots with it. Fresh paint will not be able to remove any Storing Green Wood For Turning 98 visible spots. So, the sandpaper will make the surface smooth and you will get a better finish after the painting is done.
Next, use a paintbrush and apply the wood sealer to the woodcut ends. The green wood sealer will help you to prevent the wood from splitting up after drying. Though you can apply the sealer to the entire piece of wood, the woodcut ends are the most important parts. Therefore, you need to seal those areas. You can buy a green wood sealer from any hardware store. Before going to the next step, wait for the sealer to dry up entirely. After this, you need to use a stain-blocking primer to prime the wood.
Apply the primer with a paintbrush if the wooden piece is small. Use a paint roller if the piece of wood is relatively bigger. When the green wood will start aging and will begin to dry up, it will release natural oils. The natural oils thus released might cause discoloration of the paint at some places.
The stain-blocking primer is designed and effective to prevent any sort of blemishes. You will easily get it in any hardware shop. It is also available in some artist supply stores as well. Before you proceed further, wait for the primer to dry up. Choose an oil-based paint and apply it on the green wood.
For small spaces of wood, paint can be well applied by using a paintbrush. For a comparatively larger wooden area, a paint roller will be a better tool to paint with. Wait for the first coat to dry up. Apply the second coat only when you are sure that the first coat has dried up completely and is smooth to touch. Let the wood be as it is for the next 24 hours. Do not use the freshly painted wooden item. Though one of the good features of oil paint is that it will dry up in a couple of hours and give a glossy look to your green wood, but waiting patiently for 24 hours for the color to get completely dried up will Storing Green Wood For Turning 2020 yield better results.
When compared to dried wood, green wood is a bit difficult to work with because of its cracks. Still, many people use green wood mainly because of its aesthetic appearance that gives the finished wooden product a refreshing look. If you are trying to carve on green wood but are confused about how to prevent it from cracking, go through the following tips and tricks and use these techniques to make your wood carving stand out among the rest.
If you have taken up a green wood project, then you need to keep the wood wet from the outside. You need to prevent the wood moisture from being evaporated. If the external layer of wood dries faster, then your wood will shrink in size. The inner wood will remain wet as a result of the moisture inside. This will cause your wood to crack. Some quantity of water will inevitably escape from the wood. So, the outer layer is prone to get quickly dried up.
To prevent cracking, make sure that the wood is wet from outside. Use a spray and dampen the wooden surface that you are working on.
If you need to take a break while the carving process is still on, spray lightly on the surface. Cover it as soon as possible with plastic. Wood always attempts to maintain its moisture balance. So, it will also seek an equal distribution of water inside it. This will make the moisture inside the wood shift to the outer layer which is comparatively drier than the inner core. Keep one thing in mind.
Do not cover the wood with plastic for a long time. The wood when covered with plastic for many days will lead to the growth of mold on it. Before you resume the carving process, remove the plastic, or replace it with a new one. Different species of green wood have different uses. Always choose the one that will serve your purpose to the fullest. Try to use the wood that is available in your area.
You will be having better knowledge about your native wood and how it would respond to the external environment. Locally harvested green wood has lesser chances of having cracks too. Since green wood is soft and very flexible, it needs immediate attention.


|
Kitchen Cabinet Drawer Slide Types Mac Cam Locks For Furniture Group Under Tray Drawer 1500 72 General Finishes Gel Stain Application Guide |

shakira
31.12.2020 at 14:35:12
nurane
31.12.2020 at 11:38:55