Mastercraft Belt And Disc Sander Manual 10,50 Parallel Clamp,Under Stairs Drawer Kit Relay - Review

Page 6: Important Information contact us 1. Page 7: Assembly Instructions contact us 1. Page 8: Operating Instructions contact us 1. Keep all ventilation openings clean. Avoid using solvents when cleaning plastic parts. Most plastics are susceptible to damage from various types of commercial solvents and may be damaged by their use. Page 9: Troubleshooting contact us 1. Page Warranty contact us 1.
Neither the retailer nor the manufacturer shall be liable for any other expense, loss or damage, including, without limitation, any indirect, incidental, consequential or exemplary damages arising in connection with the sale, use or inability to use this product. Print page 1 Print document 11 pages. Cancel Delete. Sign In OR. Don't have an account?
Sign up! Restore password. Toll-Free Helpline: Table of Contents. Previous Page. Next Page. Sander MasterCraft Instruction Manual 11 pages. Failure to observe any of the following instructions could result in severe personal injury to tool user and bystanders or cause damage to tool and property!
Page 5: Before You Mastercraft Belt And Disc Sander Manual Yield Start Operating Instructions Before You Start — Electrical In the event of a malfunction or short circuit, grounding provides the path Mastercraft Belt And Disc Sander Manual 72 of least resistance for electrical current and reduces the risk of electric shock for Mastercraft Belt And Disc Sander Manual 90 the operator. This tool is equipped with an electric cord that has an equipment grounding conductor and a grounding plug.
Repair or replace damaged or worn cords immediately. Be sure your extension cord is properly wired and in good condition. Do not use damaged extension cords. Carefully remove all parts from the shipping carton.
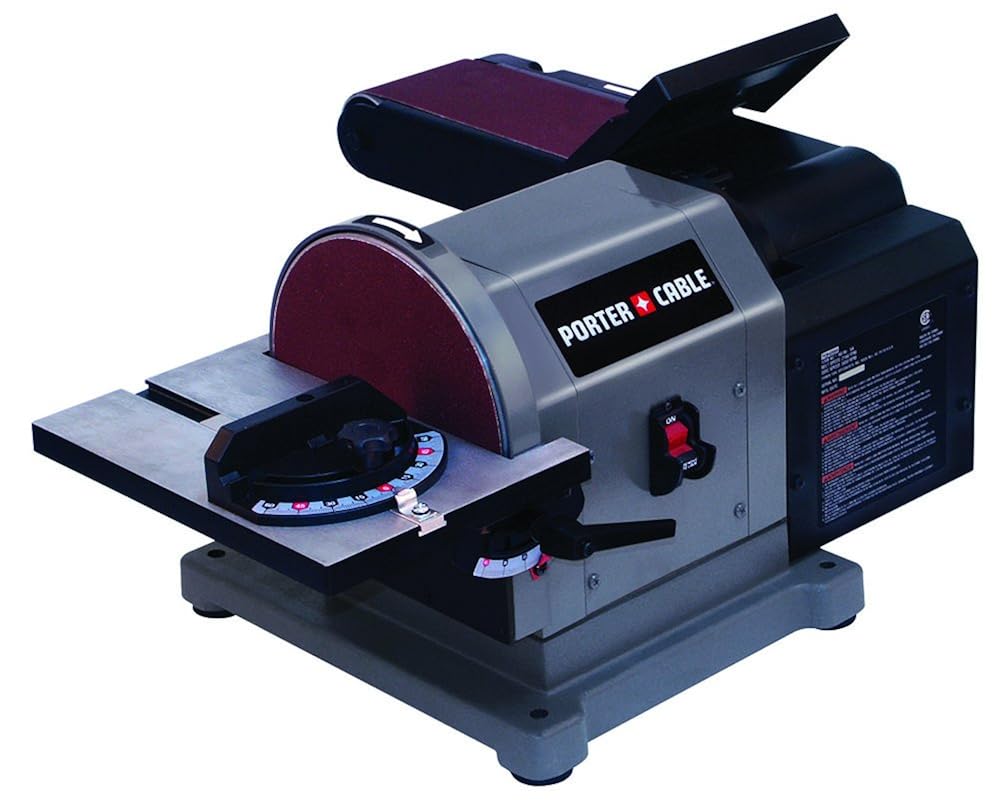
Page 8 Installation of Sanding Disc and Guard 1. Peel backing away from sanding disc. Locate table support and 3 hex head screws, washers and locking washers in loose parts bag. Place table top-down on a flat surface. Position table support against table bottom, aligning holes on support with pre-drilled holes in table.
Page 10 Installation of Belt-Sander work support 1. Locate work support and hex screw, washer and locking washer. Hold work support in position and fasten as shown. Do not overtighten. Turn the power off and remove the plug from the outlet before changing the accessories.
Removal: 1. Slide tension lever to the right to release the belt tension. Slide the used sanding belt off of the rotational mechanism.
Installation: 1. Page 12 To properly track the sanding belt: 1.


|
30a Woodworks Small Drawer Lock Box Oil Radial Arm Saw Uk 5g |

Pantera
13.03.2021 at 15:42:57
I_Like_KekS
13.03.2021 at 19:12:52
GULER
13.03.2021 at 19:33:39
ALEX
13.03.2021 at 13:19:29
Alisija
13.03.2021 at 11:21:29