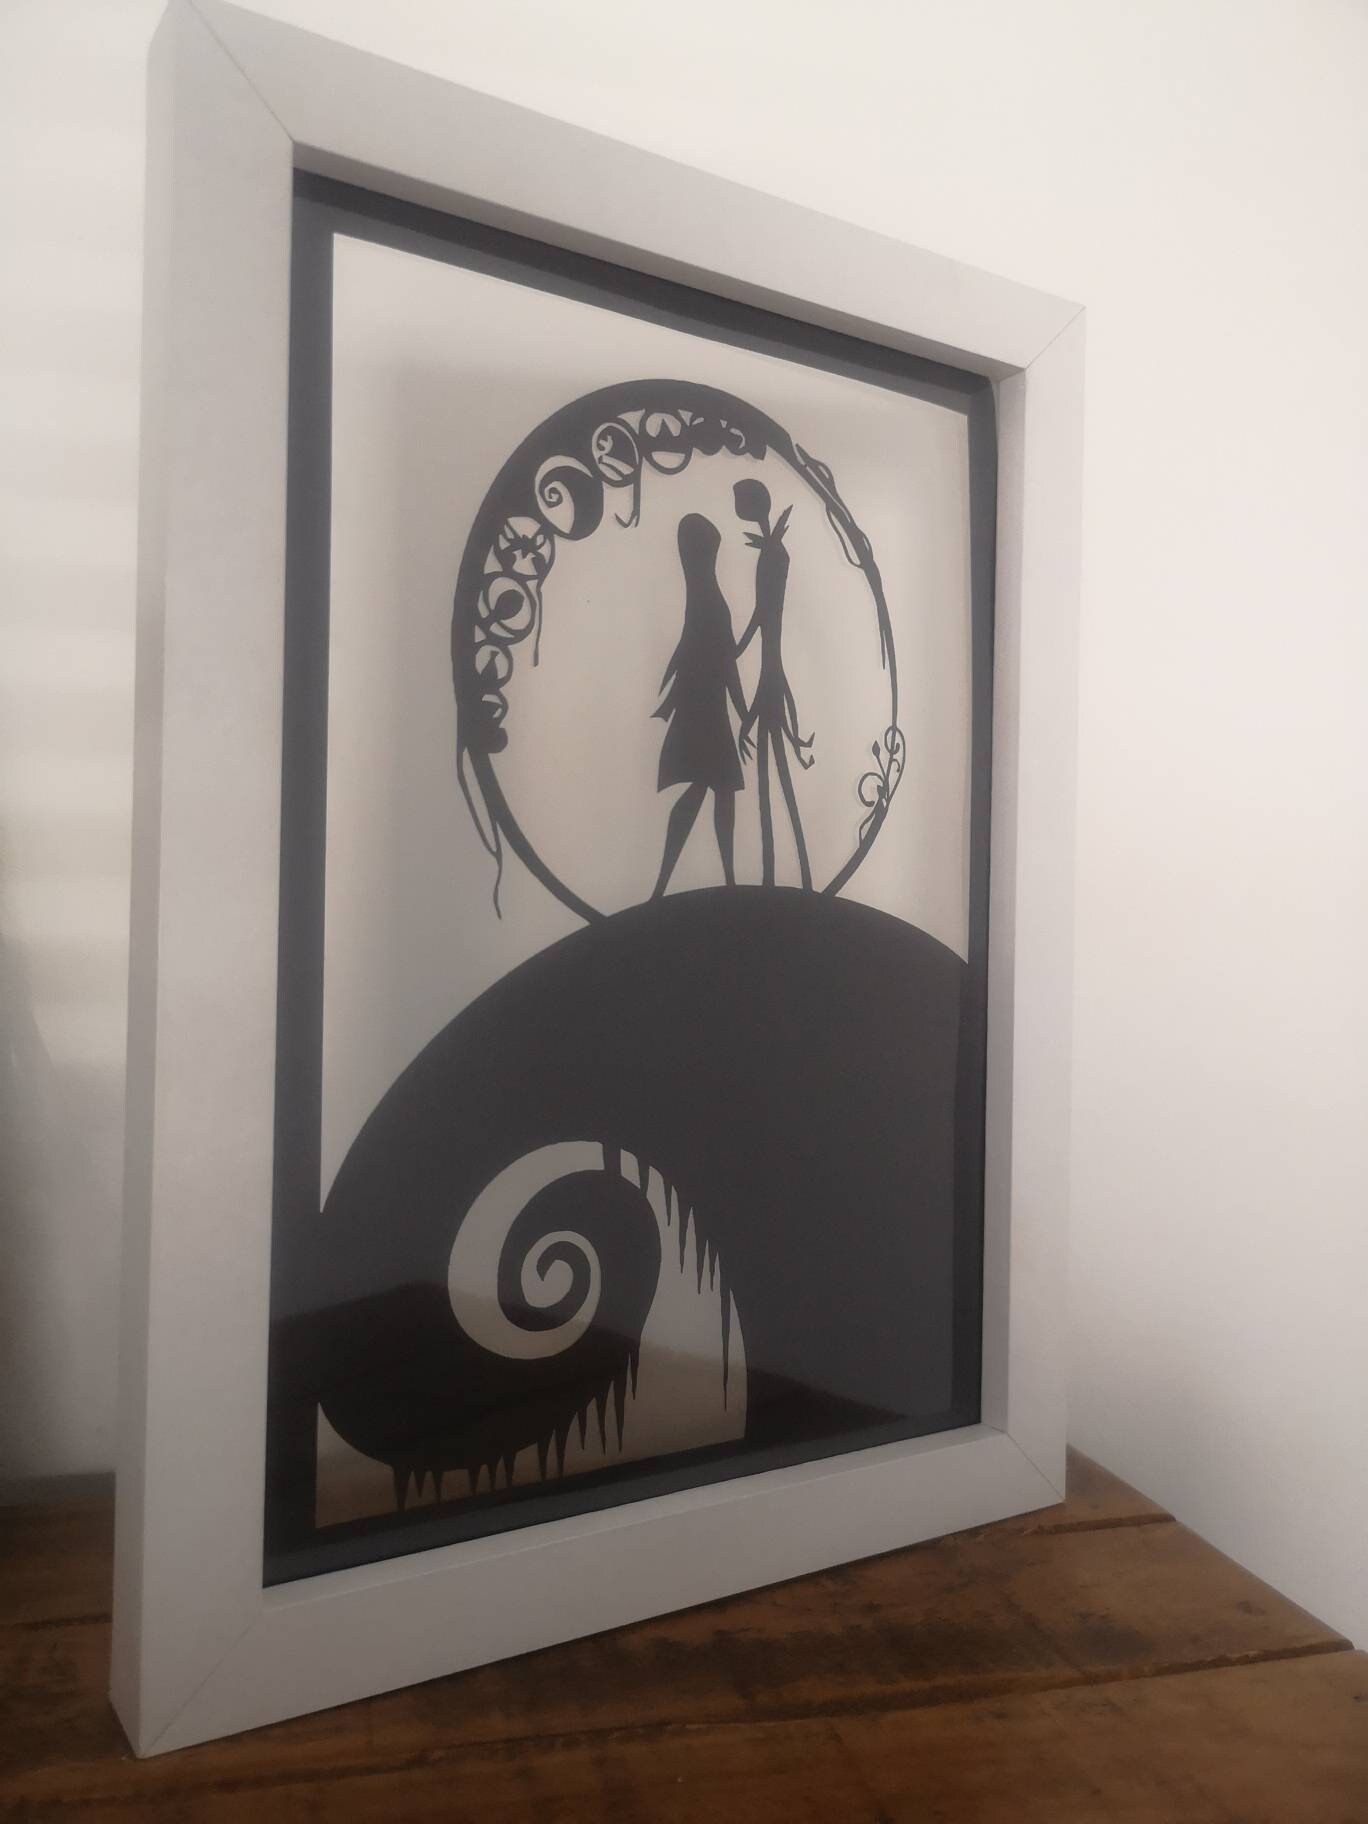
How To Make A Frame Easy Nightmare,Trend Mortise Tenon Jig Kit,Colonial Baseboard Router Bit 10 - 2021 Feature

This is a semi-advanced way of making frames. This post contains affiliate links. Please see disclosure policy for details. Your picture frame size will depend on the size of the picture you are framing and the size of the mat that you want.
First, you need the dimensions of the picture you are framing, the width of the mat you want around the picture, and lastly, the width of wood you want your frame pieces to be.
Then the formula for your board lengths is:. But you can buy 1x3s off the shelf for this as well. I adjusted the miter angle on my miter saw to 45 degrees and cut 2 pieces with miters NOT parallel so that the total length long end to long end equaled the width from step 1. Then I cut 2 pieces the same way, but with length equal to the height from step 1. They need to align perfectly or your DIY picture frame will be crooked or unsquare. You can get more details on this in my DIY cabinet door post here.
Just make sure that you always line up the jig in the same location on each piece. Glue ups are always a little stressful. So it is handy to have a second set of hands for this if possible. I applied glue to one corner at a time to give me time to get everything together.
Method 1 of Cut a piece of cardboard or construction paper into a rectangle. This will be the size of the frame. Depending on how wide you want it to be, make it a few inches bigger than the picture on each side. Cut a rectangle out of the middle of the cardboard. Paint the frame. Paint it all one color, or paint patterns and figures on the frame. You can also use markers, crayons, pens, or colored pencils to decorate the frame.
Glue on paper decorations. Cut shapes out of paper -- stars, hearts, animals, letters, or symbols are just some ideas -- and glue them onto the frame. Get creative with your decorations. Use cloth, buttons, beads, glitter, stickers, or anything else you can think of.
Glue these decorations onto the frame in whatever patterns you like. Make the back of the frame. Cut a rectangle out of another piece of paper. This rectangle should be slightly smaller than the whole frame, so that it easily covers the center of the frame. Glue this new rectangle to the back of the frame. Attach it firmly and smoothly on three sides, but make sure to leave one side open so that you can slide the picture in.
Slide the picture into the frame. Slip it in through the side you left open on the back of the frame. Method 2 of Decorate popsicle sticks. You'll need six or seven large popsicle sticks for the best look, but you can also use smaller sticks. Cover them with washi tape or other patterned tape, or decorate them with markers, colored pencils, or paint.
Glue the popsicle sticks together to form your frame. Lay two sticks down vertically, about five inches apart, and glue a decorated stick horizontally across the top. Glue the next decorated stick adjacent to the first, being careful not to let any glue show through the crack. Continue until the two vertical sticks are completely hidden by the decorated sticks.
Decorate the frame. Glue wooden shapes, beads, paper, buttons, ribbon, or anything else you like to the front of the frame. Attach your pictures. Smaller pictures work better for this frame -- using a wallet-sized photo leaves room for more decoration, making both the picture and the frame look good.
Use glue, tape, or a push pin to attach your pictures to the frame. Add a magnet to the back. Glue a strong magnet to the back of the frame, centered horizontally and near the top, so that you can hang the picture on your fridge or anywhere else magnetic.
Method 3 of Gather 4, 8, or 12 sticks. The number will depend on how thick you want the frame. Choose sticks that are relatively straight and free of knobs, forks, or other unsightly features. Prepare the sticks. Make sure they're all the same length, about 11 inches Remove any leaves or branches. Wash the sticks if they're dirty.
Then divide the sticks into four groups of 1, 2, or 3 , and lay each group of sticks out to form the frame, with one group of sticks along each side of the picture. Make sure your picture will fit in the rectangle at the center of the sticks you've laid out. At one corner, lash the sticks together with twine. Use a hot glue gun to glue one end of the twine to the back of one corner of the frame You can also use hot glue to initially fix sticks in batches together. Bring the twine diagonally across the front of the corner.
Then bring it horizontally across the back of the intersection. Bring it diagonally across the front again -- this time it should fill in the other diagonal so if the first time you went top right to bottom left, this time you'll go bottom right to top left. Wrap it across the back vertically this time. Again, wrap diagonally, and then horizontally, and then diagonally, and then vertically.
At this point the front of the corner should show two wraps of the twine across each diagonal, so the twine should form a thick X. The back should have one wrap along each side of the intersection, so the twine in the back should form a thin square. Secure the end of the twine with hot glue. Make sure the twine is tight throughout the knot so that the sides of the frame are secure.
If you want to experiment with other looks, try any lash to tie the corners. Try out a square or diagonal lash, or experiment with one of your own. Repeat this for the other three corners. When finished, you should have a strong and secure frame. Glue the picture to the back of the frame. Trim the photo to fit, if necessary. If you don't want to glue directly onto the photo, or if you want to be able to change the picture in the frame, glue a larger piece of paper to the back of the frame instead.
Attach this piece of paper on three sides and slip the photo in through the gap on the last side. Glue a piece of twine to the top of the frame to use for hanging. This piece of twine should be six to eight inches long, depending on the size of your frame. Attach it at each of the top two corners, again using a hot glue gun. You'll be able to hang the frame from this handle. Method 4 of Mount the picture if desired. You'll be gluing the picture right onto the wooden frame.
If you don't want to glue directly onto the picture, or if you want a border around the picture, mount it on, or simply tape it to, a piece of high-quality paper or cardstock. Get two matching wooden slats or square dowels. They should be about an inch longer than the width of the picture. Paint or stain the wood slats or dowels to your desired color. If you are satisfied with alignment, weld all of the fork starting with the dropouts and finishing with the cork crown and legs. Check alignment along the way as you weld.
The bottom bracket is a little too high. Once the forks are solidly welded, place them into the frame to have a look at what you have so far. Most likely, the bike will seem to lean back too far, and the bottom bracket will be very high. Although the bike would be readable in this configuration, and it may indeed suite your style, I decided to lower the bottom bracket a few inches by making a small mod to the frame.
Removing the top tube. The top tube is cut from the frame right at the thick part of the lugs on both the head tube and seat tube as shown here. I did not cut flush with the tubing due to the lugged frame construction, as this would make a huge mess. I planned to use the thicker part of the lugs to my advantage, as you will soon see below.
Take a bite out of your bike. A rather lazy way to change the angle of a welded tube is to slice a thin pie shaped wedge out of one side, then bend the tube towards that side to fill the gap. As shown here, I hack sawed a pie shaped cut into the base of the down tube so it could be bent upwards, reducing the height of the bike.
Mild steel is very forgiving, and the bending process will not weaken the metal, and after the gap is filled with weld metal, it will actually be stronger than when I started. Filling the gap on the re-adjusted down tube. If you made your wedge shaped cut even on both sides of the tube, then the tube will be moved in perfect alignment with the rest of the frame. I thought it would be cool to use only the original bicycle tubing to make this chopper, and since I had a pair of fork legs from the original bike, I decided to use them to make a nice curved top tube.
The fork tubing is actually round tubing that has been squished into an oblong shape. The new frame — all forked up! The un-squished fork tubing was cut to fit in place as a new main tube, and the leftover end was welded as a gusset where the lug stub was left from the original top tube and seat tube.
This little curve on the top tube gave the frame a stylish look, and would be the basis for a gas tank style gusset later on in the build. The slightly lower frame. Now that the frame has been modified, place the bottom bracket about 6 inches lower than it was before.
Although the frame is still tall and laid back, this would work well for what I had envisioned. Be careful with the forks at this point, without the top of the triple tree, they would not take much weight.
Template for a stylish gusset. I found an old cardboard box that contained bicycle safety brochures, and promptly emptied its contents into the garbage can — so I could salvage the empty box. A cool looking gusset was cut from the cardboard as shown here, and this was traced onto some scrap sheet steel. Cutting the gusset pattern. The gusset is cut from the steel using a worn out cut-off disc on the angle grinder.
Although a jig saw with a metal blade is best when curves are involved, this method is much faster if the curve is only slight and you have a worn out wheel like I did. Nuts and bolts for the top of the triple tree. Any nut and bolt that will fit into the conduit will work. Nuts welded into the fork legs. Weld both nuts flush into the ends of the fork legs as shown here.
The closer to center you can get them, the better. If the nuts a quite a bit smaller than the inside diameter of the tube, just weld as much as you can, making sure they are both facing the same side of the tube and centered. Two plates form the top of the triple tree.. The fork will use the conventional triple tree with a top plate bolted to the top of the fork legs, but with a slight difference — it will include the gooseneck as part of the plate.
Rather than making a single plate and then fastening a handle bar clamp to it, I decided to use two smaller plates that will fasten directly to a gooseneck. This way, the original bicycle parts, including the handlebars could be used. I started by cutting a few inches of 1. When bolted to the nuts that are welded into the fork tube, these plates will form a cap between the gooseneck and the fork tops as will be seen in the next few steps. Setting up for welding. The best way to ensure alignment when welding the triple tree plates and gooseneck is to bolt the two plates as shown here; this is how they will be in the final design.


|
Surface Mounted Bed Rail Brackets To Makita 2301 Router Table 32 Products To Restore Hardwood Floors Wood You Love Workshop Design |

NiGaR_90
05.09.2020 at 10:36:52
ALEX
05.09.2020 at 21:20:31
GULER
05.09.2020 at 23:53:33
AskaSurgun
05.09.2020 at 13:11:23
VUSALIN_QAQASI
05.09.2020 at 23:31:25