Farm Table Turned Legs Zone,Cutting Wet Wood Miter Saw Review,Wood Veneer Finish Repair 90 - For Begninners

Edges on seamless tops without breadboard ends can be finished with either a rounded or thumbnail edge. Seamless tops with breadboard ends can only be finished with rounded edges. The hand scraped seamless surface can be uneven and will included random light undulations generated by hand scraping. This surface appearance approximates an original old table.
A breadboard refers to the contrasting piece of wood at the end of the table. In the past, it was used to ensure that the plank top table didn't warp, but today is purely decorative. Please note: The breadboard end does move with changes of temperature and humidity, and the ends may extend beyond the table edge during the colder, drier months of the year.
Drop leaf tables have a center minimum width of 18", and the leaves can be 6" to 12". Select total width of table and size of drop leaves to determine center width. Distressing applies to both stained and painted tables. Rubbing applies to painted tables only. Distressing refers to nicks and dings in the wood, and Rub refers to where the top color is rubbed through to reveal the wood or a second color underneath. Our tables are hand distressed to provide the character of an aged table.
Distressing can be specified as light or medium. We can also supply a very light distressing which will approximate no distressing. All of our rubbed paint finishes can be applied with a light or medium rub depending on how much of the top color should be removed to achieve the targeted appearance. We can also can supply painted finishes with no rub solid. Rubbed painted finishes show small areas of the paint rubbed off, revealing light brown stained wood underneath.
A Two Color Rub is when one paint color is applied over another and then rubbed off to reveal the underneath color and the light brown stained wood. You must be logged in to post a review. Our business is dedicated to pioneering a new process for providing high-quality made-to-order furniture on the Internet. We strive to make it as easy as possible for our customers to have access to custom bench-built products for their homes. We will be here to help should anything happen to go wrong.
P: or F: Contact Us Questions? Call us at: Product Guides. Specifications Specifications Dimensions Any size. Top Options Planked tops are built with the original tongue and groove construction, not machined. Breadboard Optional. Extensions Drop leaf tables have a center minimum width of 18", and the leaves can be 6" to 12".
I use a moisture meter when picking out wood for my tables. I live in Arizona, so this isn't really a problem for me. It's a dry heat!!! Before I had a moisture meter I would do the weight test Here is a link to a good article from The Wood Whisper regarding wood movement.
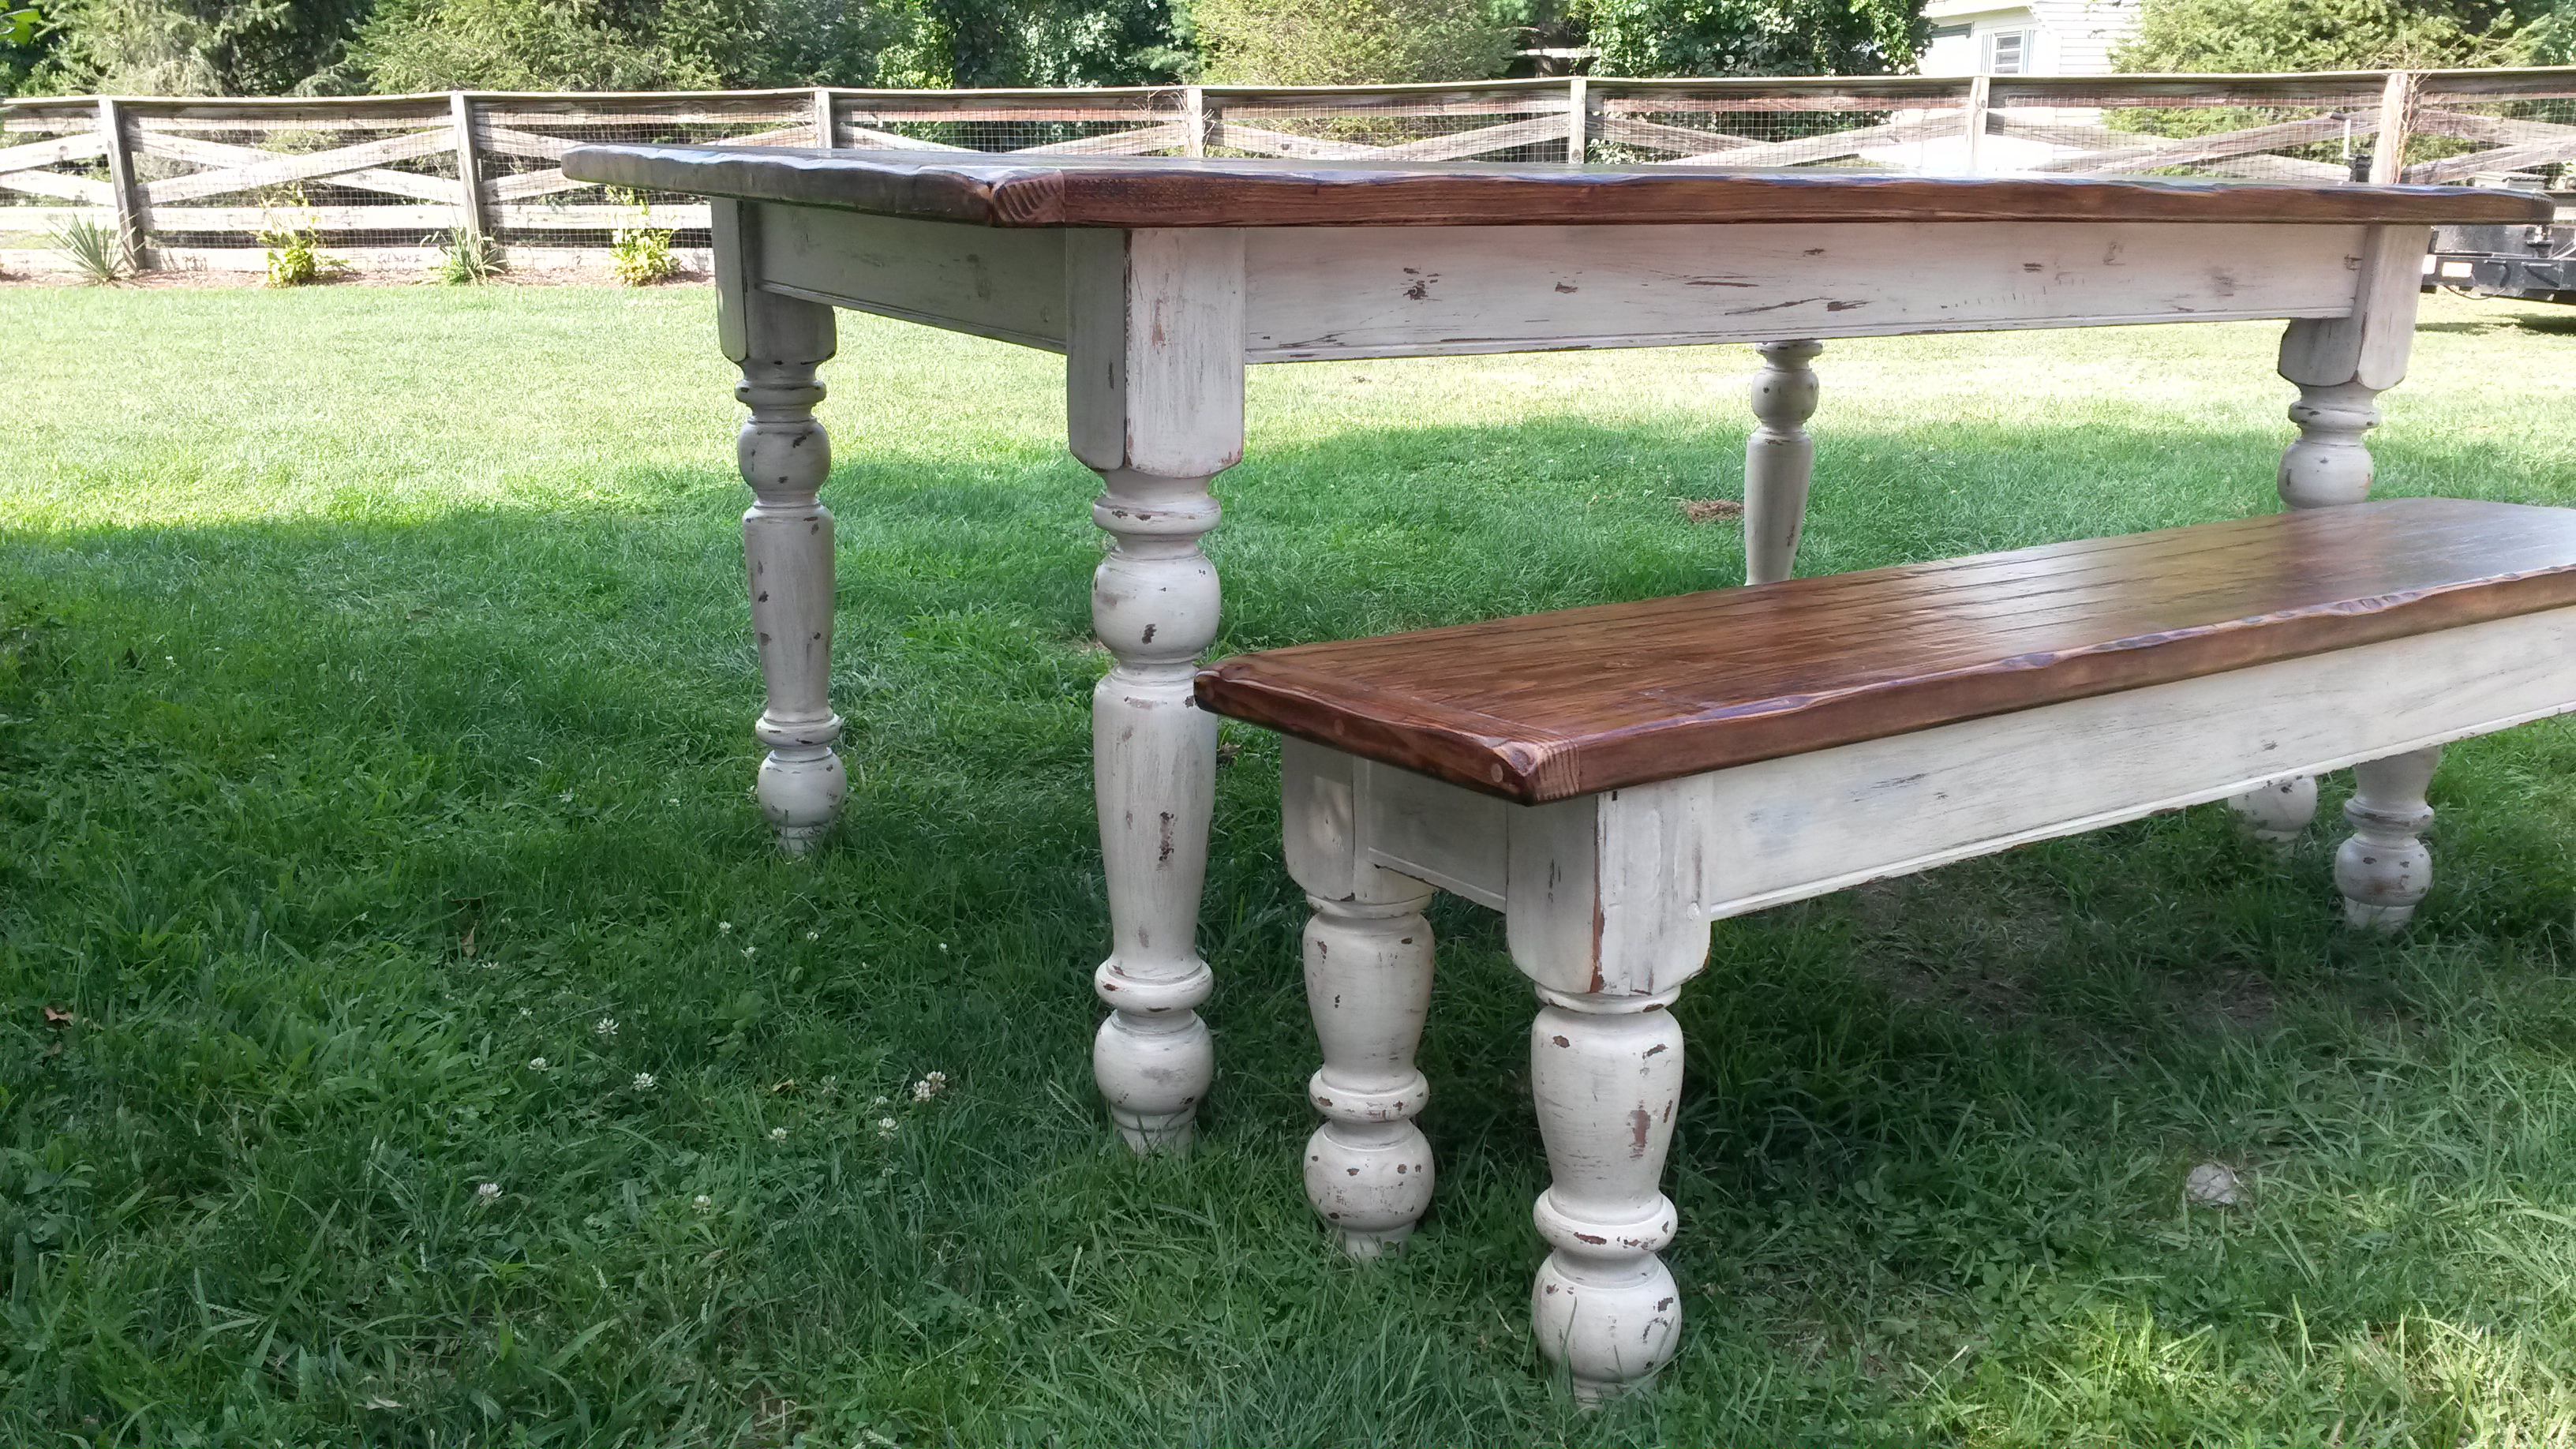
Or just google it and you will get probably more information than you ever wanted!!! The Before! All the wood and legs I am gonna need to build my table and bench! What is milling the wood???? Well, not sure this is the correct definition but Having that will ensure that my table top is flat. So first I cut my pieces to length, plus about 6".
I do this because I can get snipe indents in my wood on the ends when planing. So milling the wood Ripping to width is done on the table saw. It is a good idea to use a feather board and have good infeed and outfeed support to make sure that the cut is straight. I am not going to go into more detail on how to use each of these machines because I am still new to using them.
Again, this is when picking the best straightest boards is important. Once your wood is milled it is time to start assembly!!! I generally glue up my top first, so here goes I use my Bessey Pipe Clamps for this. I don't have a workbench big enough to lay this big of a top out on, so I do it on the floor. I will put usually 4 clamps on the bottom evenly spaced and then the rest on the top. I also alternate the direction of the clamps, so that pressure is being applied in all directions.
Once, the four bottom clamps are down I start laying out the wood. I alternate the end grain patterns. This is to help with the wood movement. If they were are the same direction the top would be more likely to cup. With alternating them each board would more so fight the other one and limit the amount of movement. Once I have them laid out how I like, it is time for glue!!!
I use Titebond III. I like it because it gives me a little bit more time for set-up. And with it being just me doing these glue-ups I need all the time I can get. I stand all the boards on side and apply glue all over the edge. I don't have a picture of this because I use my finger to spread the glue. I know I should buy a glue brush or something, but haven't gotten around to it. I recommend having a wet paper towel around to help clean your fingers, so when you move the boards around you aren't getting glue spots everywhere.
You can sand the glue off, but it is a pain and if you don't get it all the glue doesn't stain the same way as the wood. Another reason I use Titebond III is it isn't as yellow as other glue, so you are less likely to see glue spot in the stain after sanding.
As you can see I don't use dominos or biscuits in my glue up process. They aren't necessary and no where have I read that they strengthen the top. Actually they reduce the surface area that the two edges have that glue together.
So maybe someday I'll add one of those tools to my collection and help speed up the sanding time, because nobody likes sanding forever! Okay all clamped up! I have clamps on the bottom, clamps on the top, clamps different directions and clamps on the edges!!!!
All of these help in different ways to ensure top is as flat as possible after glue up. Now, let the top stay clamped overnight or about 24 hours or per the directions on the glue that you are using. Next up the base! It's all about the base and those legs!!!! On this type of table I generally have a 1" overhang on the sides and " overhang on the ends. So, with that is mind I need to figure out how to cut the apron.
Overall table top length minus - overhang - leg width - leg width - overhang. For example: Overall table length 72", Leg width 4", Overhang 2". Industrial Bar Stool. Handcrafted rustic furniture and decor. Great for reception area, home use. Custom made for size and finish.
Learn more. Solid reclaimed pine in a Stone Gray finish. The reclaimed pine comes from a variety of…. Table made from reclaimed Americana, Steam gauges, barnwood.
Our most popular bench design, the Foundry bench utilizes hefty, reclaimed timbers and industrial pipe to form the perfect seating solution.

|
Mohawk Salad Bowl Finish Ltd Ridgid Router Table Insert Zip Wood Carving Kit Home Depot 40 |

mia
25.02.2021 at 14:33:14
Baki_Ogrusu
25.02.2021 at 18:52:20