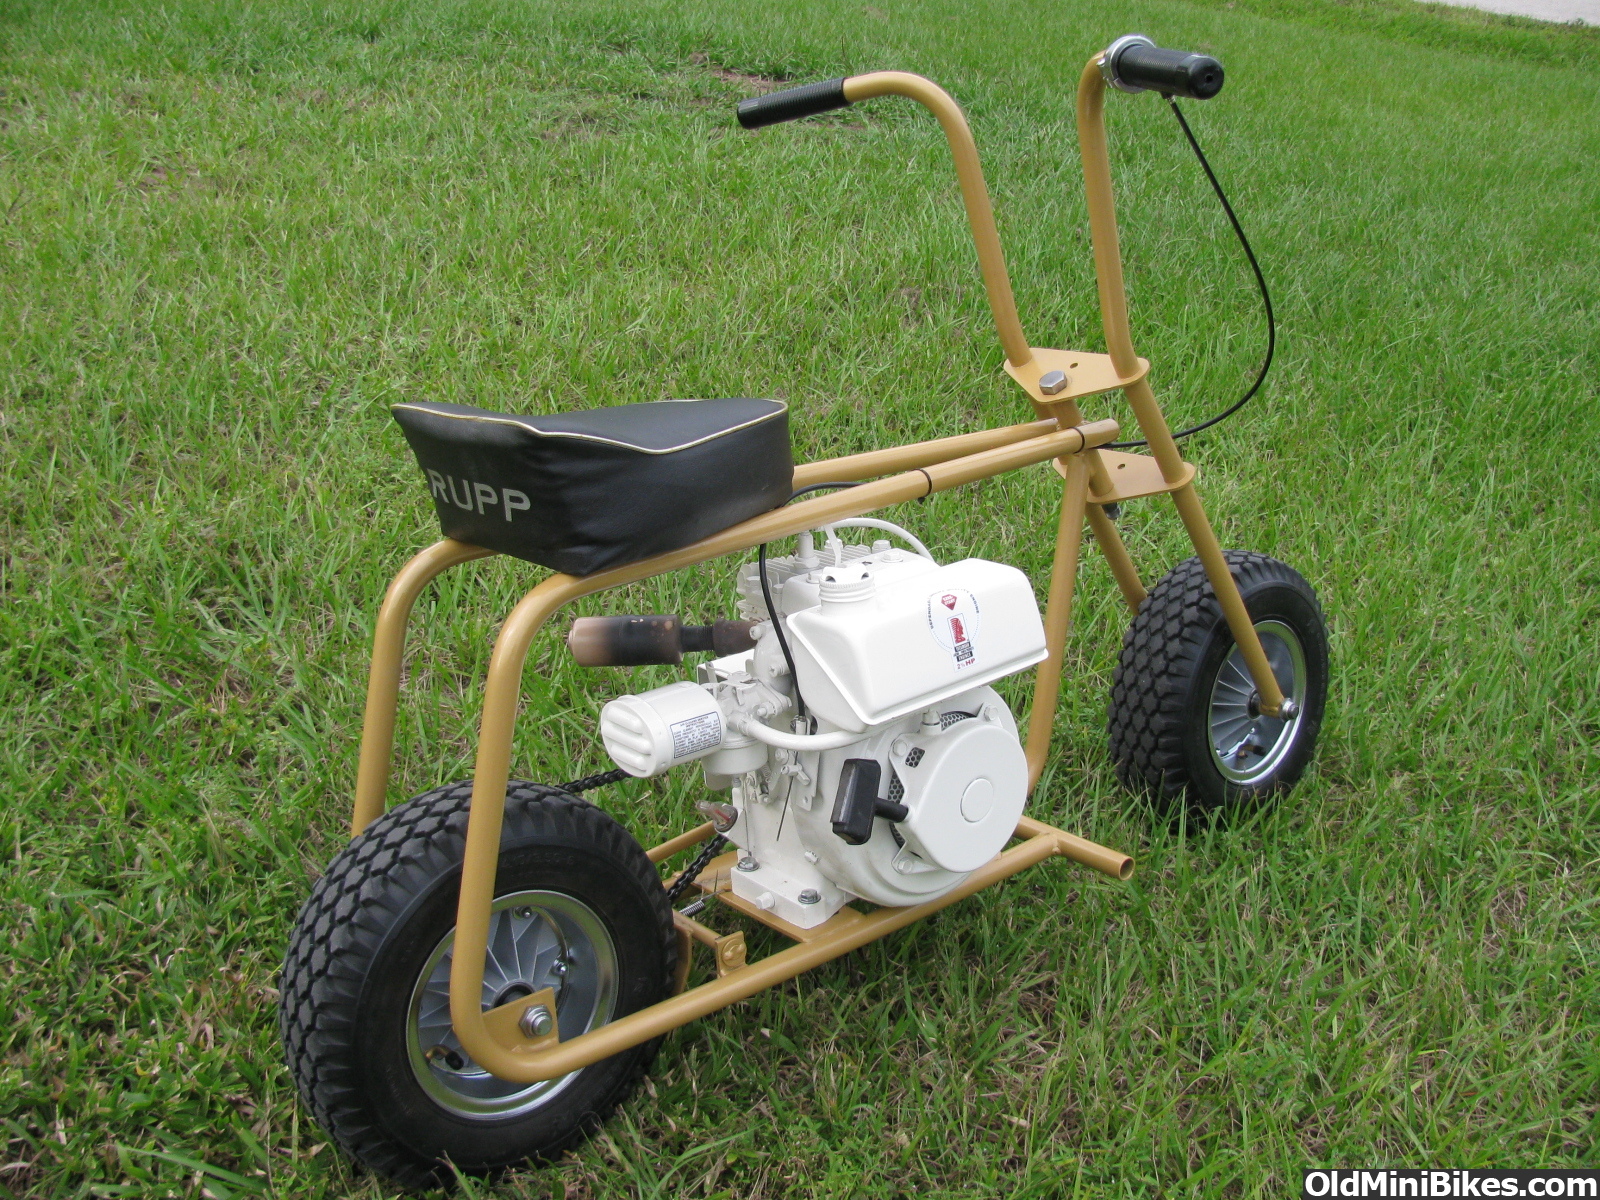
Build Your Own Mini Bike Frame 60,Delta Belt Driven Table Saw 100,Wood Projects Building Plans Zip - You Shoud Know

Add a 5 or 6hp Engine. See what's in stock. Sign In Register. These kits have been made since What a wonderful project you can put together with your son or daughter! Take the guess work out of ordering Go Kart Parts. Everything you need. These are the parts included in.
All of these parts fit and work together and can be ordered in. Take the guess work out of ordering Parts. For Track use only. Barstool Racer, with 6. Like Taco? Drum Brakes, Padded Seat. Aluminum Wheels Item No:. Add Engine and Clutch to complete kit.
Add Engine 6. Aluminum Wheels, Live Axle, Tires, Single Seat, 6 in. Drum Brake. Add the Titan Engine to complete the kit. Great Project. Nylon Wheels, Live Axle, Complete Drift Trike Kit. It's basically an automatic transmission without discrete gear changes that uses a rubber drive belt also known as a CVT for Constatnt Variable Transmission. With these, the engine reaches the optimum RPM range almost instantly and stays there until reving-out at the top end.
This way you have maximum torque throughout the speed range. This setup means my minibike shoots off from a standing start like absolute stink and will pull power wheelies from a walking pace with a firm fistful of throttle. Nice Cons: Expensive. Some maintenance to consider as the belt is consumable all will need replacing Build Your Own Mining Frame 4g after a period.
The unit is also quite wide giving the bike a fatter, and slightly lopsided look. If the cons don't put you off go for Build Your Own Road Bike Frame 3d it remember to get the smallest drive sprocket you can and a pitch to suit your chain. In my case 10T Pitch. If I find the time, I'll make a video comparing the two to help you choose. If you don't fancy a torque converter, a traditional centrifugal clutch like this one will work fine.
A note on gearing: I set the bike up to top out at about 30MPH. I calculated this using the wheel diameter 19" , the rear sprocket teeth 60 , the front sprocket teeth 10 and the max RPM of the engine to give me 33MPH. If you are trying different ratios you can use a speed calculator like this if you can't be bothered dong the maths yourself:.
The ratio I have here is probably the highest you can achieve as the 60T rear sprocket is the largest I saw for sale anywhere online at least in a pitch. Some builds I have seen use a Jackshaft to further increase the gear ratio but I think this is a bit overt the top and makes the bile look messy. So this bit was a little bit trial and error for me as I've only just managed to get my hands on a tube bender and this is my first time using it.
I started getting up and running following the excellent tutorials from The Fabricator Series on YouTube. After I finished the frame, I measured things and sketched up some Build Your Own Road Bike Frame Js rough plans see the files section for the PDF. I later modified these to allow the axle to be removed more easily without needing to disassemble it which is always a pain in the a Just cut from the edge of the cutout hole as shown.
You can see some of the mistakes I made and how to avoid them when you come to build. In summary, the rear chain stay far too short and I had to mount the bearing carrier all the way off the back of the Build Your Own Mini Bike Frame Effect tube and then strengthen with some 6mm plate. This looks a bit messy and the whole build will be cleaner if that tube is longer and the carrier just welds on underneath.
The plans I have included with this Instructable have a longer chain stay so this should be OK. Please check for yourself. I had to move the engine really far forward to try and avoid chain slap against the chainstay given the angle of the chain.
This meant relying on only 3 out of the 4 engine mount bolt holes yuck! See if you can do better when you mount the engine. Maybe a chain tensioner wheel? I'm not sure if the large size of the rear sprocket adds to the problem with the angle but with a bit of fiddling about you might be able to do better than I did. I would guess yours will be the same. Don't worry about the precision on the width too much.
Just make sure the fork legs are the same on both sides. The steering yokes at least I think that's what they are called. I think the plans show it a bit tighter. The headstock is made out of a mm piece of 1" tubing mounted onto the frame at degrees to the top tube.
Given the fat tyres, the bike is stable but doesn't turn very tightly. I tacked the tube on roughly, adjusted the angle then welded on.
Per the plans I added some reinforcement on either side with a bit of 6mm steel plate. Note: I made a couple of brass bushes on the lathe for the headstock to make a nice tight fit for the steering bolt. Without access to a lathe, I'd recommend getting 2x 1" bits of mild steel round bar as tight a fit as you can get to the ID of the 1" headstock tube, drilling the 12mm hole through it, pressing in and then tack welding it in place while the bolt is through the holes just incase of any movement.
That should work just fine. NOTE: making these from scratch proved to be quite time-consuming! There must be some of these on eBay and will save you a fair bit of grief. This worked O. K but there is a bit of run-out wobble in the disk as there is practically no way of keeping the pieces totally still while welding.
The heat tends to move things about,. For the brake disk carrier, I decided to turn out of a solid piece of aluminium. This was simpler in many ways and guaranteed the disk would run true also. I think id use this method again next time I might also remake the sprocket carrier at some point.
So I first started off thinking the brakes would be on the front wheel as that's where the majority of stopping power comes from on a 2-wheeler but after playing around with the fit-up, I decided that it just looked too messy having the brake sticking out on the side like that.
The back wheel setup gave me some more room to play with and, from riding the bike a few times now, this is plenty of 'anchors' for a bike that size anyway.
Especially as there is just sooo much tyre making contact with the ground. As you can see by the result this was a bit of a 'bodge-up' as they say in the U. K, but works great. I have included a template for a cutout for the brake calliper that would be a neater way to do it. This was way more fiddly than i thought it was going to be! I did a test ride with a straight through pipe shown but this was just ridiculously loud.
The whole idea is that people can play on this all day without the neighbours getting the hump so a plan 'B' was needed. In the end I repurposed the original exhaust muffler and made a custom header out of the 1" pipe I had lying around. I started from a full deg bend and cut pieces with a hacksaw to get the shape I needed. It worked out pretty well and is quite enough.
You get a noticeable drop in performance though as the bike definitely doesn't wheelie as aggressively with the new exhaust but its a decent compromise. Im really happy how this worked out and its been great fun to build.
The keyway hubs on those wheels rattle about a bit although they can't move anywhere because they're wedged in nice and tightly with spacers. I might try a shim or two or just accept that this is a home-made rig and won't expect the ride quality of a BMW GS.
Question 2 months ago on Step A simple start question: - Initial reference is made to 1in tube. This latter would seem to me to be the better size. Am I right? Reply 2 months ago. This is literally the thing that has been occupying my mind for ages now. You have unfortunately confirmed alot of my research, which is 'how the heck do you get atv style wheels with drive and brakes without a live axle?
I came to the same conclusion about live axles. Great build, I hope to make one soon! I think an ATC front mudguard would look good,just search on ebay. Reply 10 months ago. Hi Mate, thanks for the comments.
The bike's being used daily around the fields and rides great, Being on those fat tyres is a laugh and absorbs the rough terrain really nicely. While its a bit of a bodge, the live axle has settled down and is working well Better solution always sought so pls share if you come across anything. This project brings back memories of the 's and the one I made. These motor bikes were called Duddel Bugs.
They came about in WW2, and magically appeared on large military installations and bases as a means of running down parts and delivering messages, when Jeeps and bicycles were in short supply for errand duty. They were made on the sly on the base installations. Small gas engines back then were very hard to come by. However Maytag Washing Machines had a washing machine model that was powered by a 1 horse power gas engine.
Made for those civilians without electrical power in rural areas. These washing machines were instantly adapted and embraced by the military, and went from island to island throughout the Pacific War. Often given the same priority as ammunition to the next island invasion event. They were considered a Blessing from God, over that of the wash tub and board. Damaged, but repairable washing machine engines were hence reborn into a new roll of becoming the main power source for the various military installations Duddel Bug creations.
When the GI's came home from the War,. And consequently many a Duddel Bugs became a Father and Son project. As there were no small motorcycles made for kids back then.
You had to make your own. Yeah, can you believe that! I made my Duddle Bug in when I got into high school metal shop. The only small engines available were lawn mower engines.
Top speed was about 25 mph, down wind , and whieelie's. And yet, with sound of the screaming engine, 25 mph seemed like 50 mph, combined with the teeth rattling solid suspension. It was an absolute blast! The only changes I see today in the basic Duddel bug design is, the advancement in engine horsepower by almost 4 times! And the addition of a transmission.
This improvement resulting in a 35mph top speed carrying an adult, and the machine now being wheelie capable! I delivered local newspapers on my Duddel Bug for a year. I still smile from ear to ear as I think of that machine.
I had made it myself, and I was proud as punch of it. It was my first major project, and gave me confidence in myself that I could make some cool things. Rather than just dreaming about them. It is a good Father and Son project. Especially in a day and age when such projects being built with a parent on the team seems to have become a forgotten concept. As well as a rare opportunity for creating a life long memory in the team members of doing so..
However, " the Dad" should also remember, who helped him build this Duddel Bug. And let the kid ride it too. Have fun, and fond memories guys. Reply 1 year ago. The kids were thinking of what to name the bike and i think Duddel Bug will stick! I hope one day the project ideas start coming from the kids and I'm just the grownup helper and financier rather than just indulging my big-kid desires but we will see. Happy making!


|
Home Depot Waterloo Online Shopping Youtuber Sanding Machine For Wood Manufacturer Model |

Virtualnaya
23.12.2020 at 18:49:46
SINDIRELLA
23.12.2020 at 23:48:57