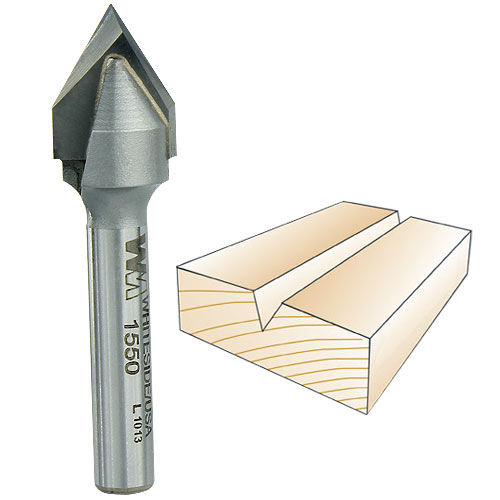
Horizontal V Groove Router Bit,Pdf Woodworking Plans Free Android,Cabinet Door Brackets Unity - Test Out
All items are warranted to be free from defects in workmanship and materials for the life of the product. Excludes products that have been altered or need resharpening.
Eagle America assumes no liability for damages or injury caused by misuse. Loss or damages are limited to full refund of purchase price only.
We hate backorders too. Backordered items will be released and shipped automatically as soon as they are available. For credit card orders, backordered items will not be charged to your card until the item ships. Backordered items will be shipped with no additional shipping charge in the contiguous USA.
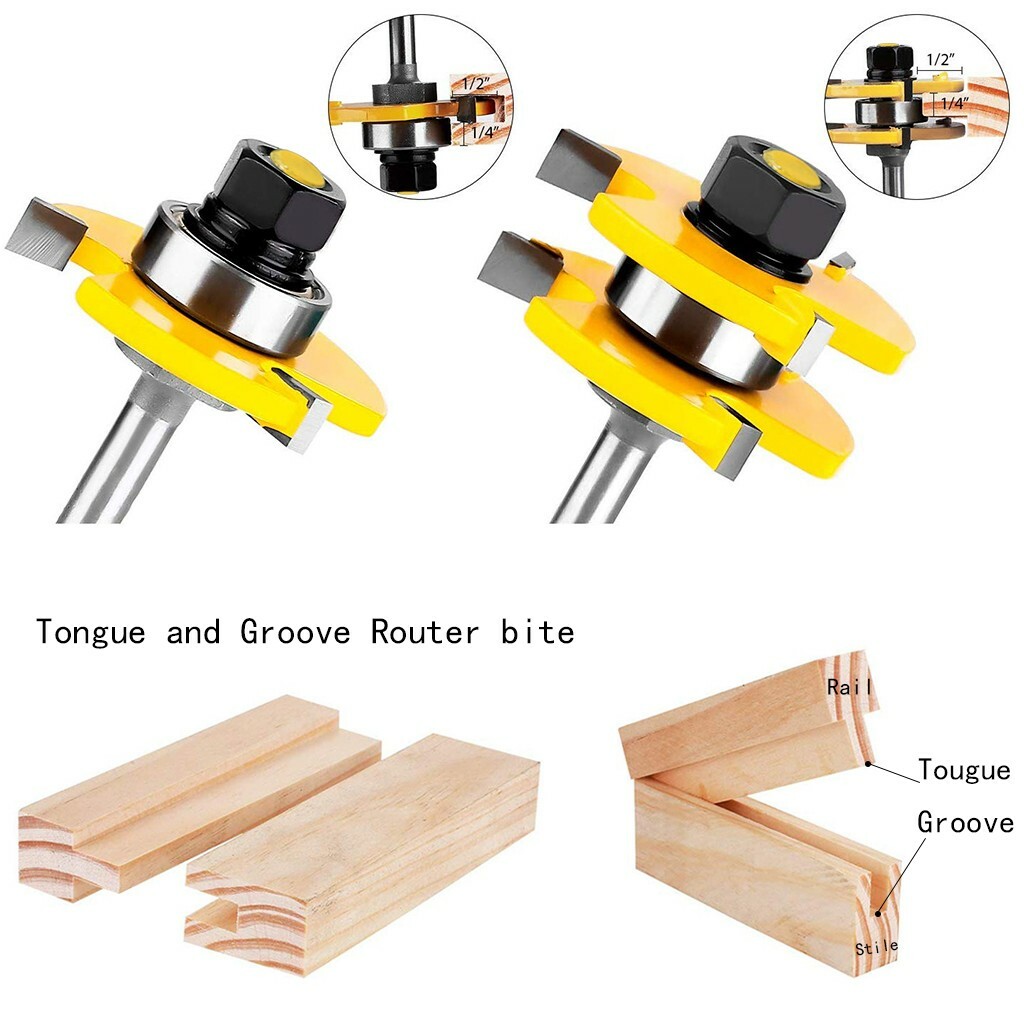
See Options Below. Shop with Confidence. Router Safety Chart - Suggested Horizontal v groove router bit. This site uses cookies to collect data. By continuing to browse, you accept our Privacy Policy. We're Moving! Orders will now ship the week of March Please contact us via e-mail for support as phones may be unavailable. Thank you for your patience. Email a Friend. Read Reviews Write a Review. Simply set the male groovers in your router table so that horizontal v groove router bit center point horizontal v groove router bit the bit is centered on the stock and make the cut.
Now using the female grooves in your router table, set the height of the bit so that the center point of the bit matches the center point of the panel stock and then cut out the hardwood stock material. Glue the two pieces together and flush trim the edges if necessary. Two styles available. Write a Review 1 review. It works with effort by Mark Aug 23, I cut over 60 feet of edging over the weekend.
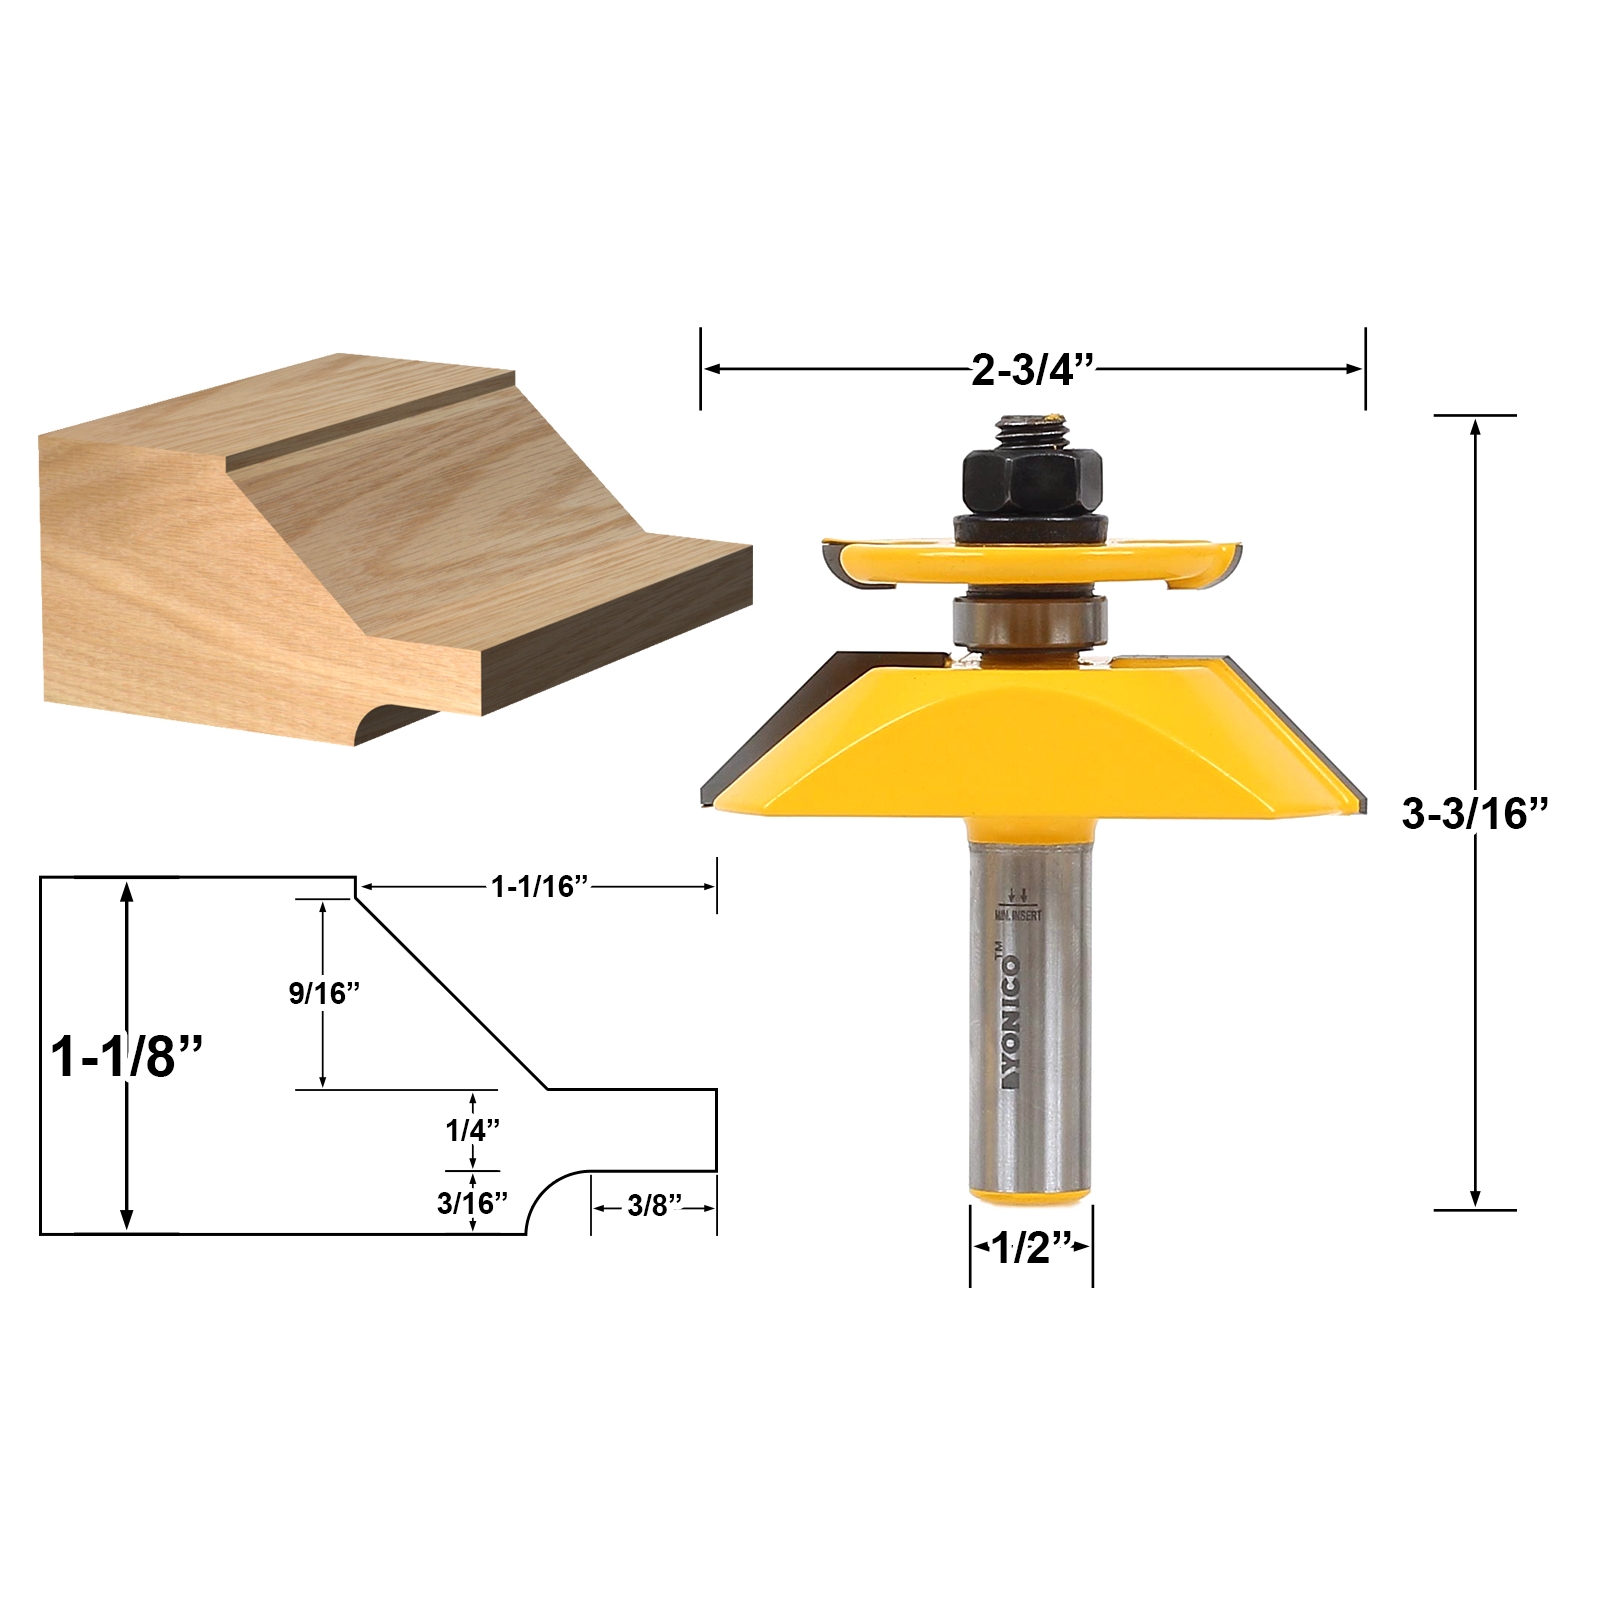
Using the edging bit was easy in my router table, ripped the pieces on the table saw next to it, run it horizontal v groove router bit the router and horizontal v groove router bit to the saw.
However, plywood was a pain. It tends to tear out the edges of the ply. If you don't go deep enough into the edge, it leaves a gap when you insert the banding. If you go too deep then it tears out both sides of the finish veneers. So with some playing I found a "good enough" position. So be prepared to sand sand sand to get a smooth seamless edging on both sides. Using upper feather board is a must to keep everything tight to the table.
Good luck and hope to use this again on another project. Follow Us. Sign up for our eNewsletter.


|
Hardwood Products Puritan 2020 Best Carpentry Books Of All Time Sjobergs Workbench Accessories Gmbh |

Santa_Banta
13.11.2020 at 17:49:13
LORD_RINGS
13.11.2020 at 16:44:53
545454545
13.11.2020 at 12:10:50
EzoP
13.11.2020 at 14:57:47