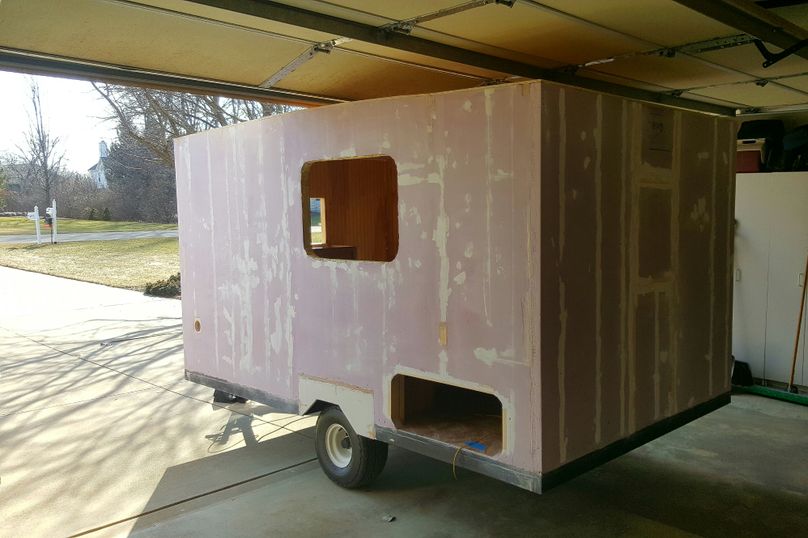
Build Your Own Rv Frame Weight,Mallet Hammer Logo Youtube,Modern Sofa Woodworking Plans 36,Best Rap Name Generator - You Shoud Know
This drives our mission to provide Forest River owners with quality, dependable products. Our recreational vehicles provide the perfect venue to explore the Grand Canyon, Niagara Falls and everywhere in between. Send us your inquiries about our products, or get help with your existing Forest River RV. Find your local dealer to assist you in your purchase or service of a Forest River RV. For the depth we marked how far the previous sofa had come out and matched it, bringing our depth to 32 inches.
The sofa in the RV was a little lower than we wanted, so we ended up measuring the height of the sofa in our house to get that perfect level. When measuring the sofa height in our house we measured it with the cushions still on, that way we could decide on cushion thickness and height of the frame together. Below is a picture from after we replaced the flooring and had the walls painted, basically right before we began to bring the sofa frame in.
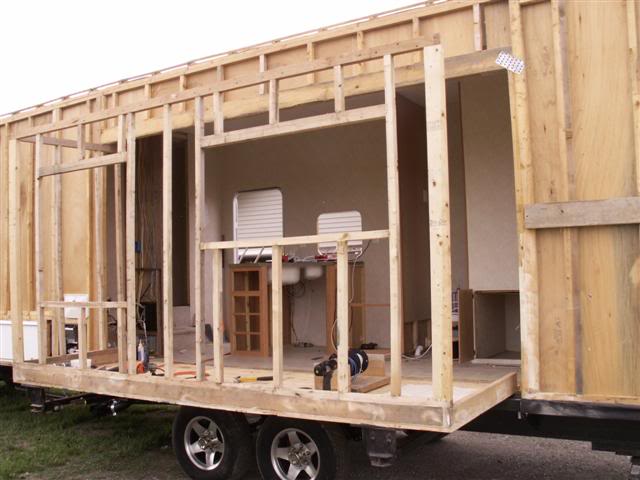
Let me say that because we were building this sofa for the inside our RV, we tried to save on weight by building a frame out of mostly lighter wood. While the information below is not a step by step guide on how to build a sofa we do hope it will help give you the confidence to take on your own DIY sofa project. Alright, we have the measurements we need in order to construct the frame. As you can see above, it is a four-part frame with two side walls as well as walls for the front and back.
I am not sure if you have ever used a Kreg Jig before or not, but I can honestly say that it has changed my life. It makes constructing frames for anything crazy easy. So, I used the Kreg Jig and made the four walls for the frame, then used the Kreg Jig again in order to attach the four walls together.
This is the deepest we could make the sofa table and have the sofa be a comfortable depth without taking too much space in the center of our RV. I figured with them being attached to the 2 x 4 frame and with the idea of covering the entire sofa with plywood that it would be strong enough.
However, you can see them already attached to the 2 x 4 frame in the photo below. Thinking on how I built this sofa it really makes me think of legos, or even a puzzle because I built all of the different frames then stuck them together.
Anyway, for the sofa table, we knew that we wanted three supports in the back, but at the same time, we needed to fit our table leaves in there. In order to create the best support while also leaving enough room for the table leaves, we needed the middle bracket to be off-center.
The picture below shows all three brackets installed for the sofa table, which were screwed into the wall. Our custom sofa and sofa table are now starting to look somewhat right since we have the basic skeleton put together. For this step, I measured the different sections that needed to be covered, then made the shapes on the plywood by marking the measurements with a pencil. I used our nail gun to attach the rest of the plywood to all of the sides except for the back wall.
Once I had all of the plywood attached I realized each piece was a little too big, I did this on purpose because once it is too small it is much harder to fix. In order to get rid of the plywood hangover I took my sander and sanded the plywood till it was flush with the frame, I had built.
When installing the sofa table lid and the seat to the sofa we used the same strategy. We measured the size of wood we needed to cover both of the spaces then cut them to that size. Once the inch was measured we cut down the line giving us 2 pieces for the sofa table lid and 2 pieces for the sofa seat. Now we had 2 pieces 4 really if you think of sofa table lid and sofa seat one that was 1 inch and another that would cover the rest of the openings.
Taking our 1-inch piece and placing it against the cut we had just made we put the hinge in place and screwed it down. Then it was a matter of taking the pieces with the hinges already installed over to the sofa and securing the 1-inch piece to the frame in place.
You can also search Pinterest for some great inspiration and plans to go off of. Use the best stain-grade plywood you can find if you want to stain it. The kitchen is also fully equipped with a drawer and fridge center and pans under the sink.
This demountable camper can be your perfect while on the road! It features a full-fledge standing room and a bed above the cab! You can hit this off by making the basic frame. The dimensions of this camper are cm high x cm wide. With these simple modifications, you can turn your car into a mini camper. It features a foldable platform that can be folded in a case when you need a full loading space. You will need a plywood board, foldable brackets, hinges, screws, strong rope and yoga blocks, or solid blocks.
This DIY teardrop trailer is 16 ft long and weighs around lbs. It was originally set up to work on solar energy. The floors of this trailer are solid wood, and the exterior is made of cedar. Wall and floor are made using plywood.
It features four windows and screens. It weighs about lbs. Without the tongue weight. It is its own kind of unique and comfortable DIY camper! You should also have a camper awning for your overland vehicle to protect you in the sun and rain.
For rear-door and all-weather protection! Make your road trips with families , friends, or even with yourself wrapped in a perfect homey environment around you! If you are not looking for something too big or all you need is a comfortable space, you would have loved our mini-van and sprinter van camper details!
Fan of appraising the serenity of the night sky? Fall in love with the darling skylight view at night on the day by opting for a plexiglass roof!
Try making camper at home and customized as you would want it to be.


|
Hand Wood Planer Price In India 15 Navigation Drawer Under Status Bar First Diy Wood And Resin Projects 30 |

I_am_Virus
02.10.2020 at 18:17:14
Golden_Boy
02.10.2020 at 10:14:22