Amalgam Carving Instruments,Desktop Wood Cnc Machine 70,Lee Valley Small Drawer Lock Bit Data - Test Out

This allows the amalgam alloy to set completely before being exposed to the abrasives of polishing. Spherical fast-setting amalgams, which could be finished and polished shortly after placing and carving, are the exception. Spherical amalgams are discussed in Chapter 6 , Amalgam. For previously placed amalgams, finishing and polishing may be started as soon as the procedure is indicated.
Proper placement of an amalgam restoration results in a well adapted, void-free, and anatomically correct replacement of lost tooth structure. An example of the armamentarium for amalgam condensation and carving is shown in Table TABLE Armamentarium for Amalgam Condensation and Carving.
A class II restoration has at least two surfaces open and therefore lacks the box-like shape for proper condensation. A matrix band is a thin strip of material that is placed around the tooth to establish the missing sides of the box and allows adequate condensation of amalgam see Fig. The matrix retainer holds the band in a loop and tightens the band around the tooth.
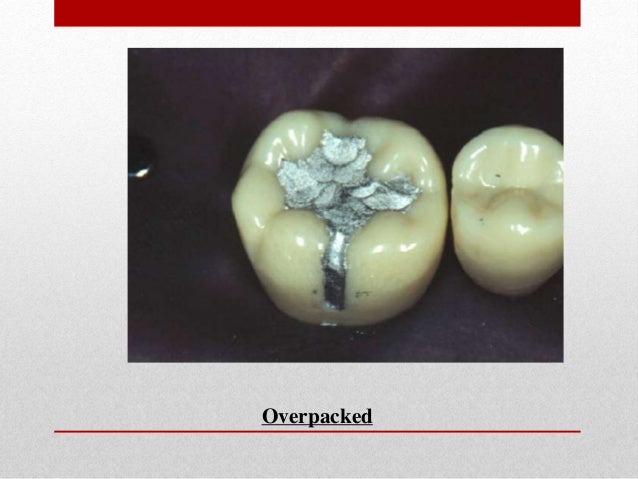
Properly wedged matrix band tightened with a matrix retainer. An amalgam overhang that can result when a matrix band is not properly adapted. Select appropriate matrix band and matrix retainer.
Matrix bands are available in a variety of shapes universal, bicuspid, molar , different thicknesses 0. Place matrix band and firmly wedge. Burnish the band to the adjacent tooth to assure good adaption of the proximal contact of the restoration. Check the proximal box to make certain that the band is adapted with no area for the amalgam to escape, which could cause an overhanging margin see Fig.
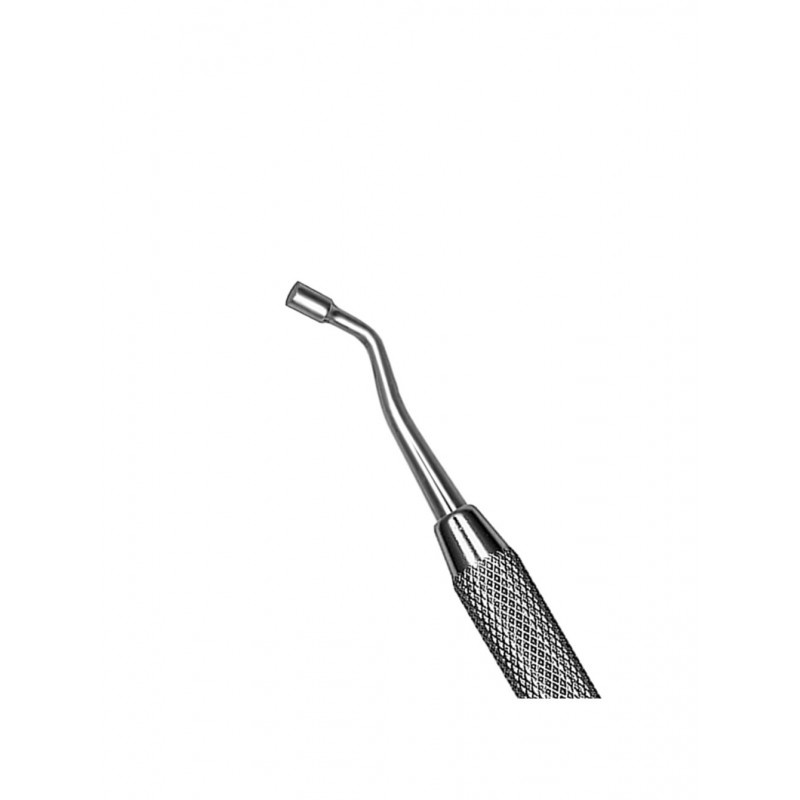
Different triturators have different mixing time and speed recommendations. Use amalgam carrier to pick up the amalgam and transfer to the preparation; see Figure Place increments and condense the material after each placement; see Figure 6. Use the appropriately sized condenser to condense , push to compact the amalgam toward the floor of the preparation and also laterally into the line angles and proximal box.
Use firm, overlapping condensing strokes larger condensers need greater pressure ; see Figure Working from the floor of the preparation, continue to place and condense increments until the preparation is overfilled by approximately 1 mm. Use a larger condenser to condense the overfilled preparation.
This ensures complete coverage of the margins of the cavity preparation for proper carving and to remove excess mercury. Using a burnisher to precarve the overfilled amalgam as shown in Figure Burnishing pushes and adapts the material contiguous to the margins to eliminate voids.
Burnish mesiodistally and faciolingually forming the major grooves of the occlusal anatomy. Placing the first increment of amalgam into the preparation with an amalgam carrier. Condensing the first increment. Condensing subsequent increments.
Carving of the amalgam begins immediately after burnishing. Use sharp instruments. Use an explorer to carve the amalgam adjacent to the matrix band forming the occlusal embrasure. Keep the tip of the explorer against the band surface and move the explorer from the buccoproximal margin toward the lingual, stopping at the center of the box.
Repeat the procedure, this time from the linguoproximal margin to the center, as shown in Figure Such carving defines the contact area and the marginal ridge. The marginal ridge of the restoration and the marginal ridge of the adjacent tooth should be at the same level. Usually, the contact area is in the middle of the mesial or distal surface or the restoration. Carving the marginal ridge. Drawing of carving the marginal ridge. Keep the edge of the carver blade perpendicular to the margins.
Rest part of the blade of the carving instrument on the enamel adjacent to the restoration, and use a pulling stroke to carve with the margins of the preparation; see Figure Do not allow the tip of the carving instrument to pass the center of the prepared cavity; see Figure Take care to create a smooth, continuous surface from the enamel to the restoration.
These are distinct, but not necessarily deep grooves. When an occlusal groove needs to be deepened, the side of the carver should not make contact with the amalgam at the preparation margin; see Figure Carving the mesial and distal Bowl Carving Vise pits and triangular fossa is important for correct development of the occlusal anatomy. The crest of the marginal ridge is the base of the triangle, and the facial and lingual supplemental grooves in the restoration form the two sides of the triangular fossa that meet in the mesial or distal pit.
When carving the triangular ridges, keep the blade of the carver angled in harmony with slope of the cusp. Refine proximal contour with a Hollenback carver or proximal carver. Use a series of shaving strokes occlusally from the cavity proximal corners. Use only minimal pressure with the shaving stroke. Blend the proximal margins to the occlusal margins.
Next, use the largest size condenser that will fit into the proximal area to condense more of the amalgam into the proximal box. Again, be sure to condense pulpally and laterally, adapting amalgam into all cavity walls and line angles, and into the matrix band. Remove any amalgam at the surface that appears shiny and wet; this contains the excess mercury that has surfaced during condensing.
Place additional increments of amalgam and continue condensing pulpally, laterally and against the matrix band, removing any excess mercury that comes to the surface.
It is important to overfill the cavity with a generous amount of amalgam, so that the proper occlusal anatomy can be attained during carving. If necessary, mix another cartridge of amalgam.
As the cavity becomes filled, condense and smear amalgam into and over the cavosurface margin. Immediately after Cnc Router 3d Carving Software Quiz completing condensation, use the explorer to separate the newly condensed amalgam from the matrix band,to define the contact area and marginal ridge, and to define the occlusal embrasure. This is done by resting the tip of the explorer against the matrix band and moving the explorer from the linguo-proximal markin toward the buccal, stopping at the center of the box.
Repeat the procedure again, this time starting from the bucco-proximal margin. Use the beaver tail to remove excess Pfeil 12 Piece Carving Set Image amalgam from the occlusal surface without touching the cavosurface margin.
Holding the band in place with your finger, unscrew the matrix retainer and remove it from the band. Carefully remove the band from the tooth except at the proximal surface that is being restored; fold the band back away from the tooth at this area. Occlusal carving is started when the amalgam shows some resistance to the carving instrument; use an explorer, discoid or cleoid to test the amalgam for resistance..
Angle the cleoid so that the tip rests in the area where the secondary groove will be, and the side rests against the remaining tooth structure of the cusp; the instrument is inclined so that the existing tooth structure can help shape the amalgam, thus restoring the natural occlusal anatomy.
Form the distal and mesial pits first, followed by the buccal and lingual grooves. Once occlusal anatomy is complete, use a moist cotton pellet to smooth the occlusal surface of the amalagam. Use one of these instruments to also remove any excess amalgam from the cervical region, to define the gingival cavosurface margin.

|
Build Your Own Floating Frame Free Mounting Drawer Slides On Bottom Number Build A Wooden Workout Bench Journal Woodworking Files For Sale Guide |

ALFONSO
23.12.2020 at 19:10:47
reper
23.12.2020 at 23:56:20