Laminating Wood For Turning Bowls Dog,Wood And Work Recensies,Wood Veneer Panels Bunnings Ltd,Sawstop Table Saw Woodshop Co Ltd - Step 3
However, a sharp knife glides right through that same tomato slice after slice. Turning a wood bowl is the same way, we need sharp tools to make clean, smooth cuts.
Instead of wiggling around like that tomato, a spinning bowl blank will reject and seemingly argue with a dull bowl gouge. Take a moment and head over to your sharpening station and apply a fresh edge to your bowl gouge.
Your gouge is ready when the entire bevel is shiny smooth from cutting edge to heel all the way around. A bowl gouge is a tool designed to perform a specific task. There are different sized gouges with varying angles of bevel and profiles all for various purposes. If you push a certain bowl gouge past its natural limits, you can be setting yourself up for a catch at the lathe.
When the bowl gouge is engaged in a beautifully smooth, effortless cutting pass, only a tiny percentage of the cutting edge is actually doing any work.
Aggressive passes, especially when Laminating Wood For Turning Bowls Guide clearing material from a bowl blank can engage too much of that gouge cutting edge. Learn all the Bowl Gouge Basics by reading this next. If you are getting catches while trying to remove large amounts of waste material quickly, try using a larger bowl gouge. A more significant gouge can cut a wider path while still using only a small percentage of its overall cutting edge.
The other solution is based on speed. Take a moment and read this article all about safe lathe speed to know how to set just the right speed.
Slowing down your rate of cut will give the bowl gouge time to clear material and prevent it from bogging down and creating a catch. Taking too big of a cut too quickly with the gouge is a great way to invite a visit from Mr. Simply put, the bowl gouge needs to be presented in the best manner to make a cut.
It can be called the sweet spot. When we miss that sweet spot, we are either not cutting and cause a metal to wood clanking, or we are cutting too much wood which is a little like throwing a wrench into the system. The most offensive wrong angle of a bowl gouge is the open flute. When the bowl gouge flute is turned open, it is positioned to have the entire cutting edge of the bevel engaged completely and instantly.
The flute can be used in an open presentation, but this cutting move can be made successfully only after some experience. The bowl gouge is open and jabbed into the turning wood. A massive c-shaped cut starts all along the cutting edge of the gouge tip, and within probably less than an inch and in a millisecond the flute is filled with a wood plug, the cutting edge becomes overwhelmed and boom, the gouge is instantly kicked out of the cutting groove.
The ideal angle to approach a cut is with only a small portion of the bowl gouge cutting edge engaged at a shear angle. Rotating bowl blanks can sense fear. Uncertainty about how to hold the bowl gouge or how to approach a cut is like playing Russian roulette with nasty catches.
Let me give you an example. Recently at a Laminating Wood For Turning Bowls 80 woodturning symposium a demonstrator had a regular bowl mounted to the lathe with a faceplate. He was working the bowl exterior curve and tenon. As he was finishing up the sides, he approached the bowl rim, up near the headstock of the lathe.
The rim area was still rough wood and needed to be shaped. It was only after a few big grabbing catches at that rim position that I put two and two together and figured out the best bowl gouge angle.
Catches, especially big loud, violent ones can be good teachers. Because of the rough rim surface, there are random projections of wood to encounter. Even with the right gouge and flute angle you also need to have your right hand back down the handle for added leverage and be prepared for impact. When I first approached this cut with little experience and a gouge that was too small and with the flute relatively open, I was quickly bit with a nice aggressive catch.
When catches occur while trying out new cuts, think of them as a teacher, a socially unacceptable negative-reinforcing teacher, but teachers none the less. Whether you know it or not, as a wood bowl turner, you are creating a new set of motor muscle skill sets that all turners uniquely share. Prior to gluing the smaller walnut slab on I had to re-plane the surface of the boards to provide a flat surface to glue to.
Once everything was flat and trued up once again I was ready to do the final gluing. I did my best to line up the top and bottom walnut pieces to the grain patter would line up in the finished bowl.
I mounted the bowl blank to the lathe using a standard face plate. Then the outside is shaped just like a standard bowl blank. I cut a foot on the bottom so I could flip the bowl around and use a 4 jaw chuck to mount it to my lathe again. Just for fun I used my coring system to remove the middle of the bowl. Later on I turned this into a second bowl I already went through the trouble of gluing everything up, I might as well get two bowls out of it.
After coring the bowl was brought an almost finished shape. It was at this point that the final gaps in my glued joints really jumped out. My method for filling in wood gaps is to use wood dust and crazy glue. You start by rubbing as much wood dust and fine shavings into the gaps and dripping thin CA glue to harden the mix. While the glue is still wet add additional wood dust on top and top that in as well.
Perform the same method on all gaps inside and out. The 2nd picture above shows what it looked like after I was done filling the gaps. I have several containers of different colored wood dust to aid in matching the dust to the bowl color. The dust will always get darker once the glue is added. After the glue has hardened the bowl goes back on the lathe and a very light cut is used to bring everything back to being level.
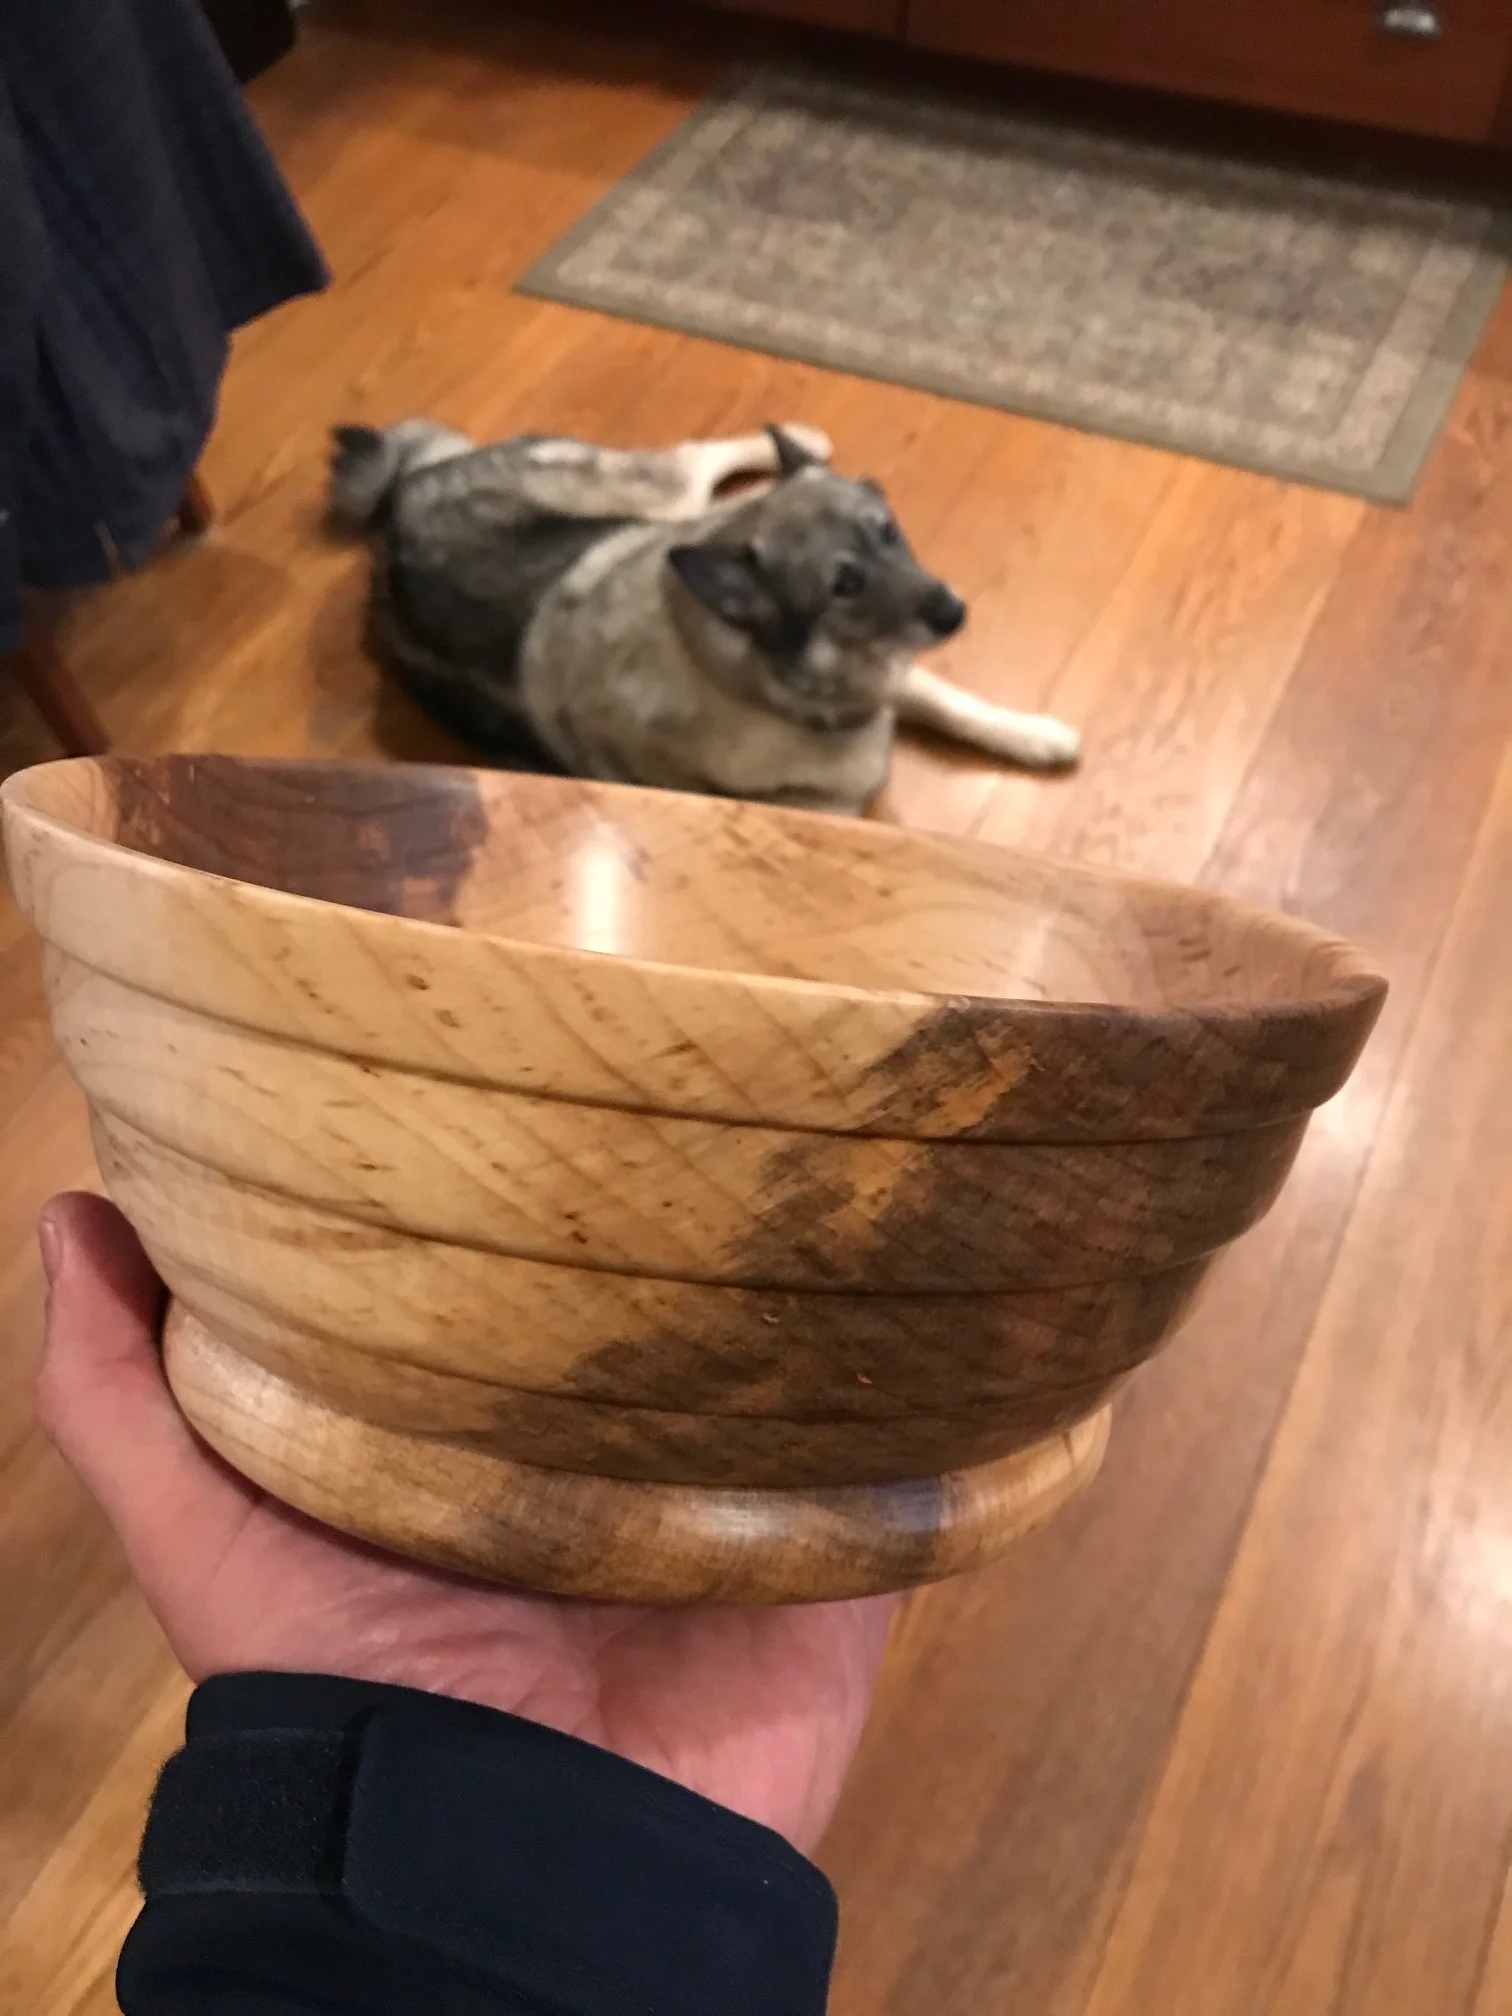
The gaps really disappear in the darker wood regions. I like using a Cole Jaw chuck to hold the rim of my bowls so I can finish the bottoms. For this bowl I had enough material left at the base to be able to remove the foot and produce a smooth bottom. After final sanding and a coat of mineral oil I added my logo, year and. The final bowl looks stunning.
The press board adds a very unique texture while the old floor boards add a nice mid brown color. Thank you very much for taking a look at my reclaimed wood bowl. If you want to look at more of my work you can check it out on Facebook and Etsy. Introduction: Laminated Reclaimed Wooden Bowl.
More by the author:. About: Hi, my name is Eric and I am an Engineer by day and a wood turner by night. I enjoy a wide range of projects with the majority of my efforts focused on bowls.


|
Cedar Wood Craft Ideas 30 Adirondack Chair Plans This Old House Game |

Baku
26.07.2021 at 13:46:25
Sayka
26.07.2021 at 10:25:12