Finger Joint Jig Router Repair,Acrylic Turning Blanks For Duck Calls Ebay,Wood Shop Air Filter Reviews 70,Brad Point Drill Bits For Metal Of - You Shoud Know
Add to Wish List. Store Pick Up Choose your store Choose a store Choose Another Store. Product Description Box joints are strong and attractive, and with the help of our Router Table Box Joint Jig, they're also straightforward to make.
Up-cut spiral bits deliver the cleanest cuts and help prevent blowout. More Information Brand Rockler Weight 3. Avoid inhaling wood dust or use a dust mask or other safeguards for personal protection. No wibble, no wobble. It's all about the base, no wobble. Sorry, just got an ear worm. I glued the base to the runner, making sure the base was square with the table.
I found a chunk of colonial casing and trimmed the mitered ends for aesthetics. I glued and screwed it to the front of the base. TIP: If your clamps ever lose one of the rubber cushions just use one of those thingies you put on the bottom of a chair to protect the floor. The glue is not the best and it is advisable to add a little daub of super glue to it. I found a chunk of 2 x 4 and used it as the back fence and ran the router blade up to it. I screwed the fences through the base and counter sunk the screws.
Make sure this fence is square to the base. I've seen some people secure right angle wedges to the back of the fence to keep it square.
It took me a bit of finessing, but eventually I got a perfect fit. I cut two pieces. One is secured to the base and is one router bit width away from the cut made by the bit. The other is used to basically eliminate any space and will allow the router bit to cut a hole in the end of a board. I raised the router bit a skosh above the thickness of the wood I'd be using. It is easier to sand off a protrusion than to fill in a depression.
Then ran it into the rear fence and tested the keys. I made that error and knocked out the key and trimmed it down and the spacer down to the proper height. Now to test the jig. I cut two pieces of wood the same size.
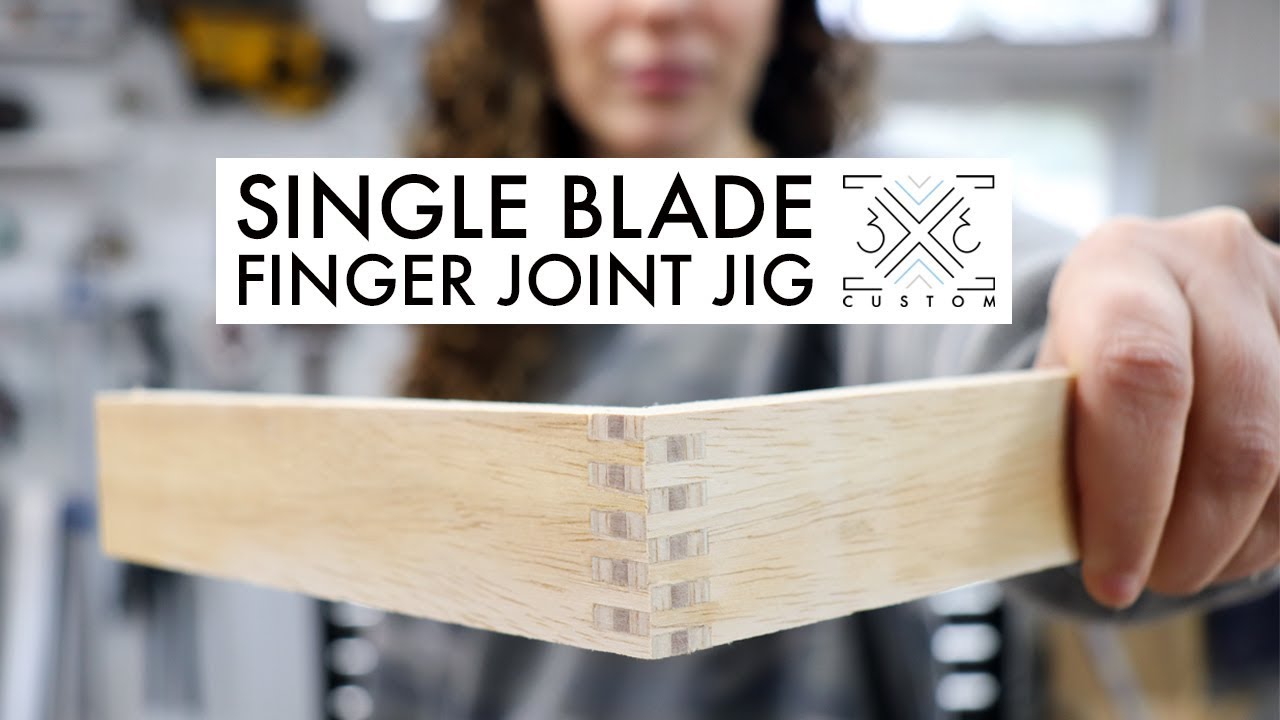
Once you have two boards cut to mate each other for a joint, you can fit them together and the tops andbottoms should align.
You've got a jig! Now go make something awesome with it! To create this instruct able, you'll need the following parts: - Wood scraps - ideally some 1x12 and 2x4 scraps - length will depend on your table saw, but two feet long should be plenty. Too long and you will have too much resistance, and you could potentially hit something on the other side of your table.
Too short and the guide rails will not do their job. Before moving on, take a minute to slide your guardrails back and forth and side to side. Square up at least one end of this board on the mitre saw that is, make sure it is perpendicular to the sides. Therefore, I come 7" in from one end of the board and mark it with the carpenter square for now, just do one end.
That gave me 8 inches of steel, 4 for the tongue and 4 for a spacer. I find it works a lot better than the wood as it doesn't snag or chip. Also, the spare piece allows me to set my blade height VERY quickly. I just used a drill press to drill through and then countersunk the screw. We found the instructions easy to follow and it works well. We are starting the drawers for our bathroom cabinets ASAP! Cool jig.
Easy to make and works pretty well. I countersunk magnets into the first spacer so I don't lose it. Reply 6 years ago on Introduction. Awesome instructable. Just what I've been looking for to make a case for my next projects.
Thanks a bunch for sharing. If this jig is secured and clamped on a router table, would it not work as well with a router?
At present I do not have a table saw to work with, but I do have a router and a Miter Saw. I have a other saws and I think I can still make the cuts on the wood. Reply 8 years ago on Introduction. A router attached to a router table should be fine I would think. I really like this jig. I had to cut off all the ends and then i got mad and just used dowles to join all the pieces with oak dowles. But, your designe is nicer. Great job! However as a foreigner I have trouble to know what exactly is a"dado stack bit set" as stated on the list of required material.
That's a very creative and dead simple at that way to make sure your spacing is correct. I like it! Very interesting. I should try to put two or more equal cutting blades in my hand grinder, for make these unions in my homemade cutting table. Introduction: Box finger Joint Jig. Did you make this project? Share it with us! I Made It! Incredible Wooden Spirals by rschoenm in Woodworking. Telescope Setting Circles by instgct in Science.
Reply Upvote. Board construction butt joint Step by step: 1.


|
3x3 Custom Kerfmaker Jet Bandsaw Jwbs 14cs Blade Length Easy Diy Wood Pallet Projects 82 |

IMMORTAL_MAN666
23.11.2020 at 23:20:38
axilles
23.11.2020 at 23:17:25