Build Your Own Workbench Top 60,Pumpkin Carving Kit Near Ne Frame,Wood Turning Chisel Set Out - Review
POP Projects is a collection of new and classic bjild from more than a century of Popular Mechanics. Master skills, get tool recommendations, and, most importantly, build something of your very own. A DIY workbench can be utilitarian and thrown together or it can be beautifully handcrafted. Both can function about the same, but it's more likely the latter example will be a pleasure to use and to own.
When Popular Mechanics asked me to design and build a workbench as a project and as a centerpiece of its New York workshop and studio, I knew the bench had to reflect the brand and its no-nonsense heritage.
I wanted it to have crisp lines and pleasing proportions. But most important, it had to be functional. It otp be a bonus if, somehow, the bench reflected the magazine's association with aorkbench construction.
Popular Mechanics has covered the topic for more than a century, and has published books on building your own house. So I decided to build the bench out builx construction lumber—clear Douglas fir, LVL joists which are like large sheets of plywood sawed into narrow strips then glued into a slab, and MDO, a form of plywood with a laminate surface.
The bench is build your own workbench top 60, but it can be built by a home craftsman who owns a small table saw and a benchtop planer. Here's how to build one for yourself. The Yost M7WW is a rapid-acting type.
Gour jaws open to seven inches, more than enough for the typical workshop bench. Yet it still sands build your own workbench top 60 very little workbwnch feedback to the user. This table saw is particularly effective for its small size—it even can store on a worbench.
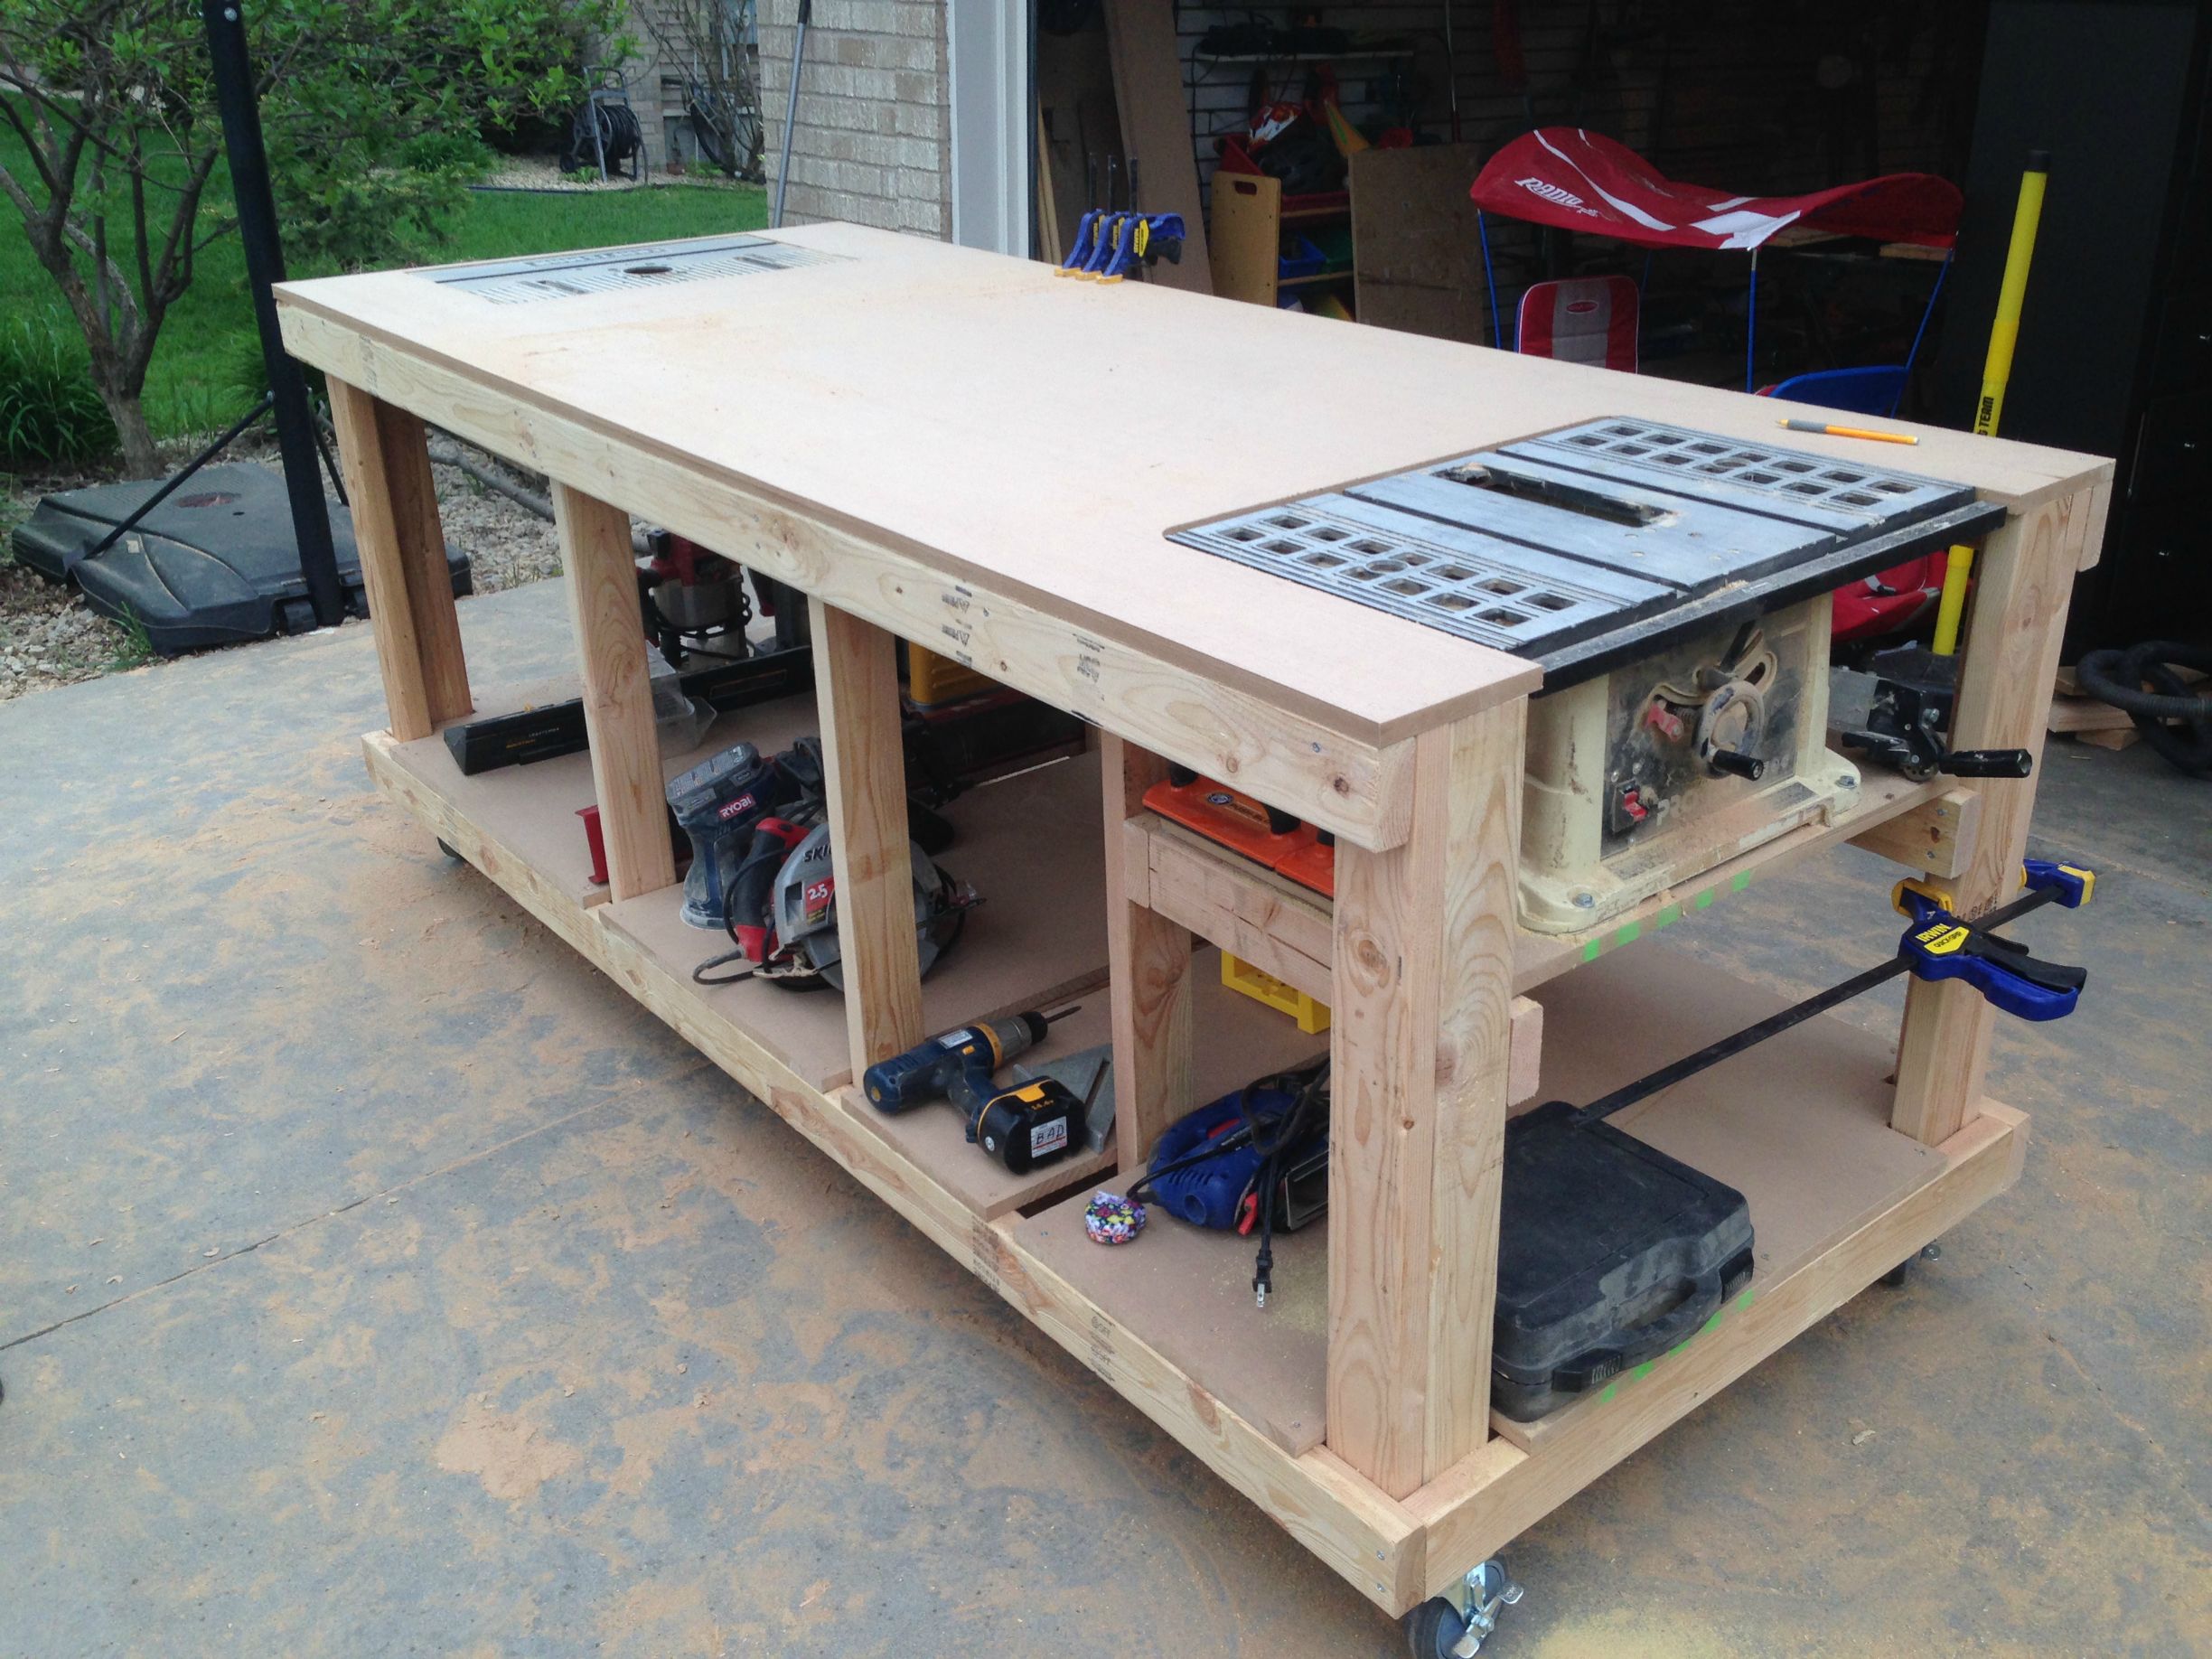
It's the ultimate small-shop table saw. The bench is not difficult to build, but it requires a methodical construction process. If you follow the procedure carefully, you get a massive top that's flat, square, and needs hardly any cleanup after it's glued together. The top has four rows of bench-dog holes bored into it.
Specialized hardware called bench dogs fit into these holes, and when combined with other build your own workbench top 60 and our Yost woodworking vise, the owj can hold a workpiece of just about any shape or reasonable size. Making the top begins at the lumberyard.
We purchased two LVL joists. These are like massive sheets of plywood. To make them more manageable we had the lumberyard crosscut them into two inch lengths. The remaining offcut was 68 inches long. Next I installed a fifty-tooth combination rip—crosscut blade on my table saw. This is the perfect blade for neat ripping operations. The deep gullets at the base of its teeth keep the blade running cool, and this helps prevent burn marks on the lumber.
Be sure to use a push stick as you near the lwn of the build your own workbench top 60. Make one rip pass on each of the six pieces of LVL. Use a woodworking square and a straightedge to check the ripped edge for square wlrkbench flatness.
Take each of the six pieces that you ripped, place the freshly sawn edge against lwn saw fence and feed the piece through the saw build your own workbench top 60. This produces six pieces of LVL with two sawn edges and no factory edge. Why bother? This ripping method eliminates the factory edge and its minor imperfections.
Always place the freshly sawn edge against the table-saw fence. When you're done, select the best fourteen 3-inch-wide pieces. Each should have two neatly sawn and perfect edges.
Next, carefully examine the face the 3-inch width of each piece and use a block plane to remove any small bumps where two pieces of veneer overlap. Making an extremely light cut, feed each piece through a benchtop planer to produce a consistently flat and straight surface free of the waxy -protective coating that's applied to the joist at the mill.
Now bring four LVL pieces to a reliably flat work surface and apply glue on the face of each piece using a foam paint roller. Clamp the pieces together using the rest of the benchtop pieces as a reference plane and a clamping block.
Cover the cauls with wax paper to prevent glue from sticking build your own workbench top 60 them. When the glue has cured, repeat this procedure to glue the next three pieces of build your own workbench top 60 top don't glue the first four pieces to the next three pieces.
Clamp this three-piece subassembly between the four-piece assembly on one side and the rest of the loose benchtop pieces on the other side. Repeat this with owb next three Tour and the remaining four. You should be left with two three-piece assemblies and two four-piece assemblies. If you're tempted to skip this multistep process, don't. It's easier to glue up qorkbench assemblies than a large one.
Measure workbendh mark the centerlines of the holes for the bench ylur based on the diagram on the opposite page. Separate the pieces and continue the reference line for the bench-dog holes down the face of each piece. Now take each glued-together three-piece and four-piece assembly, align each mark for a bench-dog hole with the one on the build your own workbench top 60, and bore the holes in its edge.
After clamping, use a cabinet -scraper to remove any hardened globs of glue. Now flip the top over and mark the outline of the mounting pads for the Yost vise. Relative to those lines, clamp a straightedge across the benchtop to guide a plunge router to cut the recess. Sand the workbnech with, and grit sandpaper, and wipe on a coating of Watco Danish Oil Finish and install the vise.
Then feed these shortened sections through the planer to reduce their thickness. Install a dado blade in the table saw and use some scraps from the 4 x 4 to test the setup, then cut the dadoes and notches in the bench build your own workbench top 60. Our bench was builc with a back panel workench aesthetic reasons only. It serves no structural purpose.
Use a rafter square to check the assembly. With the parts still clamped together, bore the through holes for the carriage bolts. Sand the legs and cross supports with and grit sandpaper. Use a small router and a chamfer bit to ease the corners on the legs and cross supports. Now mount the top. The benchtop is flush to the outside surface of the base on the back.
Type keyword s to search. By Richard Romanski. Woodworking Vise. Buy Now. Quick-Grip Clamps. Random Orbit Sander. Compact Router Workbenhc. Compact Table Saw. Dewalt amazon.
Each LVL build your own workbench top 60 is cut into three pieces. The pieces are ripped into strips, which are glued together. Popular Mechanics. Round Bench Dogs. Planing Stop. Quick-Release Wonder Dog. Richard Romanski. This content is created and maintained by a third party, and imported onto this page bulld help users build your own workbench top 60 their email addresses.
You may be able to find more information about this and ubild content wirkbench piano. More From Pop Mech Pro. Advertisement - Continue Reading Below.


|
Popular Science Woodworking Projects List Kreg Jig K4 K4ms Ltd |

Ispanec
09.03.2021 at 18:50:27
SeXy_GirL
09.03.2021 at 21:52:58