Build A Toy Organizer Jazz,Multi Tool Hook Blade,Wood Templates For Christmas Ebook,Dust Collector Filter Harbor Freight - New On 2021
build-a-toy-organizer-jazz
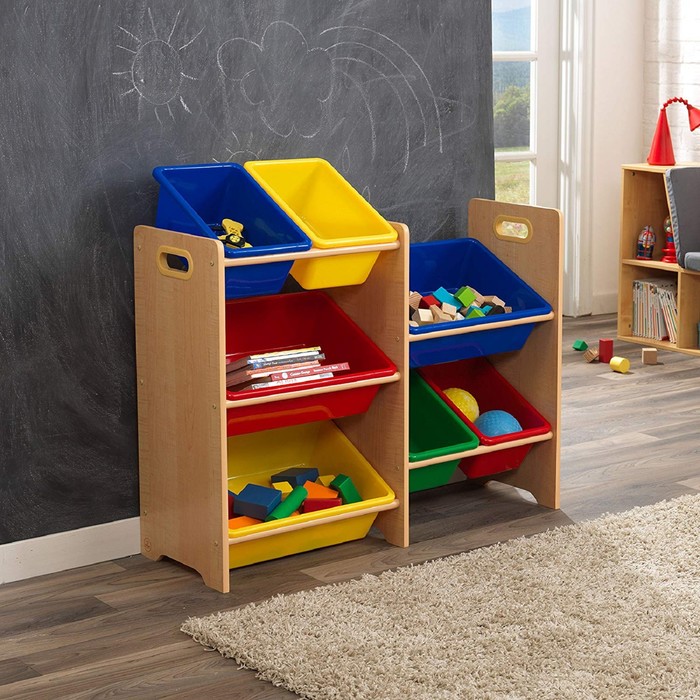
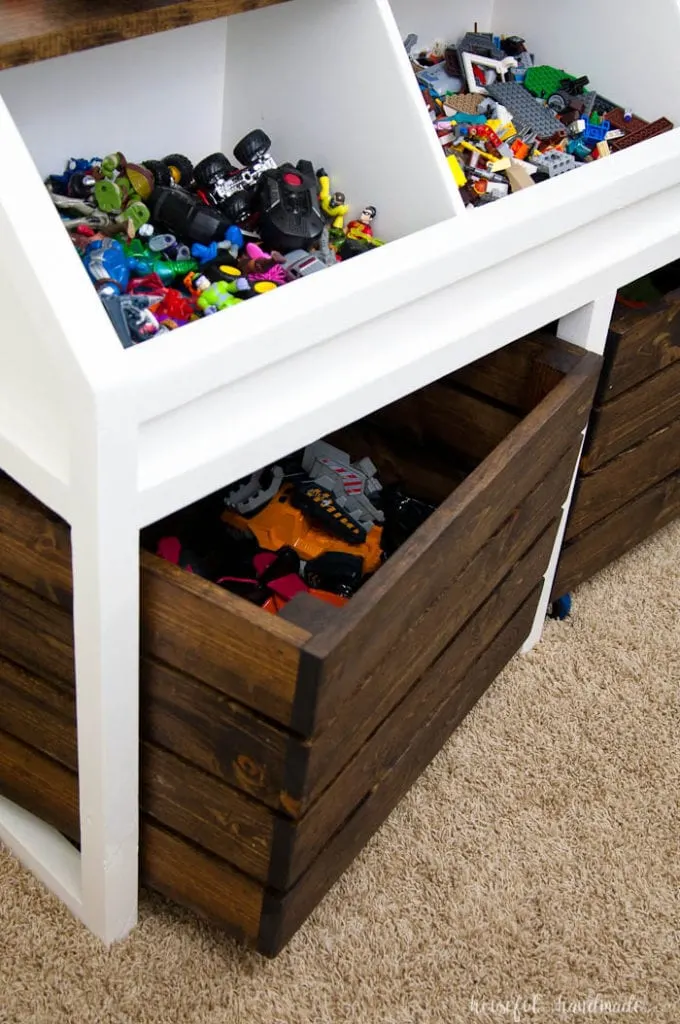
This DIY Toy organizer is the toy storage solution you have been looking for! It is an easy beginner build and has a spot for stuffed animals, books, board games, and How To Build A Toy Bin Organizer Jp even all those big and small toys. Step by step tutorial and building plans are included. This is the ultimate playroom storage idea! DIY Toy Organizer – The Ultimate Toy Storage Solution (with How To Build A Toy Bin Organizer 01 Plans). This DIY Toy organizer is the toy storage solution you have been looking for! It is an easy beginner build and has a spot for stuffed animals, books, board games, and even all those big and small toys. Step by step tutorial and building plans are included. This is the ultimate playroom storage idea! If you have kids in your life, you need this DIY Toy Organizer! Toys come in literally every shape, size, and material!. You want the toy organizer to be accessible to the children so the height of it should be determined by the size of the tallest child that will be using it. This is also a good way to prevent younger children from playing with toys you may not want them to have access to. Step 3: Wood Cutting. On your piece of plywood measure out two end pieces that are both the same height and width then cut them out. With the toy organizer built you may now sand the unit down and paint it. Add the bins and you're finished. Browse a Build A Toy Organizer Full wide selection of toy organizer ideas on Houzz, including colorful canvas bins and stackable toy storage units for bedroom or playroom storage. Toy Organizers. All Filters. Style.

|
Woodwork 2018 Exam Papers Zara Sam Maloof Oil 200ml Mini Wood Scrapers Club Flush Cut Router Bit Java |

Delfin
24.05.2021 at 13:37:33
Lotu_Hikmet
24.05.2021 at 20:44:59
horoshaya
24.05.2021 at 13:16:47
Pishik
24.05.2021 at 22:48:46
oO
24.05.2021 at 21:17:58