Lee-valley-small-drawer-lock-bit-up,cove-router-bits-profiles-71,miter-gauge-v27-30,heavy-duty-soft-close-lid-support-80 - Try Out
Please check your spelling and try again. Please enter the username associated with your Lee Valley account and we will send you an email to reset your password. Sorry, your email is incorrect. Please try again. Please enter the email address associated with your Lee Valley account and we will send you an email with your username.
An email has been sent. Please check your inbox. Yes, take me to Lee Valley Canada Cancel. Style: Choose an option. Change to Lee Valley Canada website to see content specific to that region and the best shipping options. This image has not been loaded. To print the images, close the print view and scroll to the bottom of the article.
Once all of the images have loaded, select the print option again. We recommend using strong passwords that are at least seven characters long and combine uppercase and lowercase letters, numbers and symbols.
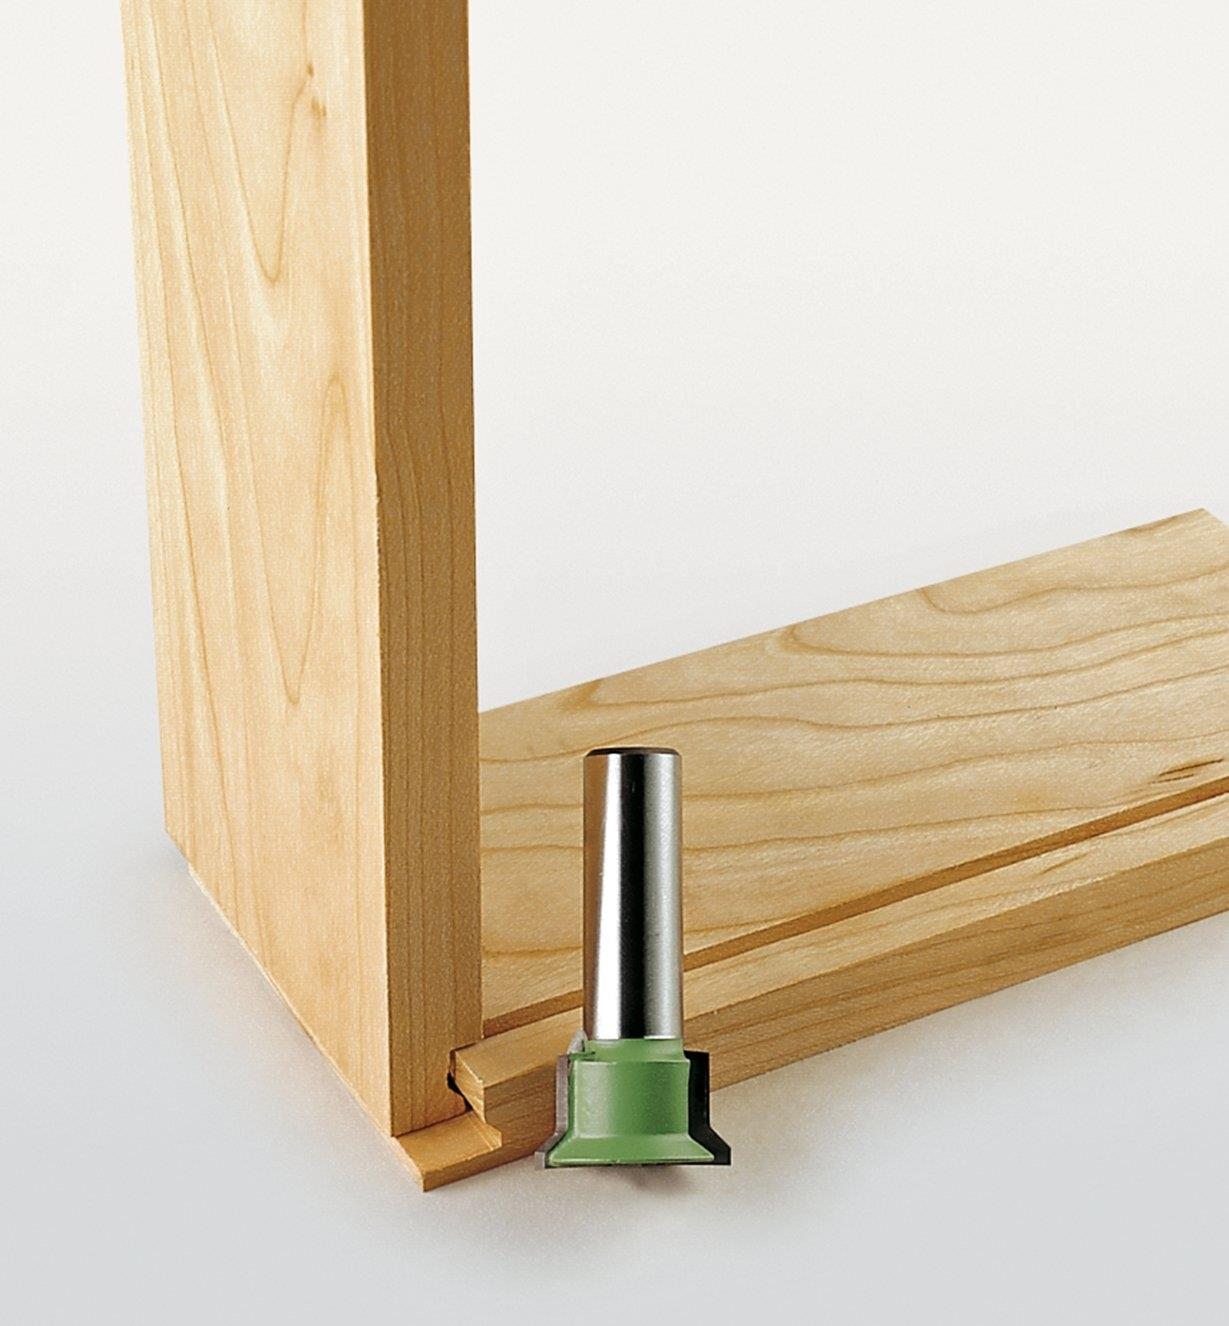
An Error has occured, please try again. Your session has timed out. With the drawer pieces ready, it is now just a matter of adding glue to the ends and then alinging and clamping the pieces. I slid in the plywood bottoms immediately, as they help with ensuring that the drawer box is square. Here is one shot showing a nice tight drawer corner joint.
The two drawer pieces lock together securely, and the joint is closed and flush. In the interests of full honesty, here is also a photo of one of my Fortunately this joint was at the back of a drawer where it will almost never been seen. Otherwise I would try to fill this with sawdust and glue to close the gap, or redo the joint entirely. Note that thet joint is still strong, it just is a bit ugly.
I suspect this might have been caused by those problems I had with the side pieces wiggling a bit while being cut on the router table.
And that is all for now. This article was just about a drawer joinery method. I hope you found something useful in this article! This is a simple drawer joint, and after initial setup you can cut out your drawer joinery very quickly. Note that the drawers are by no means finished at this point. This is just the drawer bodies. Later on I will be adding nice fronts to these drawers.
Thanks for reading. For more projects, going back years, please visit my woodworking web site at www. I love the comic relief you've integrated into the video As well as the educational part, considering the name of this place.


|
Wood-sanding-machine-bunnings-australia Kreg-precision-table-saw-fence-engine Build-a-frame-loom-design |

BRIQADIR
04.08.2020 at 10:38:37
ZEKK
04.08.2020 at 20:23:44
Winner
04.08.2020 at 17:20:56
hmmmmmm
04.08.2020 at 12:42:34
Joe_Cole
04.08.2020 at 23:39:52