Corner Clamps For Wood Queensland,Wood Boat Build Kits,Best Wood For Workbenches For Sale - Good Point
Whether you are making frames or building cabinets, corners will always have to be clamped if you want to make a solid connection with glue, screws, or nails.
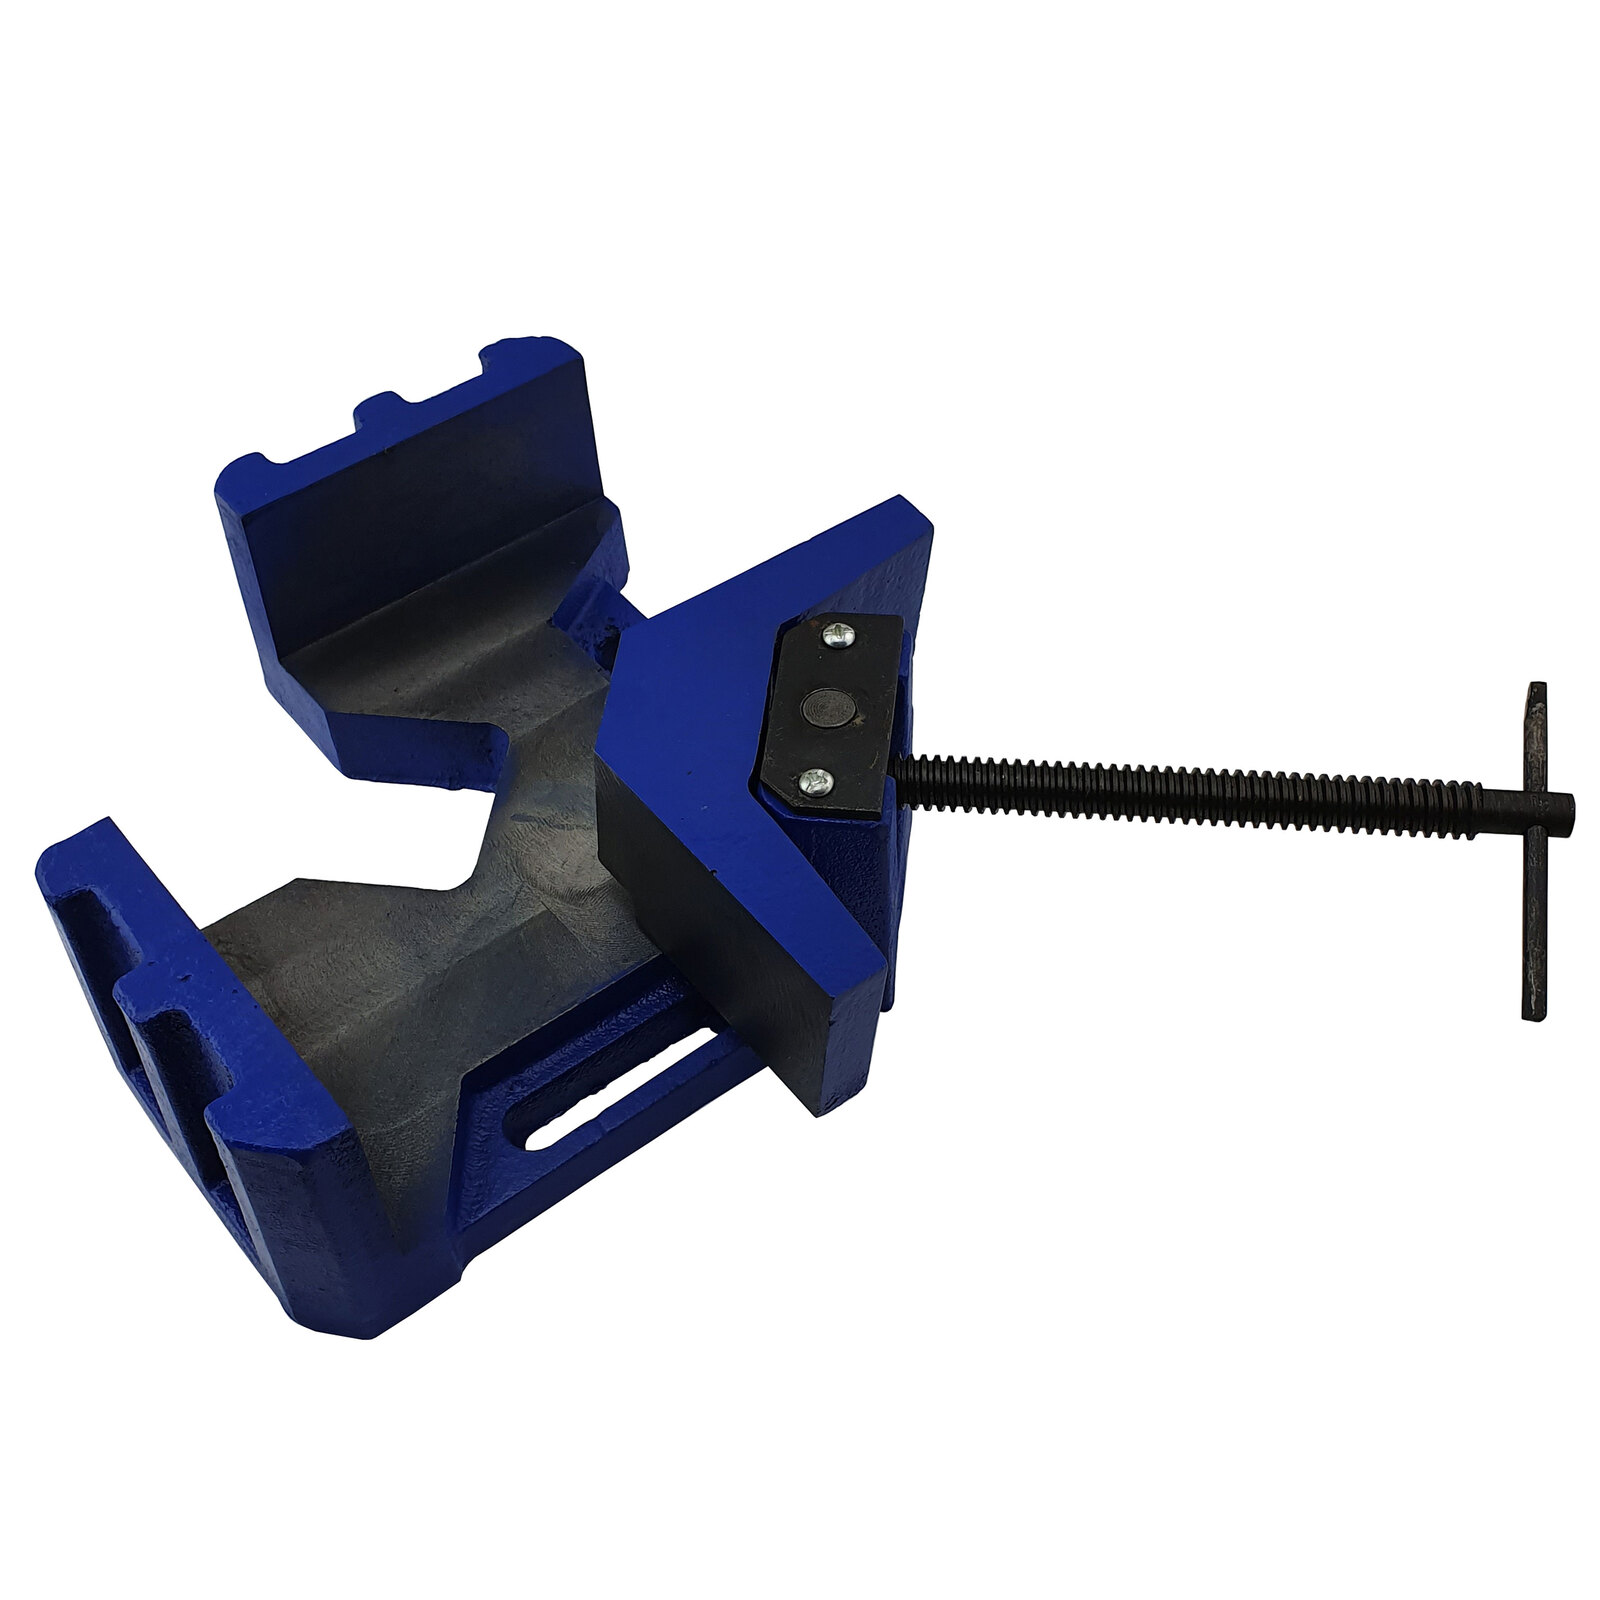
You can buy standard corner clamps like this one, but as a DIYer, it is always fun and challenging to corner clamps for wood queensland your own tools. Corner clamps for wood queensland this blog, I will show you step by step how to make these DIY wooden corner clamps, and how to apply them. The DIY wooden corner clamps that you will discover below have the extra advantage that you can use them when you want to combine 2 sheet materials of different thicknesses.
If you want to clamp corners, you want to do this in the simplest way and also be sure that there are no gaps at the connection. You can use multiple clamps and set up all kinds of constructions to clamp corners, but then your workpiece will soon be completely full of clamps, and corner clamps for wood queensland will become increasingly difficult to work on it. In addition, you will have to invest a lot of money in a large number of clamps. A much easier solution for clamping corners are these DIY wooden corner clamps.
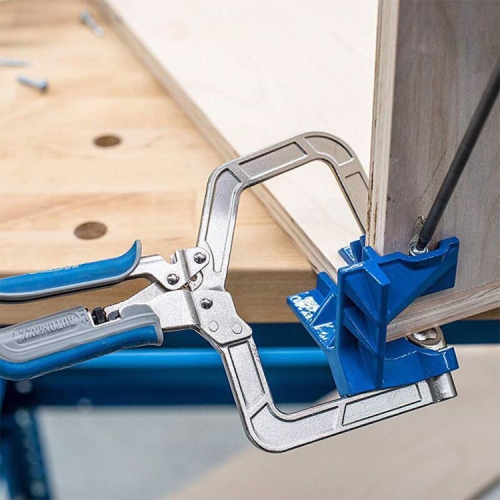
They are small, easy to build and use, and you can clamp different thicknesses with them, even if you want to clamp 2 different thicknesses of sheet material. All you need to do to clamp corners is to place the sheet material in the DIY wooden corner clamps, check that there are no gaps in the connection, tighten the clamp, and you are ready to screw or nail the corners.
Do you also want to make corner clamps for wood queensland DIY wooden corner clamps for your workshop? Then follow the step-by-step instructions in this blog and download the free plans.
In no time you will have made enough clamps for your woodworking projects. Pay attention! Only attach a corner bracket on one side, otherwise, you will not be able to insert the screws when you want to attach this part to the base of the DIY wooden corner clamps.
Find the center point on the baseplate and draw a line at an angle of 45 degrees. Then you place the part you just made along this line with the point perfectly in the center, so you can mark the other side. Tip: Be sure to watch my blog and video how I made my crosscut sled: The perfect crosscut sled?
Accurate removable zero clearance insert. Now you can attach the corner clamps for wood queensland with the corner bracket to the base of this DIY wooden corner clamps with screws. Once that has been done, you can also place the top corner bracket. This will make the DIY wooden corner clamps stronger. There will be enough space between these two corner brackets where you can screw when you will use the corner clamps.
You can see this in the video where I demonstrate how to use the DIY wooden corner clamps. Now that the base for the DIY wooden corner clamps is ready, the clamping system can be made. This requires different parts to both corner clamps for wood queensland the clamp and move the clamp to the desired angle for when two sheets of different thicknesses need to be clamped. To make the clamping system, start by connecting the 2 pieces of wood that will form the inside of the corner.
This piece will clamp the workpieces. To join these two pieces I used wood glue. To get around the drying time of the wood glue I used brad nails.
This allowed me to immediately continue working on this part. In my case, there was no hole in the corner of these corner brackets, so I drilled a hole myself. To make sure that the holes at the two corner brackets were drilled in the same place, I placed the corner brackets together to drill through. In the center of this small piece of wood, a hole was drilled with a Forstner drill bit which has a diameter that is slightly flatter than the nut.
This allows the nut to rotate freely in the hole. Do not drill all the way through the wood, but at a depth that is slightly deeper than the height of the nut. In the video you can also see that I am placing a washer in this hole, also provide sufficient depth for this washer. Be sure to watch my blog and video where I show you step by step how to build this DIY tilting drill press vise.
Then you can make the part where the threaded rod goes through. For this, I used 2 pieces of plywood that were glued corner clamps for wood queensland into a thicker block. The hole I drilled for this had a diameter of 10 mm, which corner clamps for wood queensland needed to place the t-nut. Unlike the hole in the hinged part, the hole can be completely drilled through. With the vice, you corner clamps for wood queensland press the t-nut corner clamps for wood queensland the drilled hole.
Do this slowly so that no cracks form. Tip: Corner clamps for wood queensland you want to see how I built this star knob jig and if you want to see a demonstration you can check out this video I made a while ago: Star knob jig for the drill press.
With wood glue and brad nails you can attach a 6 mm MDF piece to the bottom of the block with the T-nut. If you consider buying a nail gun, be sure to watch my blog How to choose the right corner clamps for wood queensland gun for your projects. A complete nail gun guide. I have used my nail gun for almost every project since I bought it, so I can highly recommend buying one. The nut and knob were fixed to the threaded rod with epoxy two-component glue. To mix the epoxy two-part glue I use a plastic spoon and mix the glue on a piece of masking tape.
The plastic spoon is easy to clean and the masking tape can simply be thrown away. One small trick I use is that I leave the masking tape to check how far the glue has hardened. In this way, the glued part can cure without me touching the parts with the risk of moving and loosening the glue again. Only when I am sure that the adhesive has cured sufficiently do I remove the tape.
Lately, I have been making a second video on how to mix epoxy glue. Make sure to check it out. It is a fun and educational video. While the epoxy glue is drying, the pivoting piece of wood can be attached between the corner brackets. In the video, you also saw that I tried a way to clamp the nut in this block with a washer.
However, this did not work with this system. A final step in making these DIY wooden corner clamps is to connect the clamping system to the base.
Make sure the head of the screw is countersunk and not over-tightened so that the part can swing left and right. Subscribe to my newsletter and be the first to be notified when I post new content on my website. If you want to clamp sheets of wood with the same thickness, make sure that the clamping system is in the middle of the jig. Corner clamps for wood queensland the two pieces of wood and clamp in place by tightening the knob.
If you want to clamp sheets of wood with two different thicknesses, you lift the clamping system to the left or right, depending on where the thinnest piece of wood is located. Building a workshop can be tough and involves a lot of trial and corner clamps for wood queensland. I know because I was there too. Thanks to the ultimate small shopI gained better insights into building a workshop not seen anywhere else. Stop spending your budget corner clamps for wood queensland the wrong things.
Let this fantastic training guide you and start saving money today. I already bought this personally and I have never seen anything better than this. Do you have an addition to this blog or an upbuilding comment? Feel free to let me know in a comment below. Contribute to our community and share your experience and knowledge with others so that we can all learn from each other. I hope this information was helpful and that this blog and video inspires you.
Let me know in a comment below. Feel free to share this blog on Facebook, Pinterest or other social media. You can do this by using the buttons below or at the top of the blog. I would appreciate that. The 3D model helps you to understand a project better. Choose an option. One of the advantages of being a member is that you get access to the 3D model files depending on tier. Your email address will not be published.
Save my name, email, and website in this browser for the next time I comment. Skip to content. Share this post with your friends. MOre corner clamps for wood queensland. Table of Contents. Watch the video to make these DIY wooden corner clamps here. Before we start building. To prepare you for building this project, I have made a few handy lists. Safety first!
Ear protection Dusk mask for woodworkers Safety glasses Work gloves safety boots Blaklader work pant Blaklader foam kneepads grey. Corner clamps for wood queensland plywood 18mm 0. Makita MLT table saw Watch my Unboxing video and my review video if you want to see more about this tool. Makita AFN Brad nailer. Watch my Unboxing video if you want to know more about this tool.


|
Cabinet Door Lock With Key Router Tool For Sale Near Me Woodworking Square Hole Machine Process |

Grow
14.08.2020 at 12:35:56
Sensiz_Olmuyor
14.08.2020 at 11:45:41