Woodworking Tools Marking Gauge Water,Laguna Belt And Disc Sander Zip,Plan Pour Chaise Adirondack - PDF Review

We noticed you are accessing from Canada. Change to Lee Valley Canada website to see content specific to that region and the best shipping options. This image has not been loaded. To print the images, close the print view and scroll to the bottom of the article. Once all of the images have loaded, select the print option again. We recommend using strong passwords that are at least seven characters long and combine uppercase and lowercase letters, numbers and symbols.
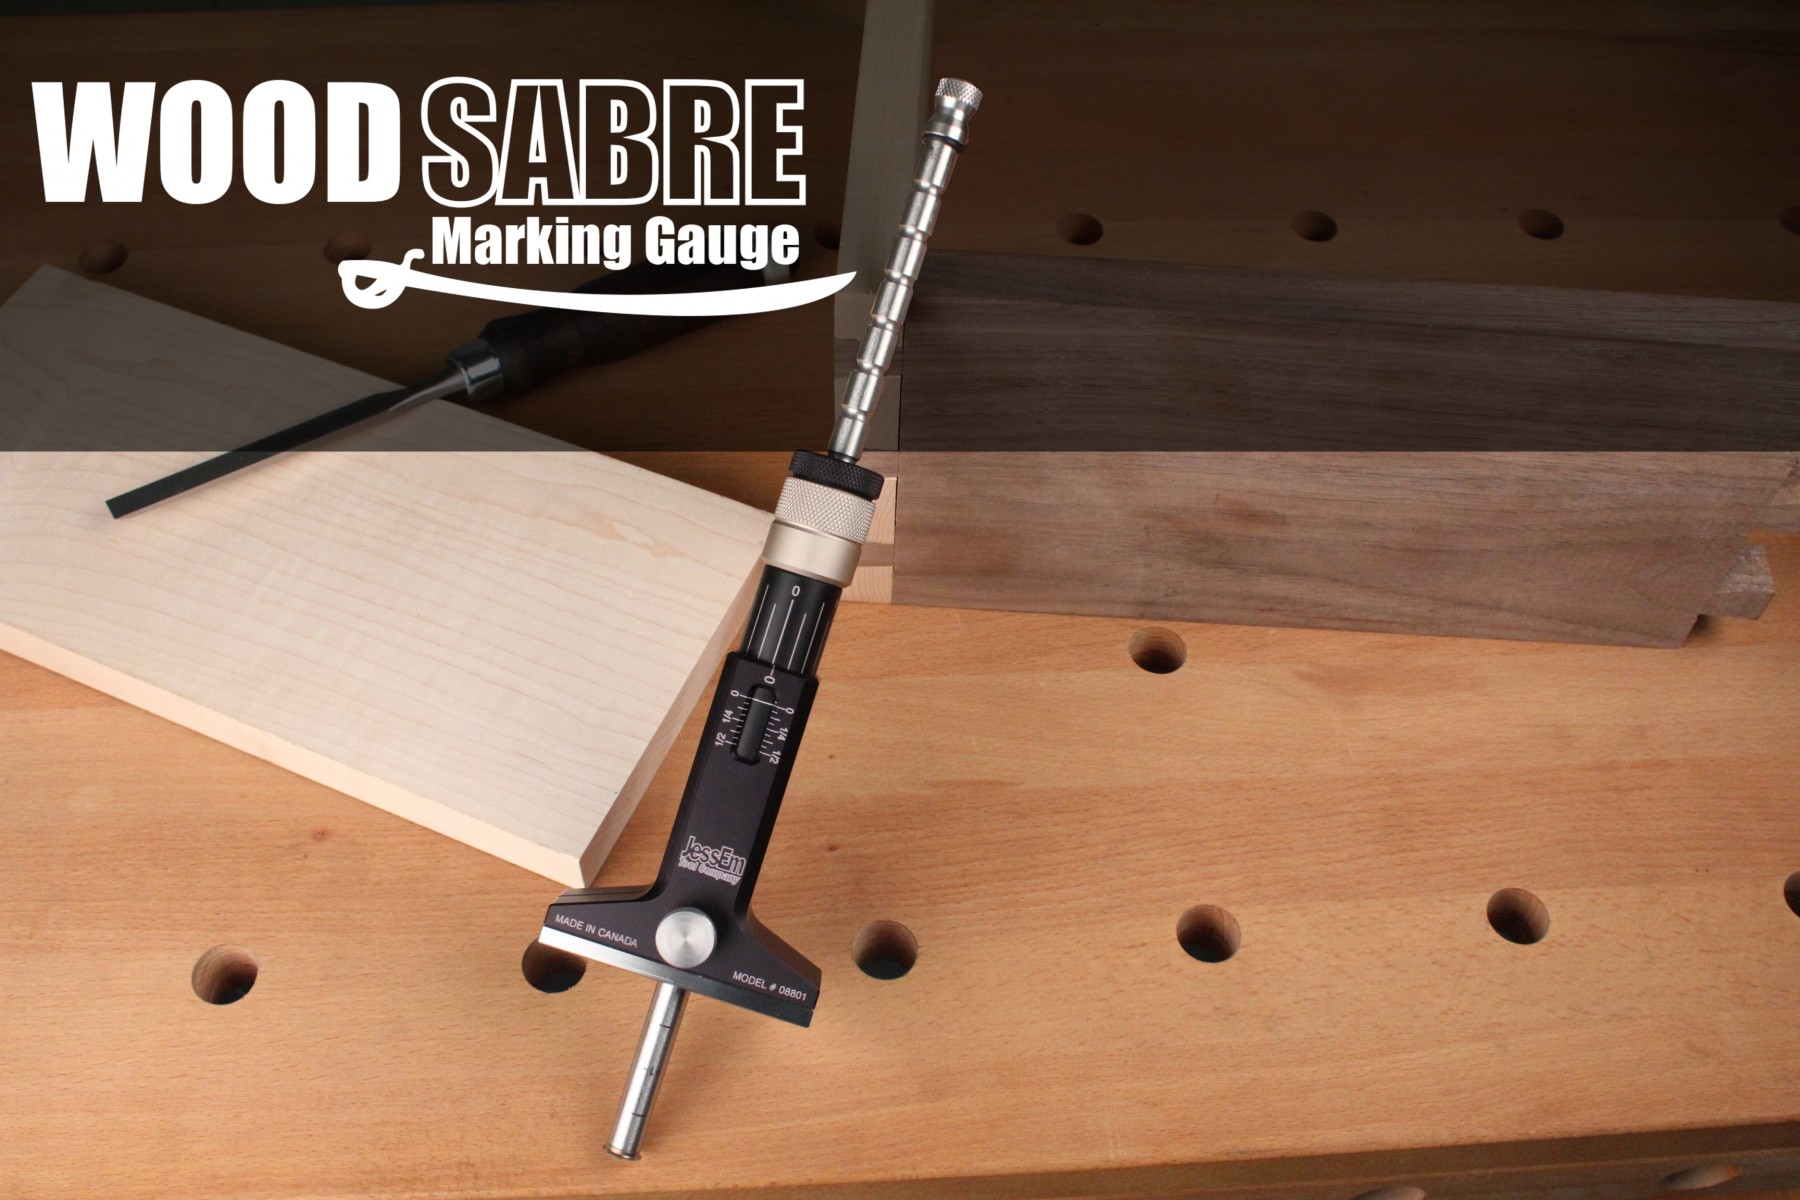
An Error has occured, please try again. Your session has timed out. Please sign in again. Sorry, your username or password is incorrect. Please check your spelling and try again. Learning how to use marking gauges pays dividends in the form of clean, precise cuts and good joinery.
Here is how you can make your marking gauge work smarter for you. Marking gauges come in different styles of cutting tips: a wheel cutter, knife or pin. Typically wheel cutters make clean lines both with and across the grain, and are easy to use when going around a corner. Gauges with a knife scribe are useful for laying out lines across the grain and end grain without tearing wood fibres, while pin gauges are best for making lines with the grain.
A scribed line also cannot be erased by accident. It is a great tool for repeating dimension lines. More important, a scribed line allows the edge of a tool to register in the line and make a precise cut or transfer, as in the case when a woodworker needs to transfer a line from one face to an adjoining edge with a marking knife. One more example is that we can make a gauge line on the face to mark the width of a workpiece.
After darkening the line, plane down to the line, checking the progress not only by sight, but also by the feel of the line. With a striking knife and a square, you can accurately transfer a scribed line to all other trued faces or edges on a workpiece.
Using Marking Gauges In general, hold the marking gauge with a light grip and let the sharp edge or point cut the line. Set the point or knife just long enough to mark; apply lateral pressure to keep the fence against the wood. Ride the gauge on the whole edge and not just the corner of the piece, a common source of error leading to inaccuracy.
Practise making a firm pass to create a deep enough line, but remember that the objective is to gauge and not gouge. I also prefer to scribe in one pass rather than two to avoid inadvertently making two lines due to slight movement in the gauge during the second pass.
If you need a hard grip to force a line, the tool is dull and needs sharpening. Left: For better control, position the knife or pin so that it protrudes just deep enough to scribe the desired line. Right: The fence is not riding against the full edge of the piece, causing inaccuracy in the marking.
Pins tend to tear fibres, leaving a fuzzy or ragged line. Instead, rotate the gauge slightly away from you and push the pin in a trailing manner.
If you pull, tilt the tool toward you and trail. Some woodworkers, Paul Sellers for example, re-drill the hole for the pin at a slight angle for better visibility and trailing effect. Tilt the gauge towards you if you pull and mark lines with the point in a trailing manner. Instead of using a conical point, Tage Frid filed a flat bevel on the spur, which does not leave a large V-profile typical of lines marked by a point.
Derek Cohen, a Woodworking Tools Marking Gauge 30 woodworker and prolific writer in Australia, ground a HSS rod in a similar manner into a spur for his shop-made marking gauge. The knife is set and aligned parallel with the fence to avoid dragging and tear-out Photo by Derek Cohen.
If you need to mark a line to a precise point to lay out a hinge recess, for Woodworking Hand Tools Marking Gauge Zone example , author Robert Wearing offers a nice trick: stab the stop point on the line firmly with the spur and scribe the line till the spur drops into the small hole. Also called a cutting gauge, a gauge with a knife slices the Woodworking Tools Marking Gauge Networks wood, leaving a crisp line.
You pull it like a pin gauge in a trailing fashion. I learned a fence adjustment trick from a retired woodworker: slide the fence close to its final position and tighten the thumbscrew only lightly. Then gently tap either end of the stem on a hard surface to fine tune the fence setting before securing the screw. Normally, I can get a clean line across the grain with just one pass of the knife gauge. Occasionally, to keep the knife from following the grain, I Woodworking Marking Tools Uk Research would make a light pass and then make a second, deeper layout line.
Of all the gauges, a wheel gauge has the shortest learning curve. You can use a wheel gauge with pull or push strokes. Sometimes, the cutting disc may follow the grain, such as, for example, when the grain lines approach the reference edge. The remedy is to work the gauge in the opposite direction. For gauging a line far from the reference side with the stem extended, I use a three-finger grip.
I place my index finger on the stem to steady the travel, with my thumb and middle finger behind the fence as I draw or push the tool. The Marking Gauge Is Not Just for Gauging In addition to its function as a marking tool, you can use a marking gauge for many other tasks.


|
Whetstone Sharpener Grinder Flask Hickory Hardware Dresser Pulls Zero Jet Planes Book List Popular Woodworking Bookcase Plans |

maulder
02.01.2021 at 19:43:49
JUSTICE
02.01.2021 at 18:55:10
LorD
02.01.2021 at 20:42:49
ADORE_MY_LIFE
02.01.2021 at 22:14:59