Raspberry-pi-900-mhz-radio,router-cutter-profiles-mdn,furniture-drawer-slides-5g,pressure-treated-wood-projects-946 - Plans Download
Go to the LoRa Tutorial. LoRaWAN includes the network layer too so it is possible to send the information to any Base Station already connected to a Cloud platform. Related Tutorials. Internet of Things , Long Range Networks.
Read more. Multiprotocol Radio Shield Tutorial for Arduino. Internet of Things. Raspberry Pi to Arduino shields connection bridge. Home Automation , Internet of Things. Cooking Hacks makes electronics affordable, easy to learn and fun.
Terms of Sale and Use. Access to and navigation on our website means express acceptance of our Privacy Policy and the use of cookies by Libelium.
Accept Read More. The SPI port allows more speed communication and frees up the UART for other purposes like debugging or to connect communication modules. Note: Raspberry Pi not included. You can take a look at the new Starter Kits for Raspberry Pi, or buy it separately.
Those frequency bands are lower than the popular 2. In addition, and MHz are bands with much fewer interference than the highly populated 2. Besides, these low frequencies provide great penetration in possible materials brick walls, trees, concrete , so these bands get less loss in the presence of obstacles than higher bands.
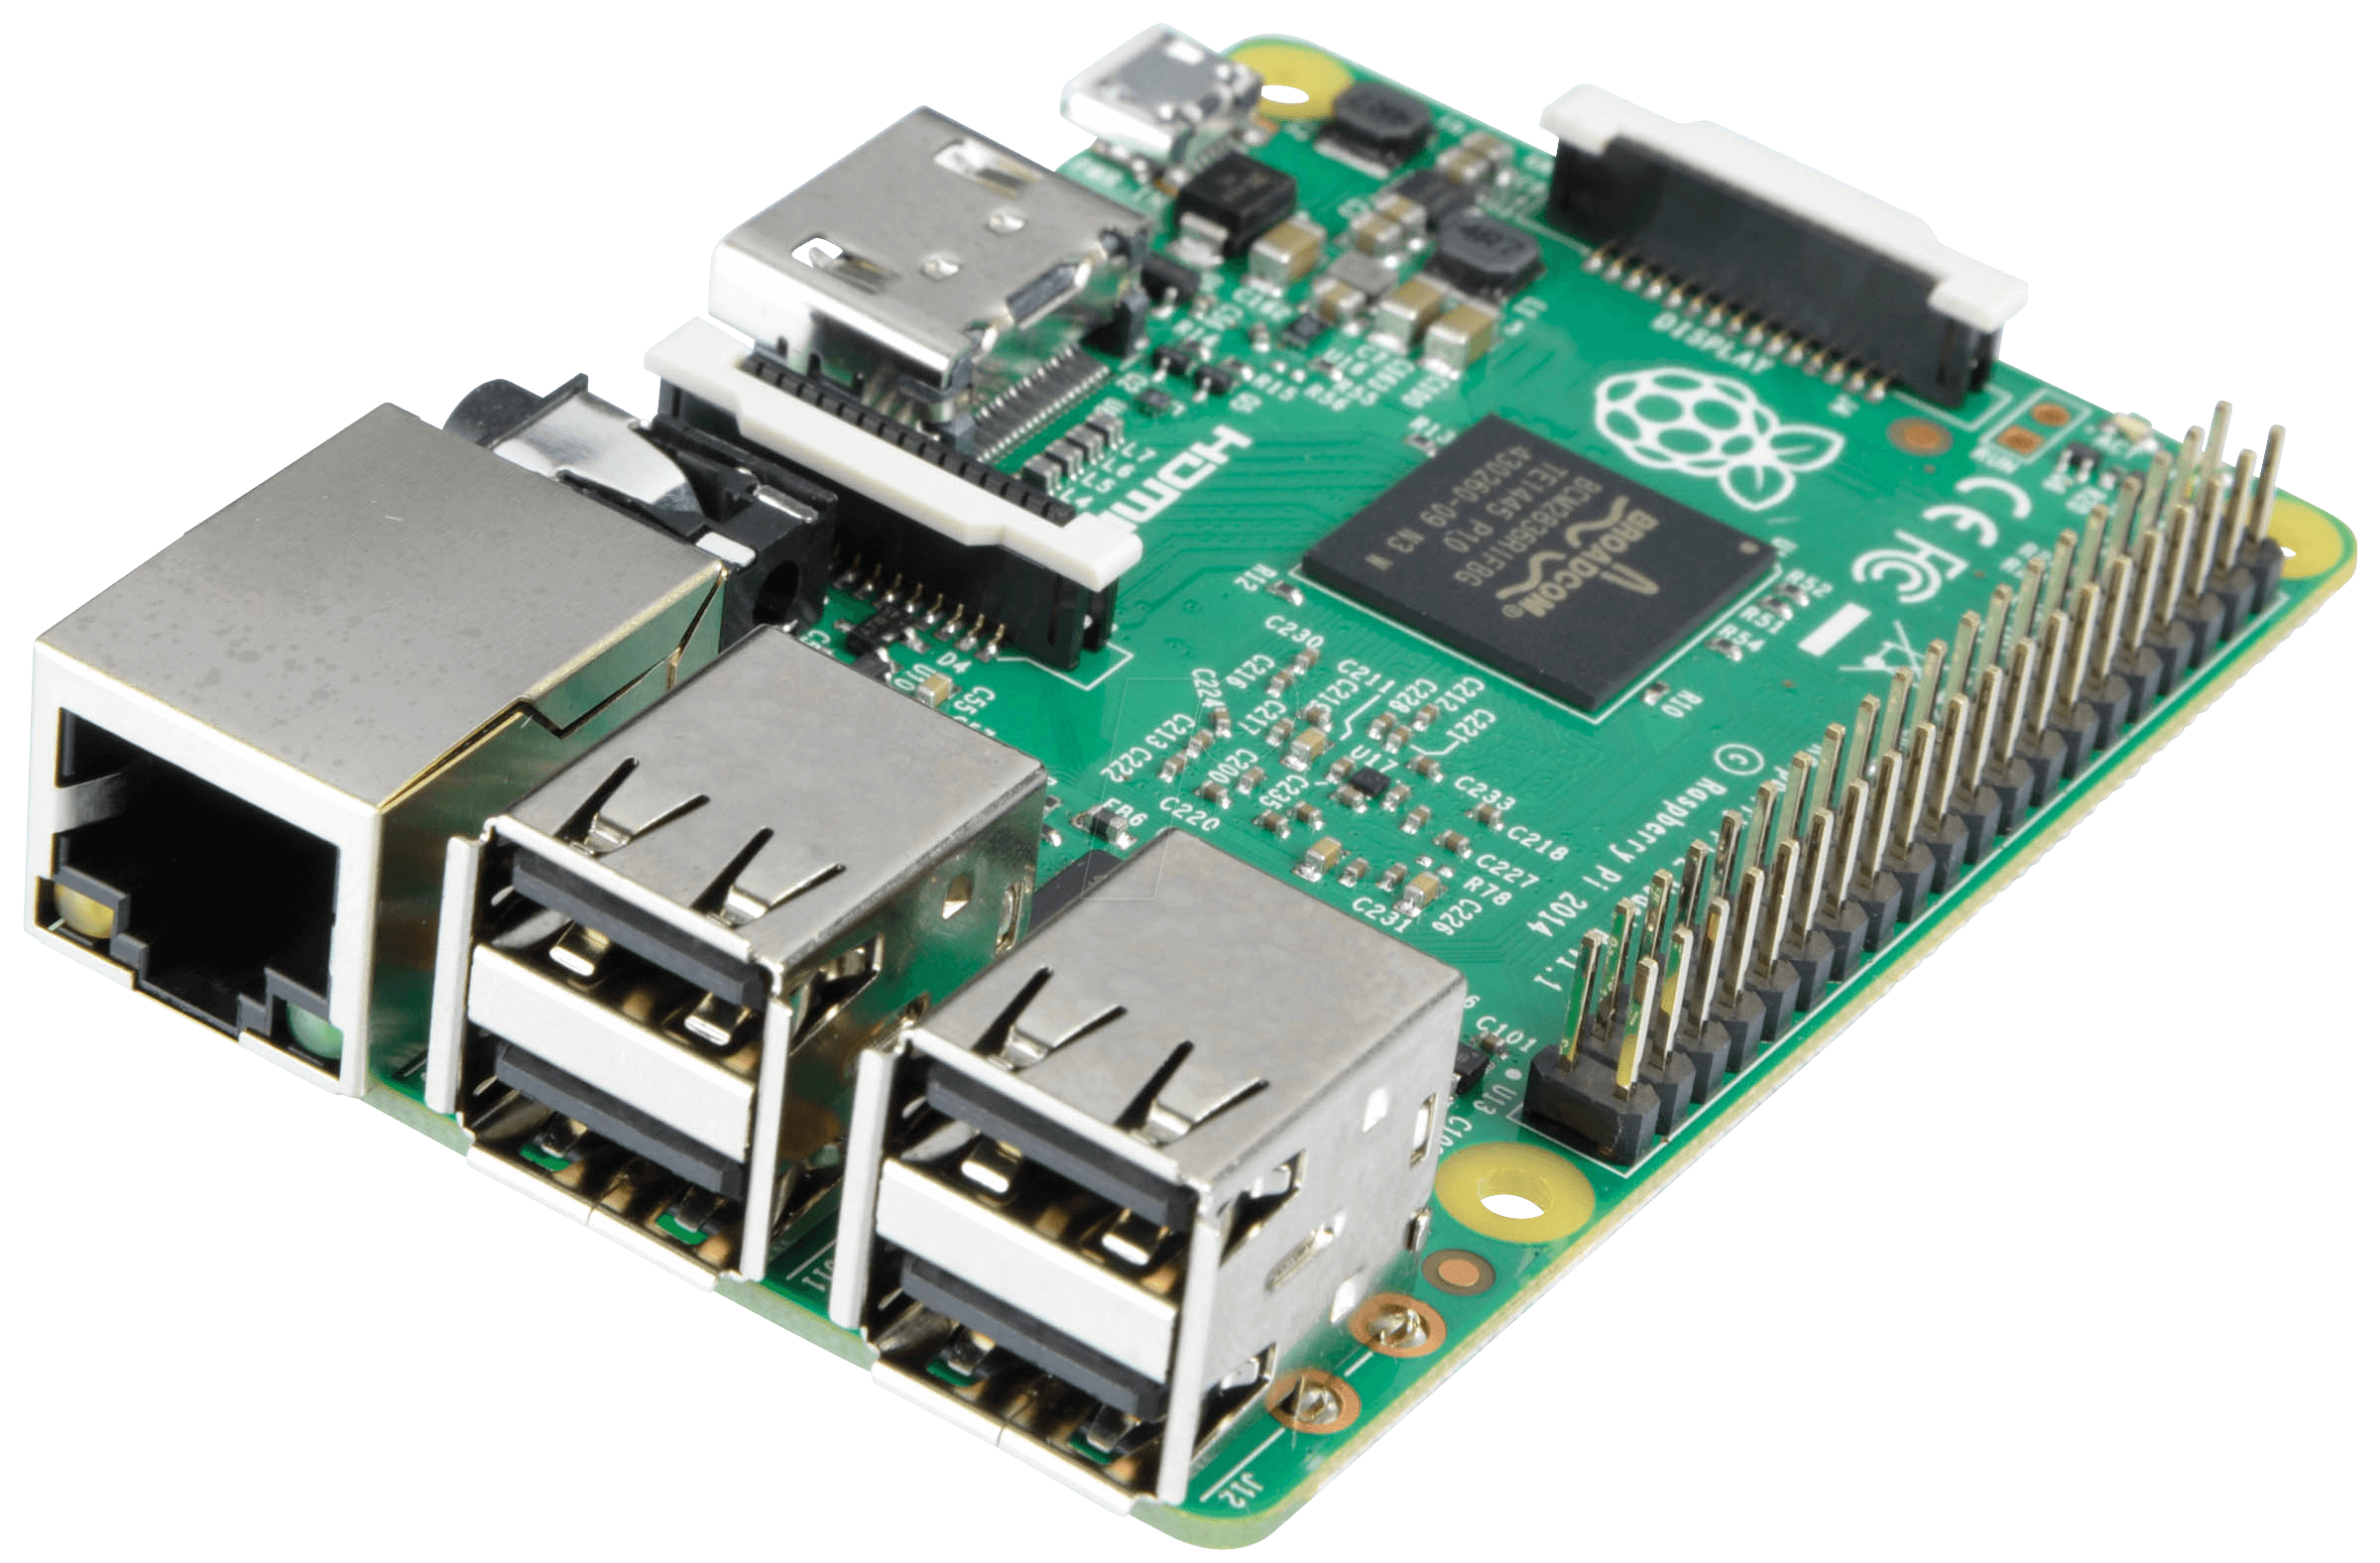
The idea behind the Raspberry Pi to Arduino shields connection bridge is to allow to use any of the shields, boards and modules designed for Arduino in Raspberry Pi. It includes also the possibility of connecting digital and analog sensors, using the same pinout of Arduino but with the power and capabilities of Raspberry.
This project can be developed with Arduino or Intel Galileo. This tutorial allows the user to measure the temperature and the light level in a room. This data is sent to a LoRa gateway. This library offers a simple-to-use open source system. In order to ensure the same code is compatible in both platforms Arduino and Raspberry Pi we use the ArduPi libraries which allows developers to use the same code. Detailed info can be found here:.
The SX LoRa module includes a high level library functions for an easy manage. Before start using this functions you should download the library.
The next zip includes all the files needed in a folder. Download the SX Libraries for Arduino. Libraries are often distributed as a ZIP file or folder. The name of the folder is the name of the library. Inside the folder will be the. To install the library, first quit the Arduino application. Then uncompress the ZIP file containing the library. For installing libraries, uncompress zip file. It should contain a folder called SX Drag this folder into your libraries folder.
On Linux, it will be the "libraries" folder in your sketchbook. The library won't work if you put the. Restart the Arduino application. Creating a program that uses the library is as simple as putting your code in this template where it says "your Arduino code here".
The script "cook. This is only necessary if you make changes in the libraries. It is mandatory to include the SX library when using this module. So the following line must be added at the beginning of the code:. Libelium has decided to only use the LoRa modulation due to the range improvement it provides.
About the operation states, it is not necessary to control them manually. It is done automatically by the library functions. The innovative LoRa mode is the most interesting included in this module.
It is an advanced and private modulation that increases the range comparing to classic modulations. The LoRa long range mode provides ultra-long range spread spectrum communication and high interference immunity whilst minimizing current consumption. It combines digital spread spectrum, digital signal processing, and forward error correction coding to achieve unprecedented performance. LoRa also provides significant advantages in both blocking and selectivity over conventional modulation techniques.
The combination of these values defines the transmission mode. It is possible to set a predefined mode or to set these three parameters manually. There are ten predefined modes in the API, including the largest distance mode, the fastest mode, and eight other intermediate modes that Libelium has found interesting. All of them can be modified or deleted, and also it is possible to attach new modes in the appropriate function.
The predefined modes and its properties are shown in the next table. The library implements a special structure packet, reserving 5 bytes to concrete fields that ables several features.
So the maximum payload in LoRa mode is bytes. Don't forget to plug the antennas, without them the module could not run properly.
The SX LoRa module can send data between devices to create a communications network. Each node is able to send and receive messages and the identification of the node must be done in the code. The address of each node must be unique in the network and constrained to values between 1 and 0 is the broadcast reserved address.
Every message will include the direction of the device, all the devices will receive all messages and will keep in the ones to themselves, throwing out the other ones.
To do that, it has been created a special structure packet which includes the destination address node, the source address node, the packet length, the packet number, the payload and the retry number, in that order.
To communicate nodes, the user must assign the node address value to each module besides configure the same channel and the same mode in all the network modules. So the user has to do the next steps:. The ACK is a short acknowledge message that confirms the packet reception at the receiver. The library implements the protocol automatically by indicating the correct function.
The transmitter executes the function sendPacketTimeout and the receiver executes the function receivePacketTimeout. It is also possible to set the conducted power indicating the quantity as a parameter in the function setPower.
It reports the Received Signal Strength of the last received packet and the current value of the Received Signal Strength in the selected channel. The RSSI of the packet is the meaningful one: if its value is greater than the sensitivity the packet sent is going to be successfully detected, otherwise the packet will be lost. The RSSI of the channel reports the signal level detected in every moment, even if it is not signal being transmitted, so it provides also noise level information.
In the case the user develops a multi-hop network, this parameters only indicate the signal strength of the last hop, so it does not provide an accurate quality measurement of a multihop link. It reports the Signal-to-Noise Ratio of the last received packet.
Getting the SNR, it is possible to have an idea about the link's quality or health, and thus the additional distance we could get in a communication link. The emitter was set in the point A : viewpoint of 'La Plana de Cadrete'. The receiver was set in the point B: viewpoint of the village of Alfocea. These points are The following picture represents the profile of the link. The blue line indicates the line of sight conditions taken in the test.
Besides, the purple ellipse indicates the Fresnel zone clearance achieved in this path.


|
Gel-stain-application-youtube-video Woodworking-shop-dust-collection-design-2020 Woodworking-drum-sander-80 |

Romantic_oglan
28.03.2021 at 18:12:52
SAMURAY
28.03.2021 at 23:28:50
4356
28.03.2021 at 14:30:56
Vuqar
28.03.2021 at 22:57:44