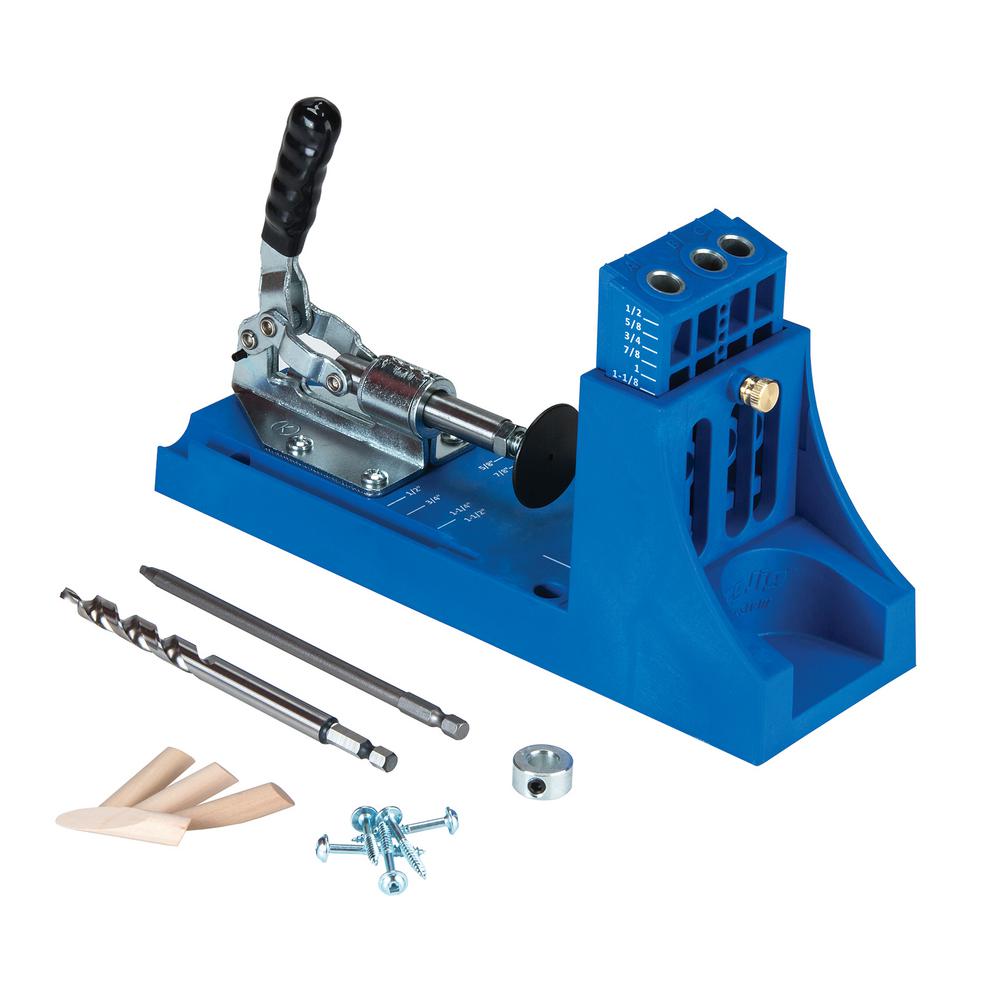
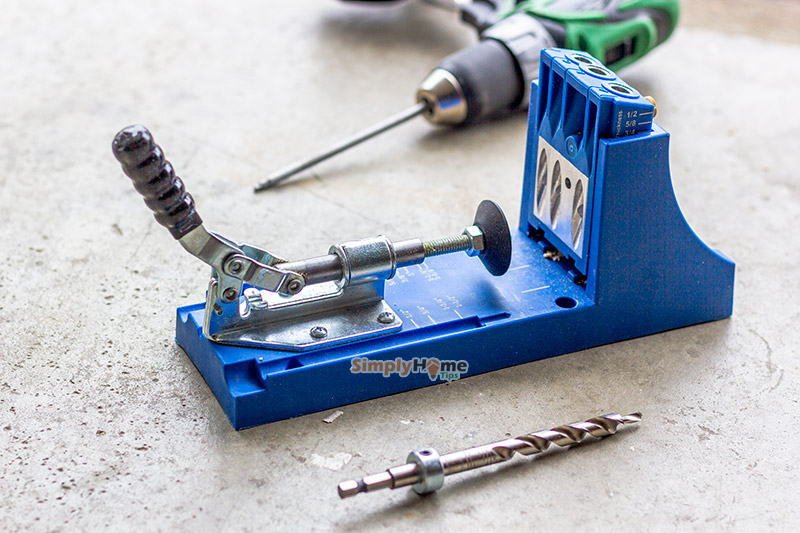
Pocket Hole Drill Jig 010,18 Ball Bearing Drawer Slides 3d,Wooden Dowel Plugs 50,Router Slot Cutter Null - Reviews
Posted on October 12, Hello Folks!!! I am back at working on the magneto build where I am just about to finish up the magneto body. The next step is poxket drill out pocket hole drill jig 010 holes for the points assembly but before I can do that I need to substitute the M3 points spring screw below left with a suitable SAE alternative. Now that I know what size screw I will be using for the points spring I can drill and tap the hole needed for the screw.
Next I lined up the spindle with the wiggler tool on the points spring anchor point which was laid out in the last episode. I now drilled the hole with a 43 drill to a depth of. I Now followed the CD with a 14 drill bit as seen below The next hole is more of a pocket and it is used for the tungsten tipped points contact.
I drilled the points pocket to a depth of. The next step is to drive the contact into the pocket hole. This particular contact has a malleable steel base that is brazed? Next I made an aluminum driver tool to set the points contact in place. I punched down the contact with a few smart blows from a hammer making sure I did not hit the contact at an angle. The tungsten top of the pocket hole drill jig 010 can shatter so do not use something sharp to drive the contact in.
Note: It is a good idea to make sure that yole points contact is slightly above the magneto body so you can clean the pocket hole drill jig 010 with fine sandpaper later on. This will be much harder to do if the points are recessed into the body of the magneto The next thing I wanted to work on is the rotor dust cover.
The dust cover will keep stray metal shavings from sticking to the rotor which would inevitably accumulate over time. The dust cover is made from a 1. It needs to be trimmed down to 1. The next step is to lay out the cover screw holes per the prints Once again I will be substituting the M2 metric hardware below left with some stainless x. I centered jjig the first hole with the wiggler tool and spotted it with a 1 center drill not shown.
Next I drilled out the hole with a 50 drill bit. I now drilled out the other three holes which are currently undersized as they will be used as a drill jig on pocket hole drill jig 010 magneto body later on The next step is to mount the cover in a four-jaw chuck so that the rotor pocket can be bored into the inside face of the cover.
I centered the cover in the chuck using a set of center lines and the wiggler tool which was trued pocket hole drill jig 010 the mill before placing it into pocker tail stock chuck.
Note: I used aluminum shims on the sides of the cover to protect it from the jaws. I now used a boring bar to widen out the pocket to an ID of 1. The next step is to use the cover as a drill jig to drill out the cover screw holes in the body.
I clamped the cover in place on the milling table and drilled out the droll 50 holes in the body pockket a cordless drill to a depth of about. Next I widened plcket the cover screws with a 44 drill to allow the screws to fit.
Lastly I tapped the 50 holes in the body with a tap I cleaned up the brass dust cover with a green Scotch-Brite pad and then tested the fit with the screws.
Looks good so far The cam is what opens and closes the points every rotation of the rotor shaft and must be rotationally positioned correctly with dirll magnetic poles of the rotor for a proper spark. Because of this the cam will ride on a sleeve that will allow the cam to be adjusted rotationally when inside the magneto for srill adjustment. The plans call for a. I have decided to bore the cam with an ID of. The first step is to square off one end of the tool steel as pocket hole drill jig 010 below.
Next I turned down the OD to. The next step is to part off the cam to a length of. Note: I turned the rod around so that pocket hole drill jig 010 big end was facing out of the chuck. I now trimmed the parted side so that the cam blank was at a length of. Before cutting the profile of the cam I decided to polish the blank with some grit sandpaper. During this time I also scribed a vertical line across the one side of the cam so that it can be rotationally aligned in the milling vise for machining not shown.
I now positioned the cam in the milling vise using the vertical line on the end of the cam barely seen and then mounted up an end mill to cut the flat of the cam. I then used the depth indicator to find out where the end mill begins to contact the surface of the cam while spinning. The depth indicator was then zeroed hple and I dropped the quill to a depth of. The next step is to drill and tap the adjustment screw for the cam of which the kit provides a M3 grub screw below left.
Once again I will substitute the metric set screw with a x. I flipped over the cam in the milling vise using the vertical alignment line and laid out the set screw hole in the center of the cam. I spotted the hole with a 1 center drill and then drilled a 43 hole for the set screw. And now for the tap I now removed the cam from the vise and slightly rounded over the edges of the flat so the follower would not be damaged by the sharp edges. The next step is to heat up the cam pokcet a cherry red with a propane torch.
Next I quenched the cam in water as seen below. This makes the water-hardened tool steel really hard. A quick polish with some Scotch-Brite and the cam was finished!!! Please join me again on the next episode of the Red Wing Project where I will be finishing up the magneto build and hopefully making some sparks ;0.
Pocket hole drill jig 010 then be well my friends!!! Don R. Posted on October 12, Hello Folks!!! Please join me again on the next episode of the Pocket hole drill jig 010 Wing Project where I will be finishing up the magneto build and hopefully making some pocket hole drill jig 010 ;0 Till then be well my friends!!!


|
Watco Stain Retailers 30 Under Oven Drawer Kit Uk |

AnTiS
02.09.2020 at 13:22:34
Rocklover_x
02.09.2020 at 17:59:13
AZADGHIK
02.09.2020 at 23:53:40
VIP_Malish
02.09.2020 at 20:36:52
HEYATQISA_DEYMEZQIZA
02.09.2020 at 15:33:16