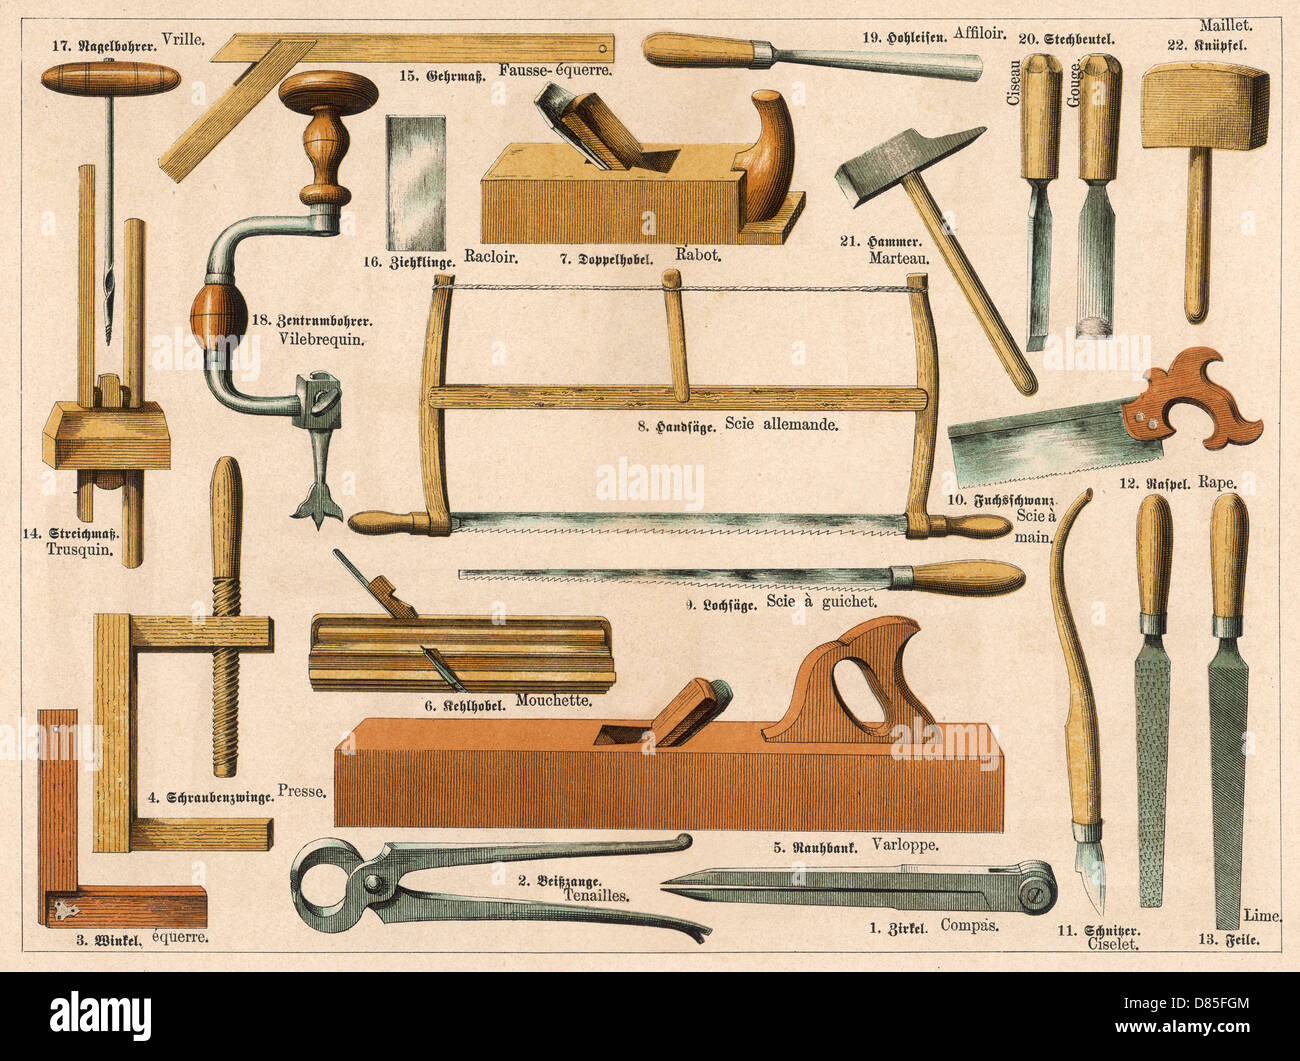
Joinery Hand Tools,Shop Aprons For Woodworkers 30,Drill Master Pocket Hole Jig Vs Kreg Ti - Step 3
This repetition in context will improve your skills faster than any practice work you can dream up. I like Pine as much as anybody. Therefore the Pine forests are managed for this type of production. The material is often rushed through seasoning and will add all kinds of headache to the milling process.
You will be better served to spend a little more and buy a hardwood. These woods will be harder obviously and they will give you a much better sense of how hand tools work with harder woods. Pine and other softer woods can actually cause more problems for someone just learning to sharpen their tools too since soft woods require an even sharper edge.
Reclaimed and pallet wood is popular today but I urge you to avoid it on this first project. You are adding a variable that could be avoided and could just lead to frustration.
Challenge is good and it will improve your skills, but stock quality if not a challenge that I think the beginner should have to face when the cost per board is not that much different from Pine to Cherry or Walnut. That stuff is dirt cheap for a reason. Skip a couple trips to Starbucks and I bet you could easily cover the cost difference.
When choosing the wood for your project, choose it for the color you want to end up with. Make your life easier and plan to use a clear coat finish. Finishing is a skill unto itself and it is one more variable that can sour your experience. These above concessions will severely limit what you build in your first trip out but that is the point. At the same time there are infinite variations that can come from this kind of blank slate project that allow for creative license.
If not during this first build, perhaps on the second or third build where you opt to add in some complexity.
With these in mind I suggest the following projects. The top will teach you how to plane and join boards into a wider panel which is probably one of the most fundamental of processes in furniture making.
Everybody could use a bookshelf. Focus on one that is but no more than 4 shelves. Anything taller and you add in complexity with working with longer stock. You will get a bunch of experience gluing up panels and I would urge you to buy stock that is specifically narrower than your shelves to get this experience. You can choose to build the entire thing using dados or you could build it all with mortise and tenon joinery. Fix at least one shelf in the middle and make the rest adjustable or make them all fixed and increase the number of joints you have to cut thereby increasing the learning experience.
A bookshelf is really the perfect blank slate project and there are hundreds of directions you could go to embellish it from the basic carcass. This could be as simple as a dovetailed box that hangs on the wall or something that uses through tenons, miters, or even just dados and rabbets.
It will teach you to plane stock flat and square and possibly to glue up panels. It will teach you to make a box that is square and again will allow you to focus on single joint, repeated at least 4 times.
A stool can be build with square joinery much like a box but often times these forms require angles off square and usually compound angles. What you will find with hand tool work is that compound angles cuts are made exactly the same as square cuts. Layout the line and saw or plane to it. A stool can be built using nothing but mortise and tenons, or you could choose to make round tenons with wedges.
You will also invariably need to glue up a panel for the seat and therefore get experience with another essential skill. Or consider the iconic Shaker step stool which just comes down to dovetail work and making panels. This is the beauty of woodworking in that we can choose to build whatever we want and customize it however we want. Whether you are using shop-made loose tenons or you purchase them premade, you will have to decide how wide the mortise will be.
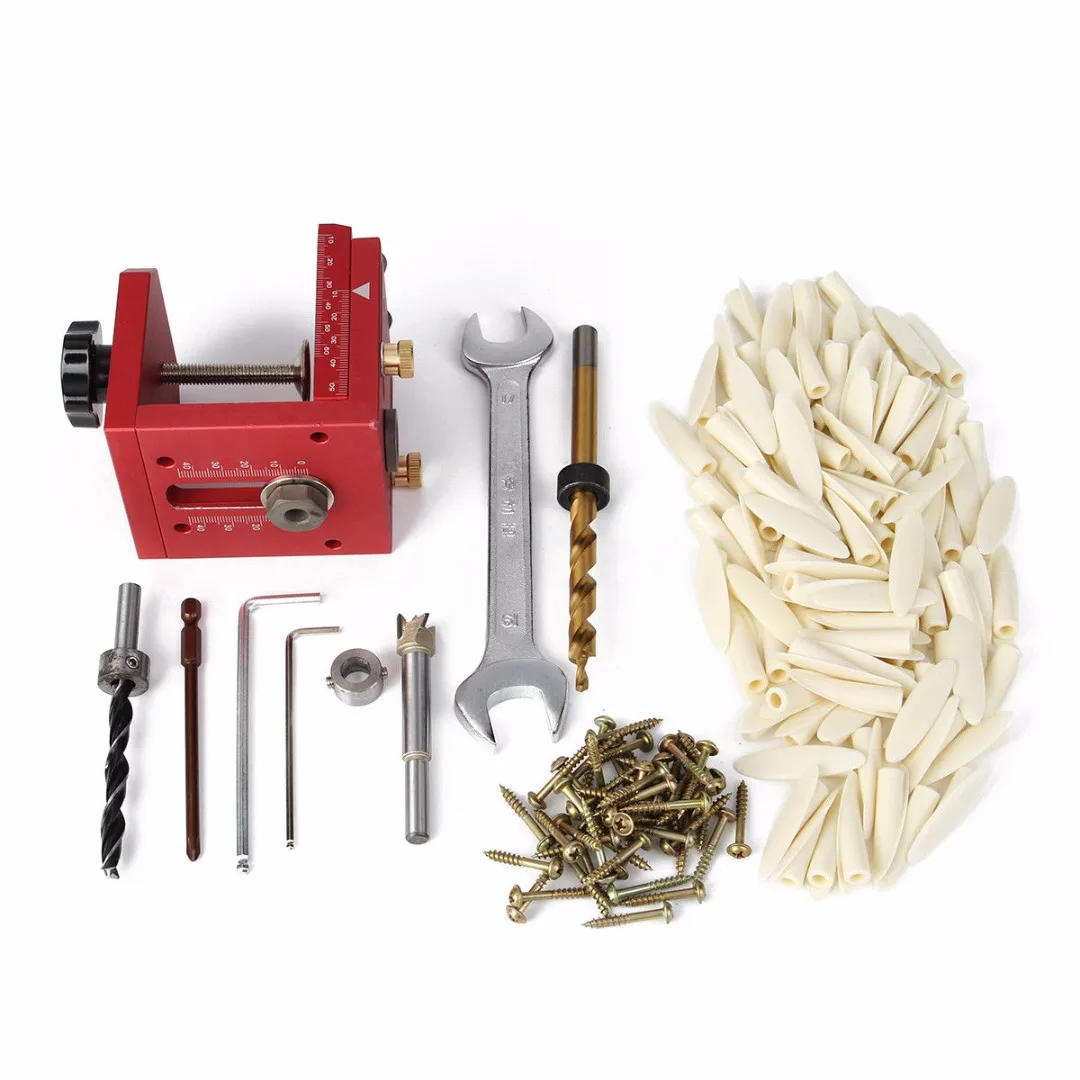
The width of the mortise is determined by the placement of the Width Stoppers that are screwed on the top of the platform. First mark out the desired width of your mortise onto a workpiece making sure to also draw a center line. Then line up that center line with the center line that is built into the inside face of the jig. Using a Dovetail Clamp in the dovetail slots, clamp that piece to the fence.
Now, remove the guide bushing from your router baseplate so you can easily see the router bit. Slide the router over so the edge of the bit lines up with the edge of your desired mortise width.
Then lock down one of the width stoppers on top of the platform. Repeat the process for the width stopper that is on the other side of the platform. Just an FYI, the width of this mortise should be ever so slightly wider than the width of the loose tenon you plan on using. Typically the depth of the mortise will be a little bit deeper than half the length of the loose tenon you are using to make room for some glue.
You can easily set this up using the depth stop function on your router base. Plunge the router down until the router hits your workpiece. Then use a spacer bar, like brass set up bars or just a scrap of the correct thickness to set the depth setting.
If you are working with multiple pieces, you only need to do this set up process one time! Mark a line that goes across both pieces you want to join together. Line up the center line from one of your workpieces with the center line that is scribed on the underside of the jig.
If you are routing multiple pieces for a project you can add stops to the fence so all the mortises will be routed in the same exact location on all your parts. Slide your router to one side, then plunge to full depth making a starter hole. Bring the router back up and slide it to the opposite side, plunge it all the way down to make a stopping hole.
Now you can connect those two holes by taking shallow passes until the whole mortise is routed. Now clamp the mating piece to the fence by using the center lines again or by using the a fence that you set up. If done correctly, the loose tenon will be perfectly placed to join the two pieces.
If you make additional fence pieces that are rounded on one end, you can even make positive stops for angled pieces. You can just clamp your workpiece to a vise and then clamp this jig onto your workpiece. Or you can simply clamp a board to your bench then clamp the jig directly to that board. Notice the picture below how you can also use the tracks in the bottom of the platform for clamping down a workpiece.
Collapsible Bandsaw Bowls. Adjustable Dado Jig. Geometric Veneer Record Player Stand. Sunburst Veneer Guitar. Hand Tool Sharpening. Interlocking Puzzle Joint. Pool Toy Storage. Modern Storage Bench. Multi Function Cross Cut Sled. Marble Solitaire Game. Skip to main content. Cut perfect rabbets with a router bit. Facebook Pinterest Twitter Text.
Printer-friendly version. Read more about Joinery , Routers or Doors and Drawers. More Joinery All Joinery. Half-laps by Hand and Machine. How to Handcut a Tenon. For more related content, subscribe to our newsletter! Turn a Gimbal Clock.


|
Timberwolf Bandsaw Blades 115 Spec Rockler Blum Drawer Slides Css |

Ubicha_666
04.09.2020 at 11:26:25
saxo
04.09.2020 at 18:37:57
heyatin_1_ani
04.09.2020 at 12:17:59
LadyWolf
04.09.2020 at 20:18:56
krassavitsa_iz_baku
04.09.2020 at 23:53:38