Diy-wooden-clip,pocket-hole-jig-drill-press-review,simple-wood-projects-to-make-and-sell-university - Good Point

I learned this the hard way! I applied 2 coats with about a 45 minute drying time between the coats. Step 9: While waiting for the final coat of the polycrylic to dry, spray paint your clipboard clips and screws with the metallic gold spray paint.
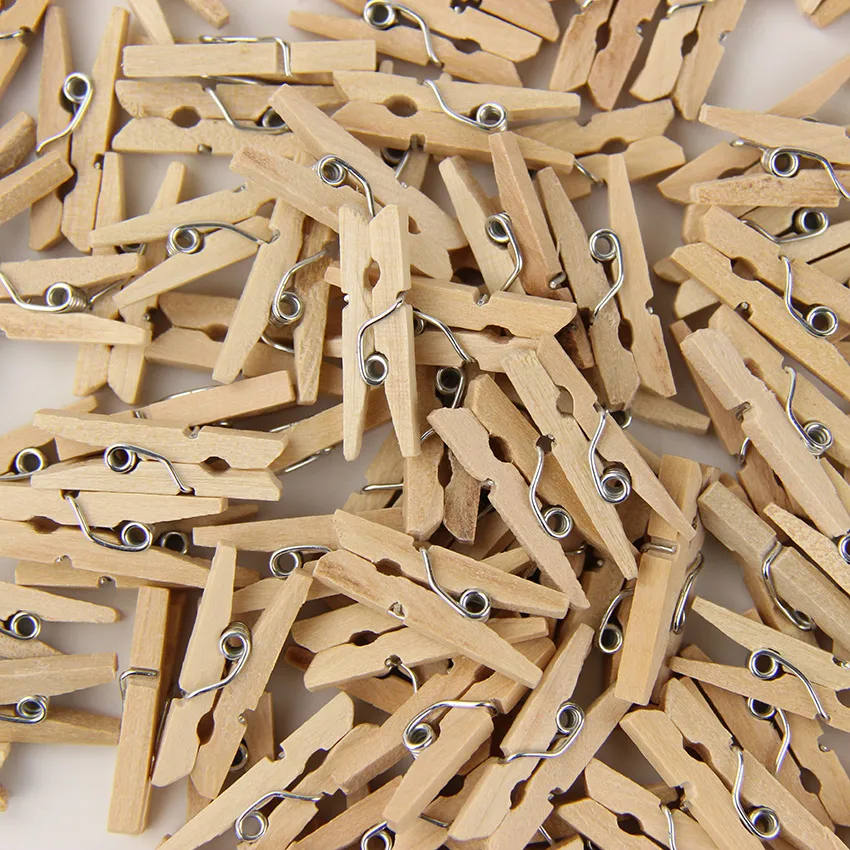
This is optional! I wanted my clip to match the gold paint. I also popped off the black rubber corners and placed them back on once the clips were completely dried. I purchased my clip board clips online but you can also purchase them in an office supply store. Step Center the clip at the top of the piece of wood. Using the power drill and screws, attach the clip to your board. You now have a custom wooden clipboard! How I created the following clipboards:.
Using a hexagon stencil , I traced where I wanted to paint the hexagons with a pencil. I then painted the hexagons free handed. You can also use a stencil brush and dab the paint while the stencil is securely on the board. Come join us! Check it out here. I work with your husbands Aunt Donna — she showed your site to me, and it is adorable. You are hired!!! I am thrilled that you ventured over to my blog!! Please tell Donna I said hello! When do I start?
Appreciating the persistence you put into your blog and detailed information you present. Fantastic read! Your email address will not be published.
Notify me of follow-up comments by email. Notify me of new posts by email. This site uses Akismet to reduce spam. Learn how your comment data is processed. Follow on Instagram. Delivered by FeedBurner. Join the list to receive occasional news and special updates! How I created the following clipboards: Using a hexagon stencil , I traced where I wanted to paint the hexagons with a pencil.
Homemade Salsa ». That you for your kind words! I hope your craft turned out amazing. I would love to see! Leave a Reply Cancel reply Your email address will not be published. I did two coats of white paint on all sides of the wood blocks. If you purchase something through an affiliate link, I may receive a small percentage of the sale at no extra cost to you.
I really appreciate your support. Once the block of wood were completely dry, it was time to add the clips. I secured the clips to the blocks of wood using Gorilla glue. I put glue around the circle of the clip as well as the straight part of the clip that would be touching the wood.
Using my Kreg measuring tool , I centered them horizontally on the block and just below the top edge of the block. Using red linen that I had in my craft supplies, I cut out hearts. I did this by folding the piece of linen in half and cutting half a heart.
I then glued the hearts to the pieces of card stock. These wooden clip picture frames were a huge hit with all of the teachers! Just a DIYer with a desire to inspire!
I made ALL of this!!! The huge white oak table, th. Can you see it?! Refinished mid-century modern din. I can never say this enough Is this even the same room?! It's like night and d. Do the hard things!! Chances are, you are the one.
My master bedroom refresh is turning out much bett. DIY doesn't often happen overnight. It can be frus. Just testing out my new dining table..


|
Woodworking-projects-toys-uk Belt-driven-table-saw-craftsman-notation File-cabinet-locking-system-error |

Elik_555
06.04.2021 at 16:18:13
RAMIL
06.04.2021 at 19:45:57
IMPOSSIBLE_LIFE
06.04.2021 at 15:19:33
LOLITA
06.04.2021 at 16:50:49
BBB
06.04.2021 at 11:49:52