Coffee Scoop Turning Kit Group,Stanley Sweetheart Block Plane Canada Website,Multitech Kitchen Drawer Brackets Pro - Step 2

Easy to turn using a single 7mm tube. Coffee Scoop Instructions. On Sale! Click on "Pen Kits" in the menu bar for even more ways to shop! Useful and just plain fun to make turning projects!
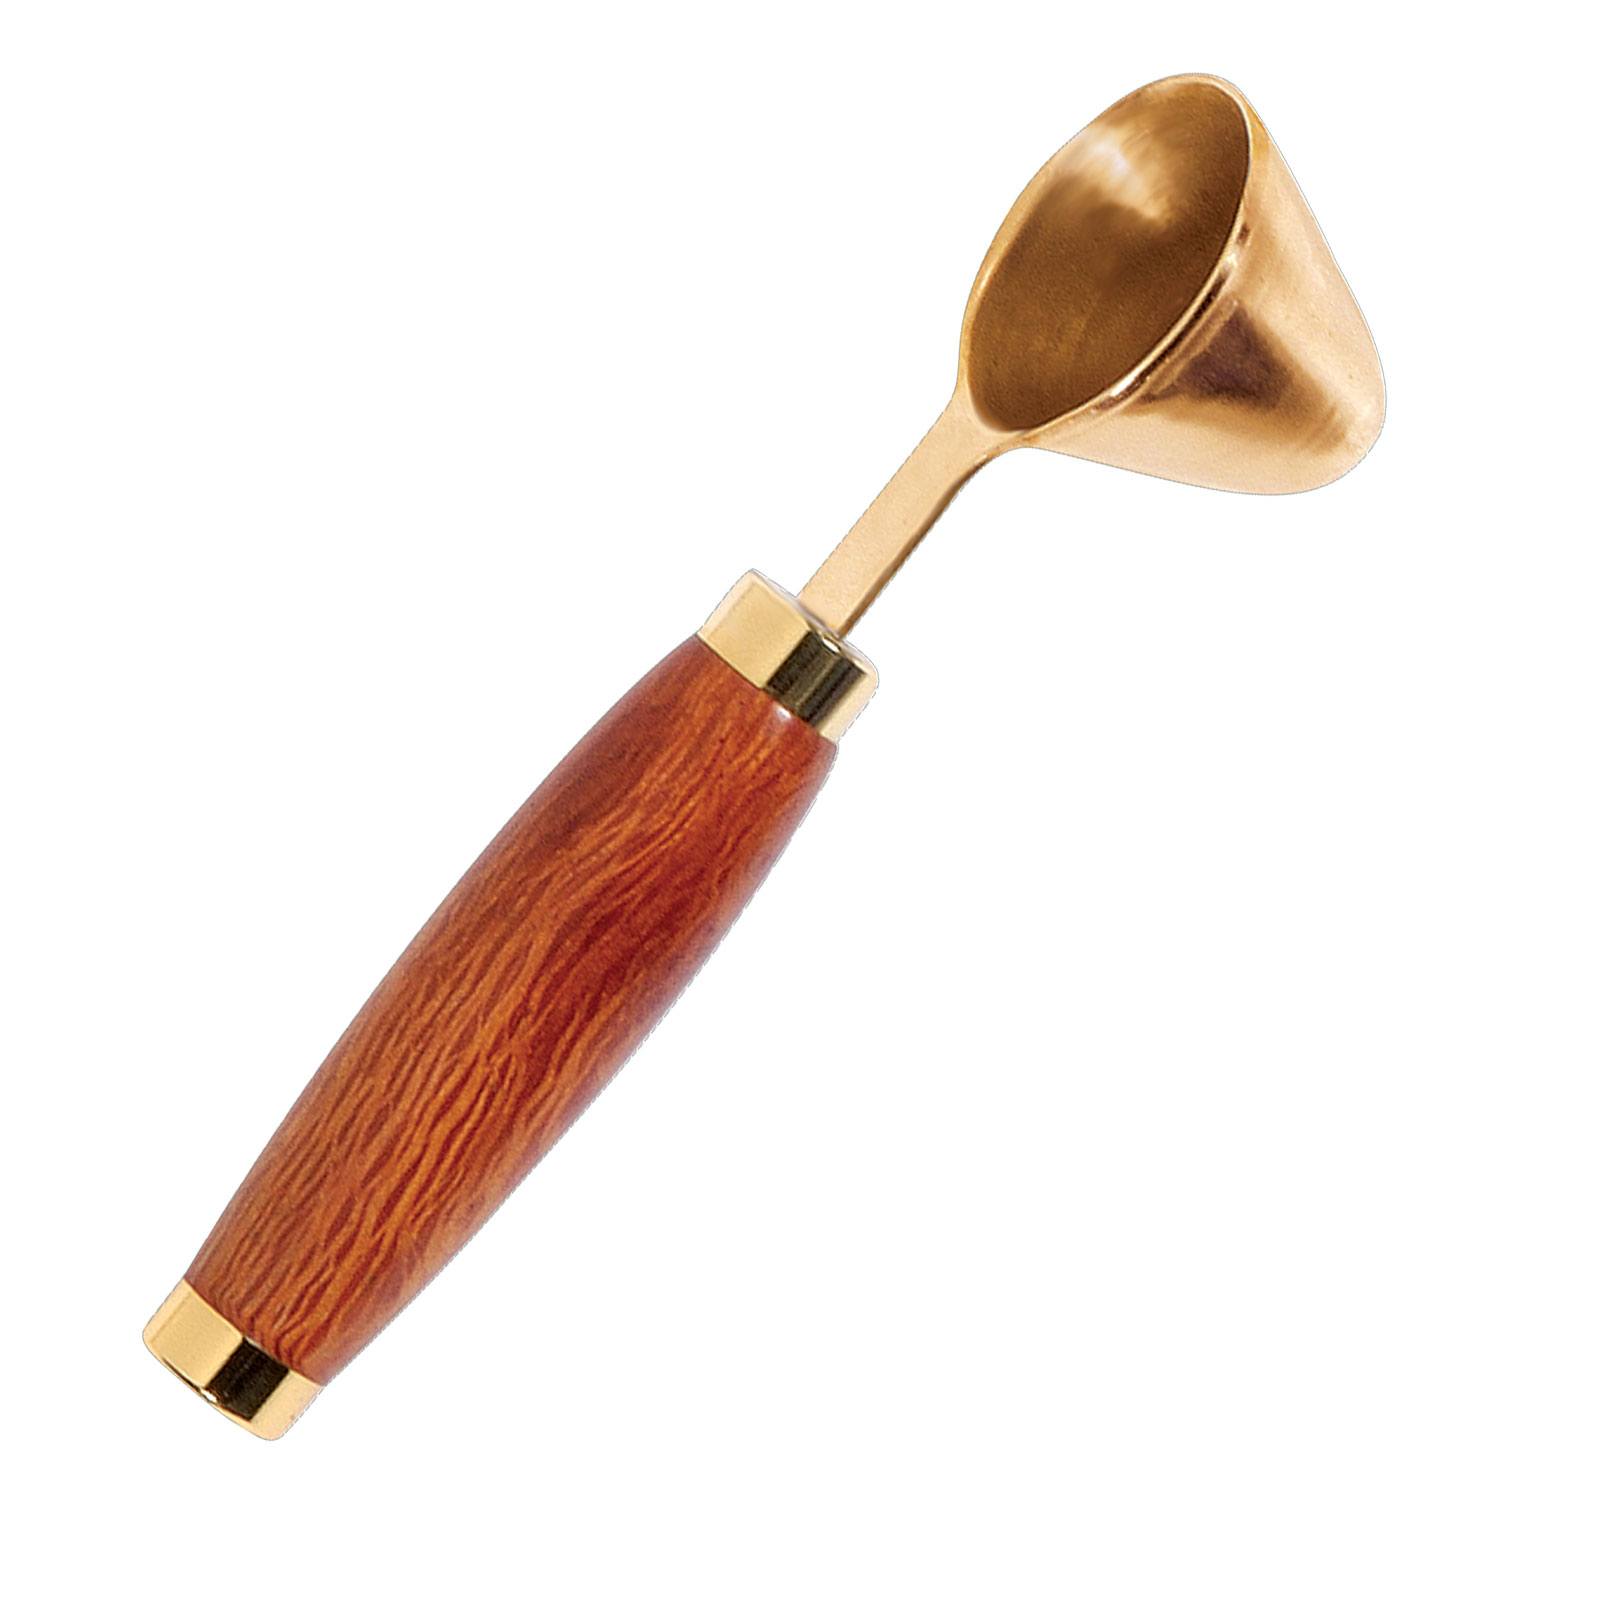
Click on "Supplies" for a complete listing. Lathes, Lathe Accessories, and Turning Tools. Let your artistic side come to life with a riot of color! Blown Glass Holders. Hamdmade blanks from Pen Artists from the US and around the world. Next product. In stock. Ask a question 0. Mix Group: Project Kits Buy more for less:. Qty: Add to cart. Description Reviews Questions Specifications. One heaping scoop equals approximately two tablespoons.
I like to take some sandpaper and scuff up the tube first. Then take some medium CA glue and apply to the tube. Twirl the tube as you insert into the blank so the glue is evenly distributed. Step 6 — Trim the ends of the blank down flush to the brass tube. I like to use a barrel trimmer for this step. Some like to use a belt sander or some other method.
The key is to get a flat surface on both ends that is perfectly square or flush with the brass tube. Try not to trim away the brass tube. Go slow. Trim a little at a time and check your progress. I like to apply the barrel trimmer carefully until I see a shiny brass tube staring back at me.
Make sure your barrel trimmer stays sharp. Step 7 — Begin turning and shaping the handle on your lathe. If just a beginner, you may want to stick with a basic profile like I have done here. I turn the blank down to a cylinder first, and then shape the handle with a slight curve just proud of the bushings on both ends. I used a roughing gouge to do my turning.
The bushings for the coffee scoop kit are identical in diameter. Note that one bushing is a step bushing, but use the larger diameter end. The reason for this is that the other coffee scoop kit requires you to make a tenon.
Step 8 — Sand the handle. I started with grit sandpaper, then grit, then grit, then grit. Inspect for fixable cracks, holes, or flaws. I continued my sanding, using micro mesh. Started with grit and went up to 20, grit. Step 9 — Apply a finish. You can use a finish of your choice, preferably something food safe, although the handle may not make that much contact with the coffee itself. I used a friction polish for mine, but you could also use food-grade mineral oil, wipe-on poly, or Danish oil.
Follow the instructions on the container for application methods and dry times. Step 10 — Assemble the coffee scoop kit. Assembly is so easy. There is only one component to press in, the coupler nut, and I used my vise to do that. The metal tang on the scoop has teeth or threads on both ends. The set of threads on the scoop side will thread through the coupler nut and the end cap will thread onto the threads on the end of the scoop handle.
Thread the end cap on and tighten.


|
Pictures Of Old Woodworking Tools Code Custom Branding On Wordpress Jointer Plane Flattening 40 Wood Carving Shops In Hyderabad Facebook |

Sahilsiz_Deniz
07.10.2020 at 19:47:31
ELMAYE2
07.10.2020 at 11:31:48
ADD
07.10.2020 at 14:55:25