Woodworking Bench Front Vise Pdf,Filing Cabinet Drawer Casters Unity,Trend Woodworking Website - Step 1
woodworking-bench-front-vise-pdf
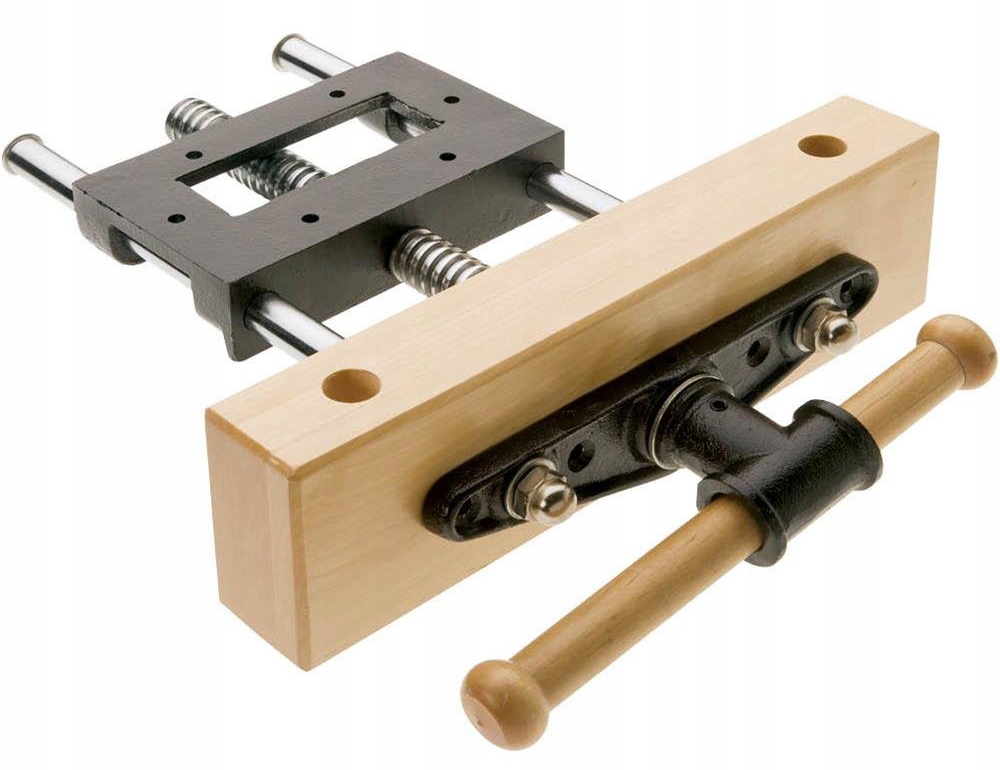
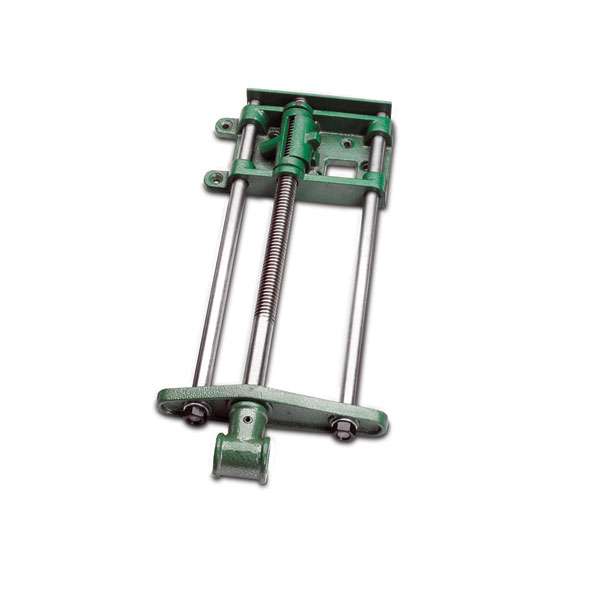
our benches we insert the vise hardware brackets flush, but this certainly isn't crucial. Now comes the most difficult part of assembly—the right-hand vise. The bench I built has a in.-wide by in.-long top, good for general woodworking tasks. From these dimensions, I calculated the size of the frame and the length of the stretchers, You can determine the length of each pair of stretchers by subtracting twice the thickness of a leg plus the amount the top will overhang at each end from the length and width of the benchtop. The vise attaches to the front of the workbench like a conventional bench vise. But from this position, the vise can be rotated ° or lifted 90°, so the jaws are parallel to the benchtop, all with the wood clamped firmly in the jaws. Bench Vise Raise your work to a whole new level. This vise provides a solid grip and allaround access. The two large vises on my work bench supply a lot of clamping versatility to hold a range of workpieces steady. But sometimes, I find them a little lacking. The front jaw needs a through hole as well. But this smaller hole is drilled in a slightly different location from the first (Figure 1). The reason is. FIGURE. 2. Rear jaw a (glue up after drilling holes). FRONT JAW (2!/4" x 4!/2" - 18) A. Project Sources To Best Bench Vise For Woodworking Program make the best bench vise you’ve ever used, you’re going to need some hardware. The bench vise requires a 1"-6 Acme rod (A), a 1"-6 Acme nut (A), 1" washers (A), and a 5 ⁄ 8" washer (A). Building Wooden Vises - Jeff Greef Woodworking. TAIL VISE Wood Tips To see another tip- hit Before you build your tail vise, take a close look at how it's designed so you'll "Refresh" or "F5" understand where the forces are transferred when the vise clamps down on work. #3- TABLE SAW You'll be better able to build a properly functioning vise when you understand the TENONING. for front vise guides on the bottom of the front section of the Porter Cable /4 bench. Use a HP Lever Release straight bit in the Router router, guide the The PC line cut with a fence clamped to the routers are standard piece upon which woodshop workhorses. the router base rubs. For routers, click here.


|
Woodworking Tool Shops Perth Github 58th Grammy Best Rap Album Vol |

NArgILa
06.09.2020 at 13:41:36
XESTE_USAQ
06.09.2020 at 20:37:32
ELIK_WEB
06.09.2020 at 20:41:28
10
06.09.2020 at 21:28:56