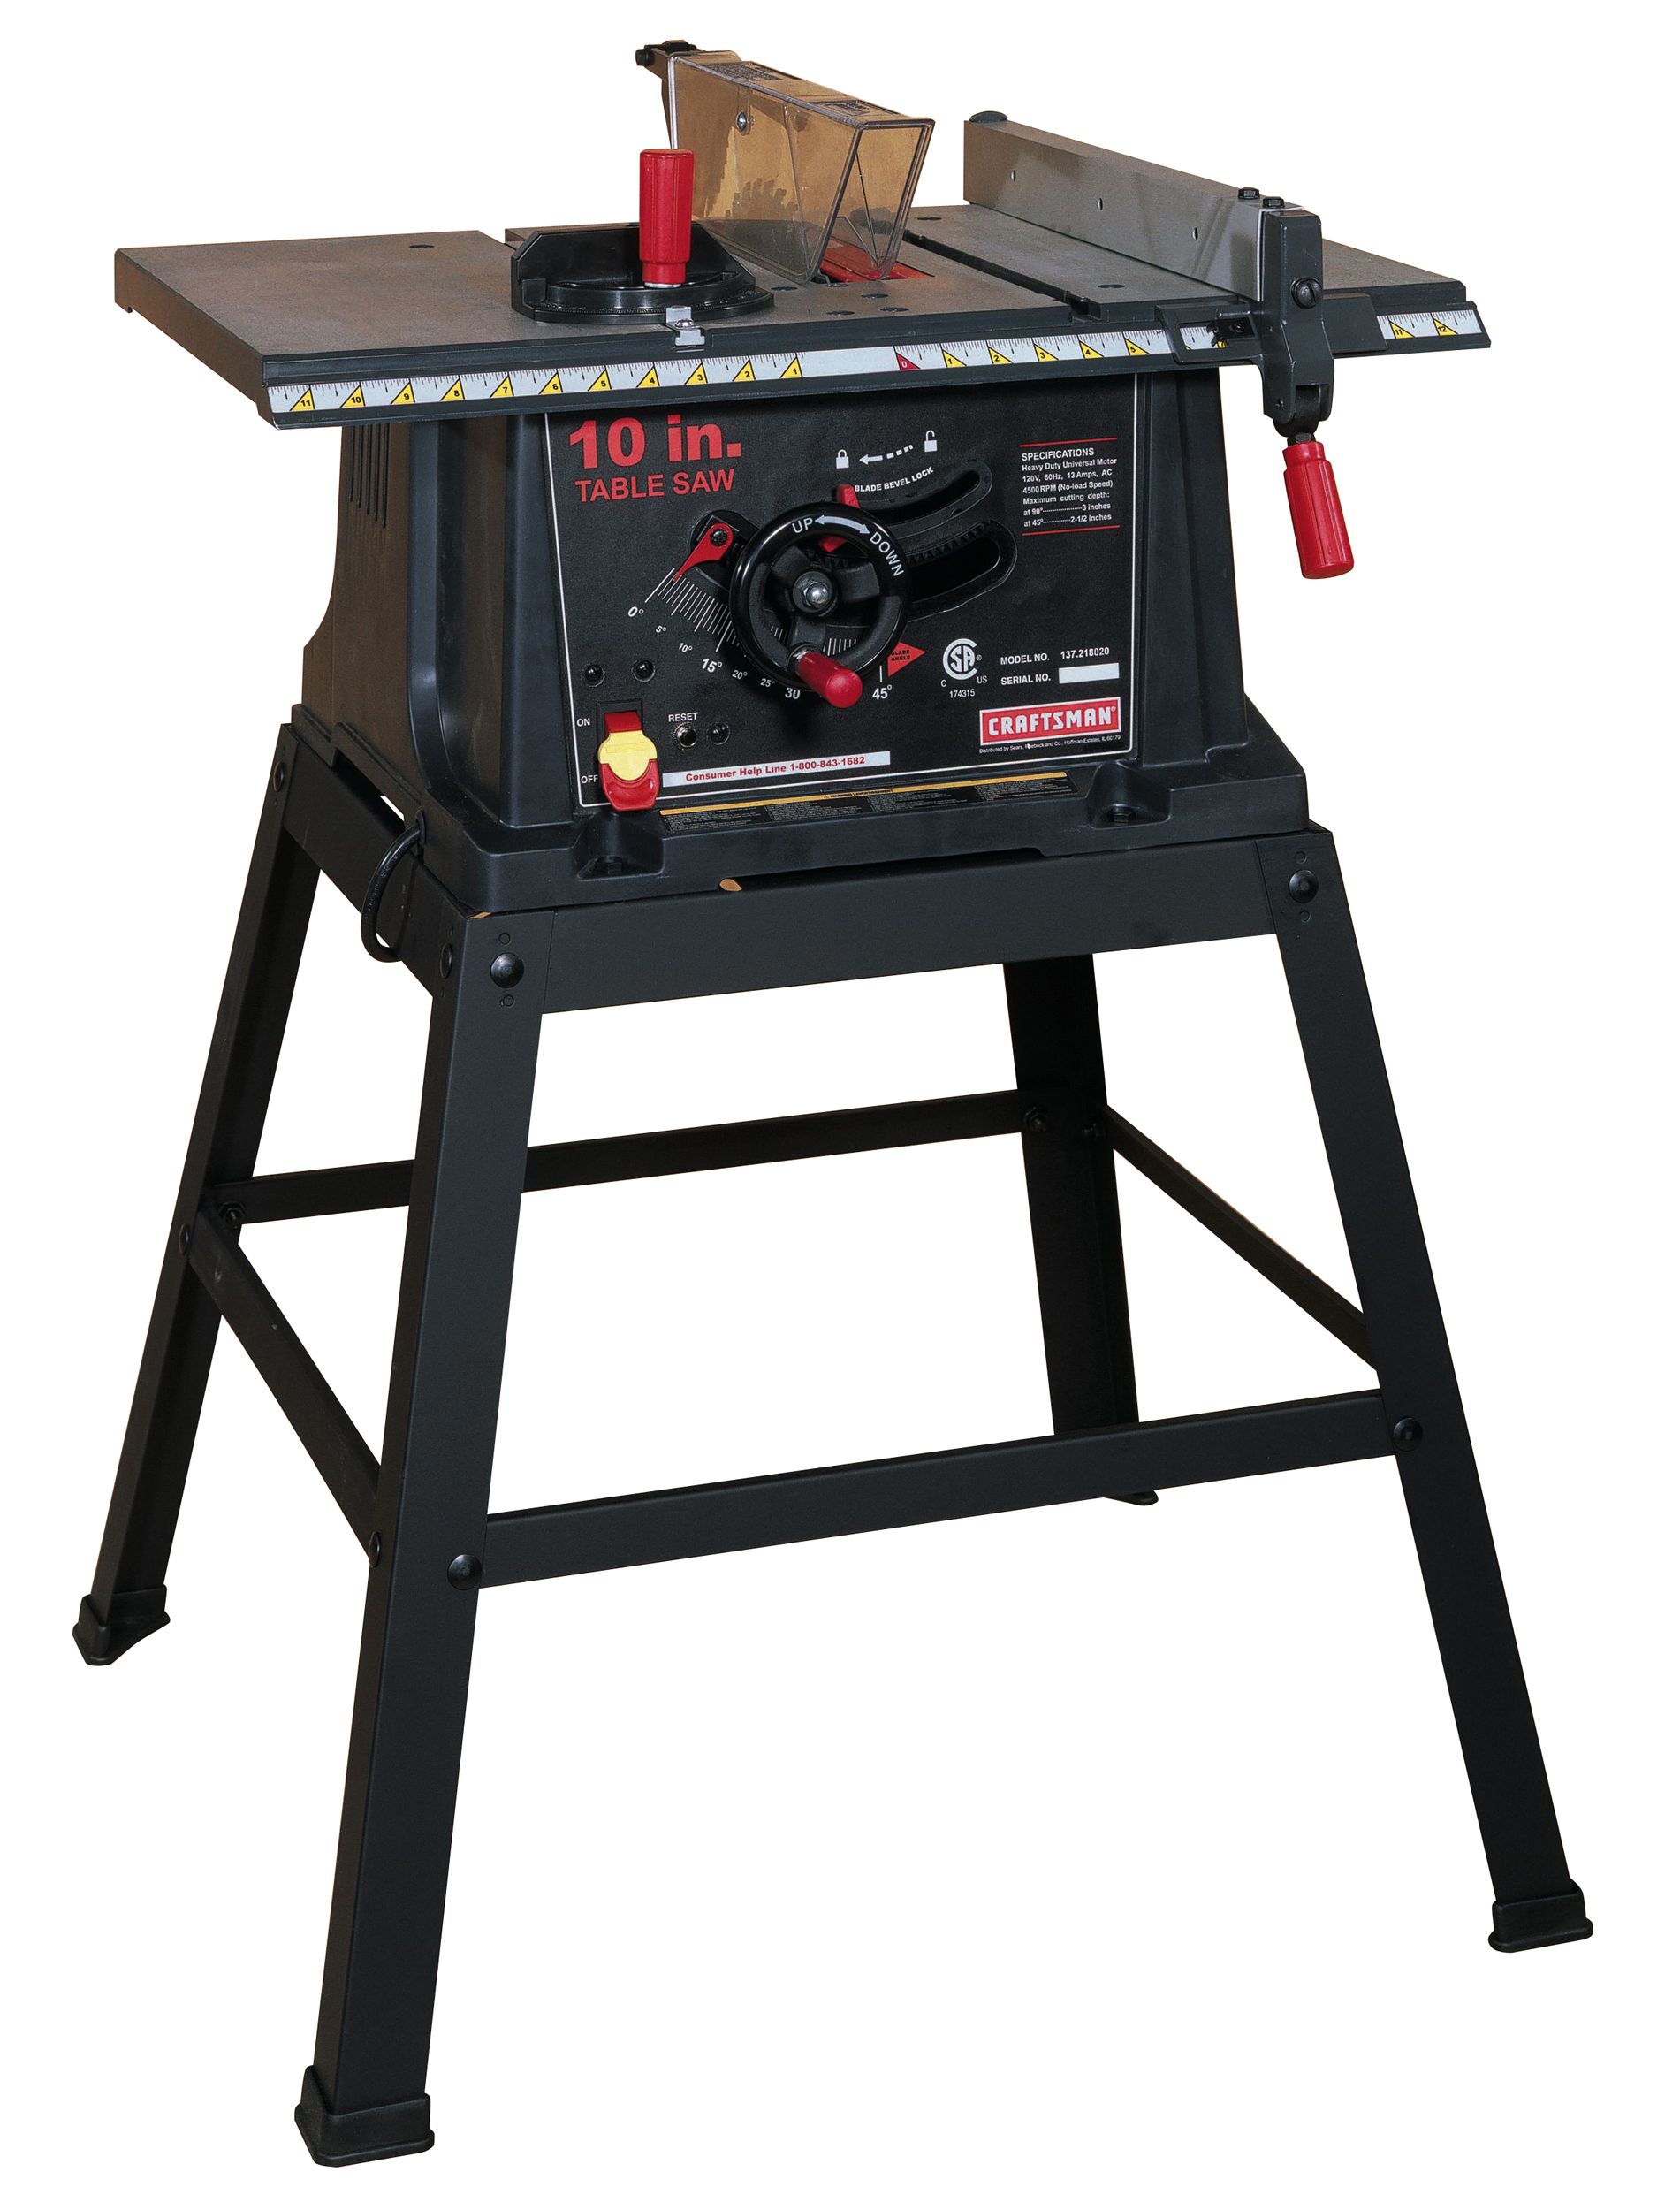
Table Saw With Table File,Woodworking Marking Tools Uk Research,Kitchen Cabinet Drawer Parts 60 - PDF Review

Keep at least one-by-eight inches of gap between these notches. Now focus on cutting thin plywood strips. You can use a good chisel for this task. Smooth down any unevenness in the notch using a file.
For this step, you need to nail a wood strip into a plywood scrap. Now at the bottom of side and end panels, trace and cut arches.
Keep the ratio of cutting right. Use a jigsaw for this step. Adding such a curve will make the workstation lighter. Also, it will give a better Ridgid Radial Arm Saw With Stand Table appearance along with easy handling.
Finish the sides with adding cleats over back notches. For the outfeed table, simply cut and notch struts. Inside the struts, glue, and nail any supportable part. You need to cut tiny plywood parts for feet. Use glue and screws to attach them.
Using a belt sander or jigsaw, simply round the pure corners gradually. There should be no oozing glue remaining. Keep the feet supporting sides, front and rear panels while you lay struts for outfeed part. You need to make sure the struts are in right place. They should not bind during the setup process or make any knockdown incident. Have a look at the interlocking joints. Are they all at the right height? The sides and front panels should be flushing. Use a file to lose any tight notch. Using a thin shim, you can also get rid of any extra depth.
These will be used for hanging parts. You can go with 2. These are for wall stud alignments. Also, drill a half-inch lag screw into studs. Use a hole saw to drill. Starting from a side go for a clean result. You should stop once the pilot emerges through opposite side.
Go to opposite side and drill again for finishing the hole. You can use a round-over router bit for this step. There should be no splintering in edges. After that, you can sand the plywood using any sandpaper of your choice. Finish the project with vacuuming and applying two layers of Minwax.
This will make it resistant to humidity changes. You have a beautiful and convenient workstation for your precious table saw.
Make sure to apply some good maintenance on it and this will last you Table Saw With Router Attachment List for a good number of years. If you believe that your projects are more on a professional side and needs extra effort, I think buying a specialized workstation would be wiser.
Hi, this is Sam Maxi. I love talking about woodwork tools and my reviews are mostly based on the experience I have from my work. Southern Utah. Sports BYU. Utah Jazz. Weber St. Brandview Robert J DeBry. U of U Health. MountainStar Healthcare. Intermountain Healthcare. Salt Lake Chamber.
Mountain America Credit Union. TV Watch Live. Meet Our Team. KSL Investigators. High 5. Studio 5. Outdoors with Adam Eakle. Your Life Your Health. Wednesday's Child. Read Today. Program Guide. Radio Listen Live. Top Stories. KSL Schedule. Newsletter Signup. Obituaries Create Life Story. My Life Stories. Classifieds My Listings. My Favorites. Saved Searches. Add Listing. Cars My Listings. Homes My Listings. Jobs My Listings. Services My Listings. List a Business.
Support Support arrow right. Advertise with us. Sort by. Price Low to High High to Low. Relevancy Best Match. Filter Your Results Keyword. Expand Your Search [? Remove All Selections. Price Range. Listing Photos. Has Photos 53 No Photos 2. Seller Type. Private 53 Business 2. Listing Type.
For Sale 53 In search of 0 For Rent 2. Time on Site.


|
Wooden Handplanes Surf Wooden Things To Make 10 |

farcury
06.08.2020 at 10:53:18
LEYLISIZ_MECNUN
06.08.2020 at 16:55:50
Dj_SkypeGirl
06.08.2020 at 12:58:21
PRIZROK
06.08.2020 at 21:31:30
YagmurGozlum
06.08.2020 at 20:50:31