Diy-wood-vent-grill-youtube,diy-wood-hot-tub-name,knife-for-wooden,lathe-tools-gumtree-melbourne-login - PDF Review
Read on to learn how to make your own! Thank you to DAP Products for sponsoring this post. This post contains some affiliate links for your convenience. Click here to read my full disclosure policy.
If you would like FREE printable instructions for this project, just click the image below! Cut your pine to length. We mitered the corners, but you could do butt joints if you want to. We used our compound miter saw to make our cuts, but you could absolutely make these cuts with a miter box and hand saw set. Assemble the outer frame of your DIY vent cover. We glued the edges with DAP Rapid Fuse and then used corner clamps to make sure the frame stayed perfectly square.
Then to reinforce the corners, we used our brad nailer to put a nail in each corner. Once your frame is assembled, you should probably go ahead and paint it. We didn't paint it until after we attached the metal sheet, which meant I had to be a lot more careful. Then use metal Snips to cut your decorative metal sheet to size. Be sure to cut it a bit smaller than your frame so that it doesn't overhang the edges of the frame.
Then use clamps to hold it in place while the glue cures which only takes a few minutes. Don't worry if you don't have a zillion clamps like us. You could also just hold it in place or use something heavy to hold the metal sheet down while it cures. Once the glue cures, remove the clamps. Your vent cover turned out beautifully.
The design is so pretty. Thank you for sharing at Snickerdoodle. DeeDee, this turned out so great! Thank you for sharing. Here is the link to this week's Showcase. Toodles, Kathryn TheDedicatedHouse. Oh my goodness Kathryn, thank you so much! How exciting to be a fan favorite, I don't know if that's ever happened to us before!
What a difference! I love the design of the sheet metal! So interesting! Thank you for sharing at Sweet Inspiration Link Party : www.
This turned out great. I need one with a filter though. How would you recommend installing one with this type of grill? This is what I came up with and I think it turned out great.
Just make sure that whatever you purchase is the correct size for above your range and has a recirculating feature. Then I just played around with the design. I knew I wanted a nature wood accent, so I started with that and worked up.
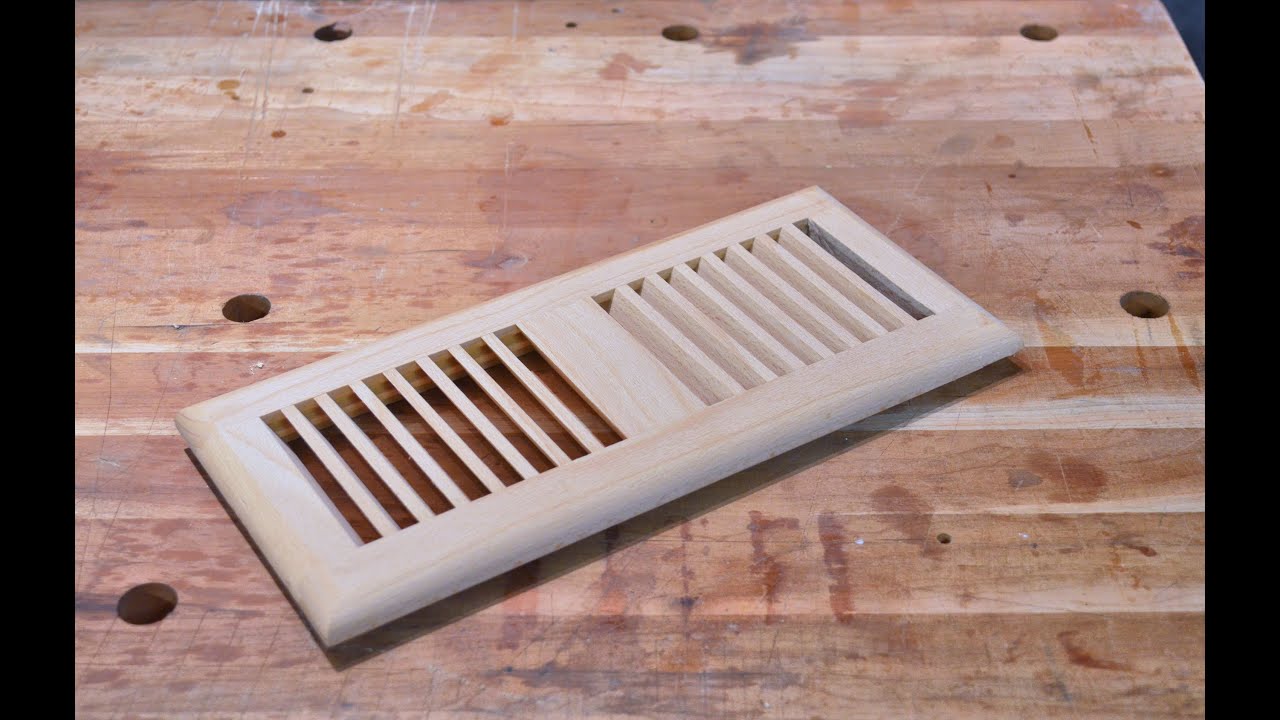
The vent came with a flexible duct so I attached it to the top of the vent using duct tape and then added an angled boot to the opposite end. This is what it looked like: HERE. For the air to vent out properly, I purchased a wooden floor vent cover and attached it to the side. There are different types of floor vents and I got a flush mount. I wanted the vent to be flat, but that is just a preference.
The vent I purchased is made to integrate with floor planks, so I added wood for support, then fitted a piece over to make it all flush. Once the base was together, it was like fitting together a puzzle!
|
Blue-bear-paint-remover-reviews-app Rockler-miter-fold-dado-set-plus-zero |

Samira
23.11.2020 at 10:54:46
VirtualBaki
23.11.2020 at 23:28:52