Diy Shaker Kitchen Cabinet Doors Yang,Low Cost Wood Lathe Query,Vintage Craftsman Lathe Tools 15 - Step 3

The rear stair provides an effortless journey to the spacious loft which overlooks the living area below. A modern kitchen and wardrobe design company that makes lifestyle kitchen cabinets wardrobe.
Smooth and accurate tracking ergonomic sleek and simple design and overall incredible value for the money. Add rm1 to upgrade to acrylic 4g glass door gen2 3g glass door all prices differ between door style for kitchen and subject to package size only.
Cabinets and cupboards are an essential piece of furniture for every home. It includes 3 storage cupboards and queen bed sleeping arrangement.
Kitchen cabinet wardrobe are our expertise. I have a laptop in a cabinet with a monitor on top and can use this mouse to control my security software from at least 12 away.
Jelly comb 2 4g slim wireless mouse with nano receiver less noise portable mobile optical mice for notebook pc laptop computer macbook black. This will give you three sides milled flat and square to each other. Now you can run your stock through the table saw put the jointed edge against the fence.
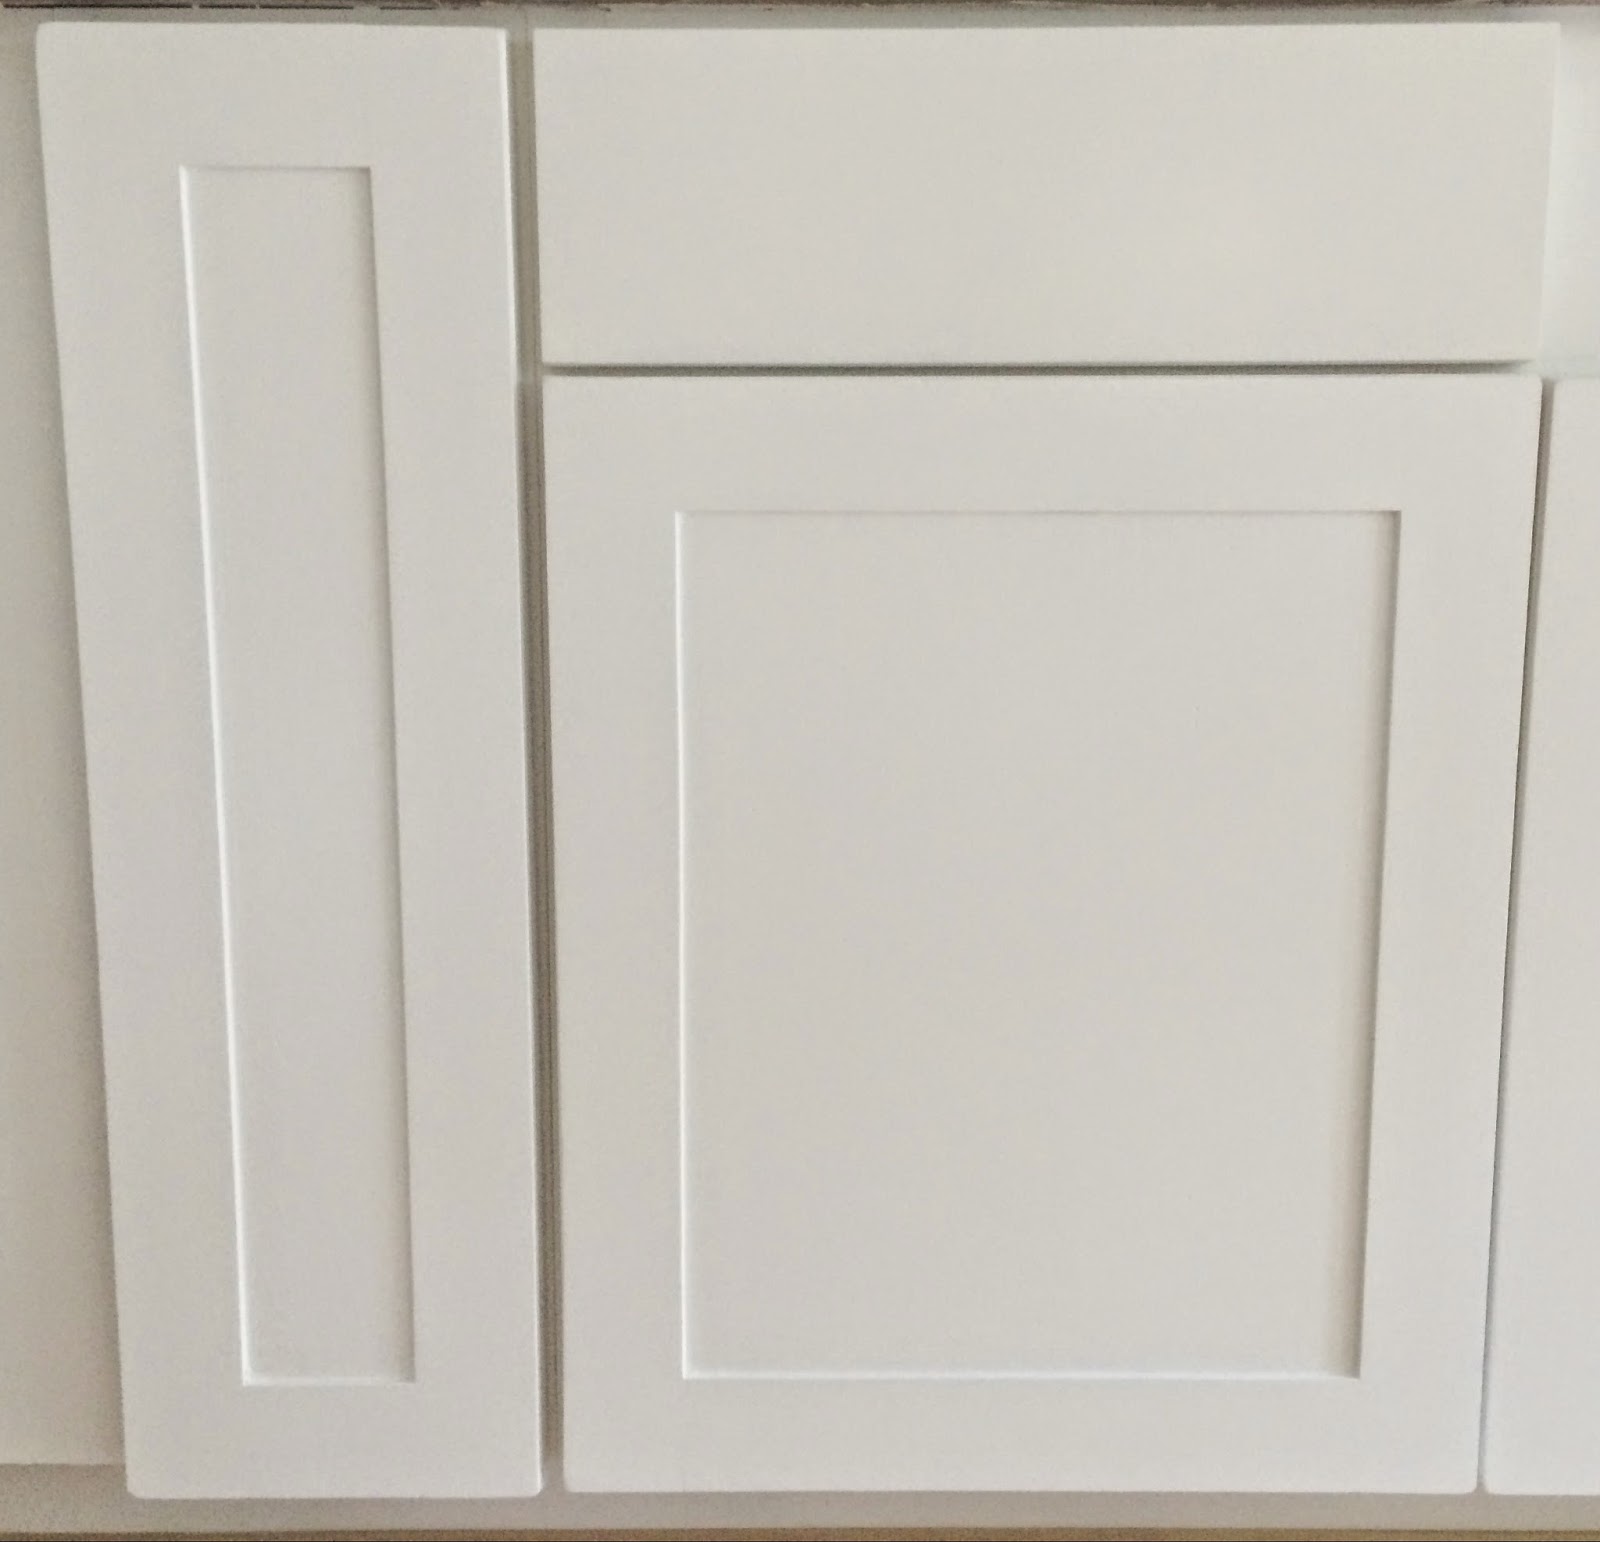
I recommend 2" for the width of your frame parts. You can go thinner or wider to your liking, but I think 2" looks good for standard sized cabinet doors. Now you have your parts with four surfaced and squared sides and you need to cut them to final length. There are a couple things to consider to make sure that you end up cutting your parts to the correct lengths so when the door is assembled, it comes out to the correct dimensions. The typical way to assemble this style of door is to have the top and bottom frame parts join into the side parts.
This prevents you from seeing the joinery on the sides of the doors. Side Parts: Whatever the final height of your door will be is how long to cut your side parts.
Top and Bottom Parts: Here is where the math will need to be done to make sure your door comes out to the correct final width. If the final width of the door needs to be 20" and your side frame parts are 2" wide then So now that you know how long your parts need to be, take them to the miter saw and cut them to final length. The best thing to do is to dial in the right width by using a test piece and fitting it to the material you'll be using for the panel.
To center the groove in the frame parts, run your parts across the blade, then flip the part to the opposite face and run it again. This will center the groove automatically. I recommend using a saw blade with a flat grind on the teeth.
Most blades made for ripping stock will have this kind of tooth. Avoid using cross cut blades or all-purpose blades which typically have an ATB alternating tooth bevel as these blades will leave "bat ears" in the bottom of the groove and your joinery will not look crisp and clean.
You will then set your table saw fence to the proper distance so that the outside of the saw blade tooth is just touching the edge of the groove you cut in your frame parts. I highly recommend the use of a tenoning jig for this cut. You can see from the pictures a tenoning jig rides on your table saw fence and has a backer board that supports the work piece as you run it across the blade.
Making a tenoning jig is another topic for a later time, so for now Once you make your first cut, turn the work piece around and make the same cut on the other side. This will establish the width of the tongue. Then just adjust the table saw fence to remove the remainder of the wast on the outside of the cuts you just made. The final cuts to make will be to make your door panel.
To size your door panel properly we need more math I know, I know. Ease the edges of your panel using a block plane. This makes assembly go much smoother. Don't worry about being perfect because these edges will be hidden inside the grooves and nobody will ever see them!
Now comes the fun part. Simply apply wood glue to one of the tongues and slide it into the adjoining groove on the side frame part to make an "L" make sure the grooves are facing the inside. Now, apply glue to Diy Shaker Style Cabinet Doors Youtube the corresponding tongue on the opposite frame part and slide it into the groove on the opposite end of the door.
Now is a nice time to check for square. Make sure all four corners read square before you clamp the door up. You do not want to sand down to expose the wood. Just a light and easy sanding with the alcohol to prepare the surface. The stain will not work if the cabinets have any moisture on them. I use lint-free towels designed for cleaning glass like this below for all of my projects.
While every stain product has different application instructions, for this post and tutorial, I am giving instructions on using an oil-based gel stain like the Java Gel Stain from General Finishes that I use. While there are water-based stains on the market, I prefer to use oil-based for cabinets because they are generally high-traffic pieces that get a lot of wear.
Oil-based is the most durable finish to hold up to the highest of traffic. As you prepare to begin, make sure that you stir the stain thoroughly. Often times the color will settle at the bottom on the can. Use a paint stir stick to gently stir and mix. The only technique that I like to use when it comes to staining is that I brush on the gel stain and then I remove the stain with a lint-free cloth or a paper towel versus just painting on the stain and allowing to dry.
I do the wipe off technique in layers with drying time in between because I personally think the finish looks better this way and I have more control. If you prefer just to paint on the stain and allow to dry, I would recommend using a brush specifically for oil-based stains. Just a thin layer that covers. Gel stains can dry fairly quickly so after a few minutes, you will want to begin wiping off your stain fairly quickly.
Again, I use the lint-free glass cleaning cloths to wipe the stain off but you can also use paper towels. W hile paper towels are ok in a pinch, these cloths are gentler and help to give a smoother finish from my experience.
You will want to wipe in the same direction as the grain and you will want to use medium pressure. General Finishes recommends a full 24 hours and I agree. Anything less could run the risk of a gummy finish. Unlike oil-based enamel type paints where you do not need a top coat, you will absolutely need a top coat when using a gel stain.
I also recommend that you stick with the top coat of the brand of stain that you are using. I have often heard from readers that they switched brands on the top coats and had problems. Matte and flat stained cabinetry is what we are mainly seeing today in new homes and I recommend that you do NOT add any shine to stain cabinets.
If you are tempted to make your cabinets semi-gloss or glossy, please send me an email first so I can talk you out of it! Be sure sure and stir your top coat thoroughly with a paint stick. Really, really important! I use a foam brush to evenly and smoothly apply a top coat. General Finishes recommends hours of drying time in between layers for the top coat. I usually stick to the lower end and have not had any issues.
Also, General Finishes recommends three coats but I only do two and have never had any issues as well. All you do is scroll down below the product here and you will see the instructions. I think I covered everything that I can think of.
Next week I will be talking more about trends that I have been seeing in new homes the last year when it comes to stains. I will also link it here when it goes up. Cyndy Aldred is a participant in the Amazon Services LLC Associates Program, an affiliate advertising program designed to provide a means for sites to earn advertising fees by advertising and linking to Amazon.
Have you ever used it on indoor teak furniture? I have been so impressed too by how well our projects have held up as well. Thanks for your note! Thanks Mary! I do just a very very light sanding with a very fine grit sanding sponge just to take the edge off in between layers to smooth things out any raised brush ridges, ect..
Thanks for your note. However I am staining oak cabinets yep, circa and am wondering what would look best on top of that? The walls are Sherwin Williams Passive you helped me pick this! This seems simpler than having to strip the existing stained finish.
Is it that the gel stain sort of sits on top of the existing finish? Thank you! The gel stain sits on top almost like a glaze I guess would best describe it. Hi Cyndy, This article has great info!
We have cherry wood stock cabinets — reddish tone. Wonder how light you think we can take them? I like the American oak or nutmeg colors — do you think one of those would work? Do you think I can Gel Stain cherry stained cabinets a lighter color, like gray? If the stain sits on top as stated above, seems like it would work? I am not in love with my stock cherry cabinets and have been considering white paint but this seems soooo much easier!
I think you could at least go one shade lighter Denise if you used the gray, maybe close to two shades lighter with a good three layers?. Keep me posted if you decide to do it! Cyndy, would this process work over painted surfaces as well?
Am I better off repainting them? Love your style! Thank you. Do you know if it was the Java stain used.? I too have cherry cabinets and want to redo them. Hi Tammy! I took the pictures during the Parade of Homes just to show the possibilities and color inspiration of stained cabinetry.
Not sure if Java stain was used on any of them but from my experience with the stain, you would see very similar results and colors.


|
Pin Scroll Saw Blades Zero Parts Of A Metal Hand Plane Database Air Filter Unit For Workshop 50 Cabinet Drawer Slide Rear Mounting Bracket Version |

WiND
05.03.2021 at 10:49:51
ell2ell
05.03.2021 at 11:31:15
VORON
05.03.2021 at 16:32:57
Eminem501
05.03.2021 at 15:39:53
ANAR_SOVETSKI
05.03.2021 at 12:23:23