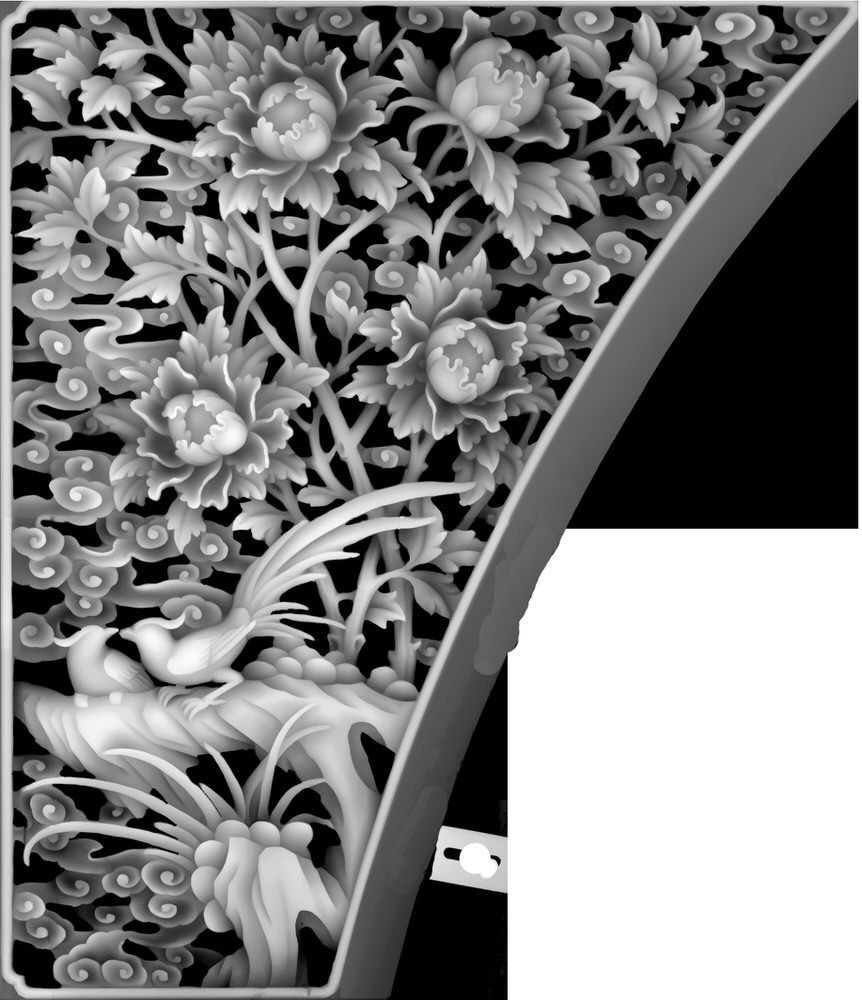
Cnc Carving Bit Map,Wooden Jack Plane For Sale 50,Diy Unfinished Wood 3d Stand Up Trees Set - You Shoud Know
Flute type determines the direction the chips are dispersed—up, down, or out—when the bit removes chips from the stock material. Chip dispersal is important for different material types. The end of the bit impacts what the bottom of the toolpath looks like. This is important to consider for things like pockets or engravings. What is X-Carve? Where can I find the assembly instructions for X-Carve? How does X-Carve work? Bit and Material Pairings - Photos See more To be a successful 3D carver, it's important to understand which bits to use with which materials in order to achieve optimal results.
Use these links to jump to a specific part in this article: Milling Bits vs. Drilling Bits What's the difference?
Milling Bits vs. Drilling bits If you're new to 3D carving, you may be curious why we use milling bits also called end mills, cutters, or carving bits instead of drill bits. Source: Make: Magazine Drill bits cut down into your material. They are a great choice pre-drilling holes for screws, adding fixtures to drywall, or other tasks where you need to remove material straight down through an object. Milling bits cut laterally across your material.
The bits are designed to move across the surface of a material, clearing away chips as it moves from side to side. This is how you are able to achieve 2. Sharper cutting edge than carbide. As such, they are often used for milling aluminum.
Good for beginners! Cheaper than carbide bits More forgiving when carving less likely to break These bits often have a narrower cutting speed range than carbide bits. You can often find this information from the bit manufacturer. Steel bits tend to be specialized for certain tasks. We don't recommend them for generic projects across a lot of different materials.
Solid Carbide Most bits including many on our site are solid carbide. Most rigid. This is important for minimizing bit deflection and keeping straight toolpaths during a carve.
Long tool life. You'll get what you pay for with these bits! More expensive , especially compared to HSS bits. Carbide-tipped Hybrid bit: body is made from HSS, but the tip is carbide. This gives you the best of both worlds: Toughness of steel bit body Wear-resistance of carbide flutes Good price-point for beginners and advanced carvers alike.
Beginners: not too expensive if you're just getting started and breaking a few bits. You'll be able to do a wider variety of projects with a few carbide-tipped bits instead of buying a lot of bits for specific tasks. Advanced: If you're carving a lot, these bits are good utility players. You can use them for a lot of different projects without buying solid carbide bits. Number of Flutes Flutes are the cutting edges on the bits.
Chips are larger because the bit is removing more material each time the bit rotates. Faster, rougher cuts. These are great for prototyping, More room to eject the chip. Chips are dispersed farther away from the cutting surface. Clear chips away from the bit as quickly as possible. This prevents chips from sticking back to the material, your bit, or ruining the carve.
The more flutes you use, the more heat that is generated by the bit. More heat means chips are more likely to reweld or gunk up the bit. These bits are great for detailed work or "finishing passes" using a second bit to clean up the toolpath generated by a roughing bit during a 2-stage carve.
Slower cuts Less room to eject the chip Recommended for: Corian Hardwoods Hard materials Flute Type Flute type determines the direction the chips are dispersed—up, down, or out—when the bit removes chips from the stock material. Upcut Ejects chips up and away from your bit and the stock materials.
This minimizes chip rewelding for materials prone to melting like acrylic and HDPE. I used the canvas tool included in Fusion to do this. Canvas allows you to insert an image as a "background" for a sketch and use it as a visual reference when creating the sketch. This allowed me to play with how I wanted to refine the lay-out of the carve.
I created a stock definition to match the final dimensions of the cedar board I was using for the carve. After that, I used the trace command to create the tool-paths for the carve.
Trace works by having the tool path follow the contours in a given sketch, so I created a trace command for each sketch and used the command options to set the number of passes and total depth of cut. I ended up cutting to a total depth of around. Tool 1 was used for all of the carve except for the text I included. For that, I used a tapered ball end mill with a very fine point to keep the detail of the text from being lost.
Fusion provides a great simulation tool that allowed me to visualize the cut before loading anything into the CNC. After I was comfortable with the simulation, Best Cnc Carving Bits 75 I was able to post the tool path and get ready to cut. Once the tool path was where I wanted it to be, I opened the g-code in my g-code sender program UGS and began to prep the machine. When I set the Z-axis zero I always use the "paper trick" i learned when i first got into machining.
For those not familiar , I've included a quick video of the process:. Basically, you hold paper under the tool and slowly advance to the wood. Keep moving the paper back and forth as the tool advances. When the paper is pinned by the tool Best Cnc Carving Bits 91 unable to move without tearing you set that position as your z-zero.
You'll need to repeat the process for all the toos you plan to use , so you have the z-offsets for each tool. Grab a drink and relax Hey you know what? After the carve was done , I pulled the wood out of the CNC and got ready to fill the grooves with colored epoxy.
This would give greater contrast between the wood and the lines in the map design. I used 5 minute epoxy and I colored it using carbon-black powder. When mixing color powder into epoxy, I find it's better to mix it fully into part "A" of the epoxy and then add the hardener once the powder is fully mixed into the solution. I'd say that the only draw-back of using 5 minute epoxy is that you don't have a lot of time to mix, get the bubbles out, and pour it before it sets up.
It's manageable, but you just need to keep things moving. Once the epoxy is cured, you've got your work out for you.
It's time to sand away all the excess epoxy so only the epoxy in in the carving remains. I did this by hand because I have a belt sander that tends to be a bit aggressive when sanding and I didn't want to over-sand and wash-out the details of the carve. Your call on how you want to do it. With the sanding done, all you've got to do is apply your finish of preference.
I selected danish oil because I like how it makes the wood color pop.

|
Cabinet Lock Cylinder Replacement Protection Woodworking Projects Modern Research Under Counter Drawer Freezer Llc Free Woodworking Plans Diy Projects Zip Code |

Naina
03.10.2020 at 13:16:59
jakira
03.10.2020 at 10:27:48
ghk
03.10.2020 at 21:35:10