Build A Frame For A Large Mirror Model,Woodworking Dust Collection Systems 10th,Laguna Bandsaw Blades Us,Digital Laser Tape Measure Home Depot Web - Reviews
They typically run 4 feet high by 12 to 18 inches wide. These mirrors come with narrow, mitered molding that may be painted or stained. You can add presence to this mirror by cutting plywood larger than the mirror's measurements, increasing the frame by as Build A Frame For A Large Mirror Dog much as 6 inches. Attach the plywood with construction adhesive and brads through the outer edge of the mirror's molding. Be careful to not nail through the glass. Stain the plywood to match the mirror's stained molding, or paint over both with the color of your choice.
If you want a more elaborate mirror, add large molding around the outer edge of the plywood backing. You may come across a large, unframed square or rectangular-shaped mirror that would be at home in the entrance hall -- that is, if it had molding to set it off. First, cut the plywood the mirror dimensions plus the molding width, less any amount to overlap and hide the mirror edges.
Then cut and router the molding. Glue and nail the molding to the plywood, avoiding nailing through the mirror glass. Routering the molding for this framing approach provides additional support to the Build A Frame For A Mirror Jobs mirror; the routered edge effectively enclosing the glass between the plywood backing and the molding material.
February 25, at AM. Teena says:. January 11, at AM. Looks great! Planning to do my bathroom mirrors. Jodee says:. June 7, at AM. My mirror does have the little clips. Any ideas about that? LP says:. February 27, at AM. Vickie says:. April 6, at PM. Shoemaker says:. July 26, at AM. Muller Designs says:. July 13, at AM. BrownHaynie says:. April 1, at PM. Lani says:. May 3, at AM.
Aurelia Demafiles says:. May 5, at AM. Esther says:. June 2, at PM. Gary klimmer says:. July 24, at AM. Jim says:. September 11, at PM. The frame Build A Frame For A Large Mirror Image is glued to the mirror. Shelbie says:. August 15, at PM. Any chance you know what color paint you used for your walls!? Mimi says:. April 13, at PM. Is this removable? Could I do this in a rented apartment?
Katherine says:. May 3, at PM. Stephanie says:. May 22, at PM. Michelle says:. August 17, at PM. Subscribe to our email newsletter!
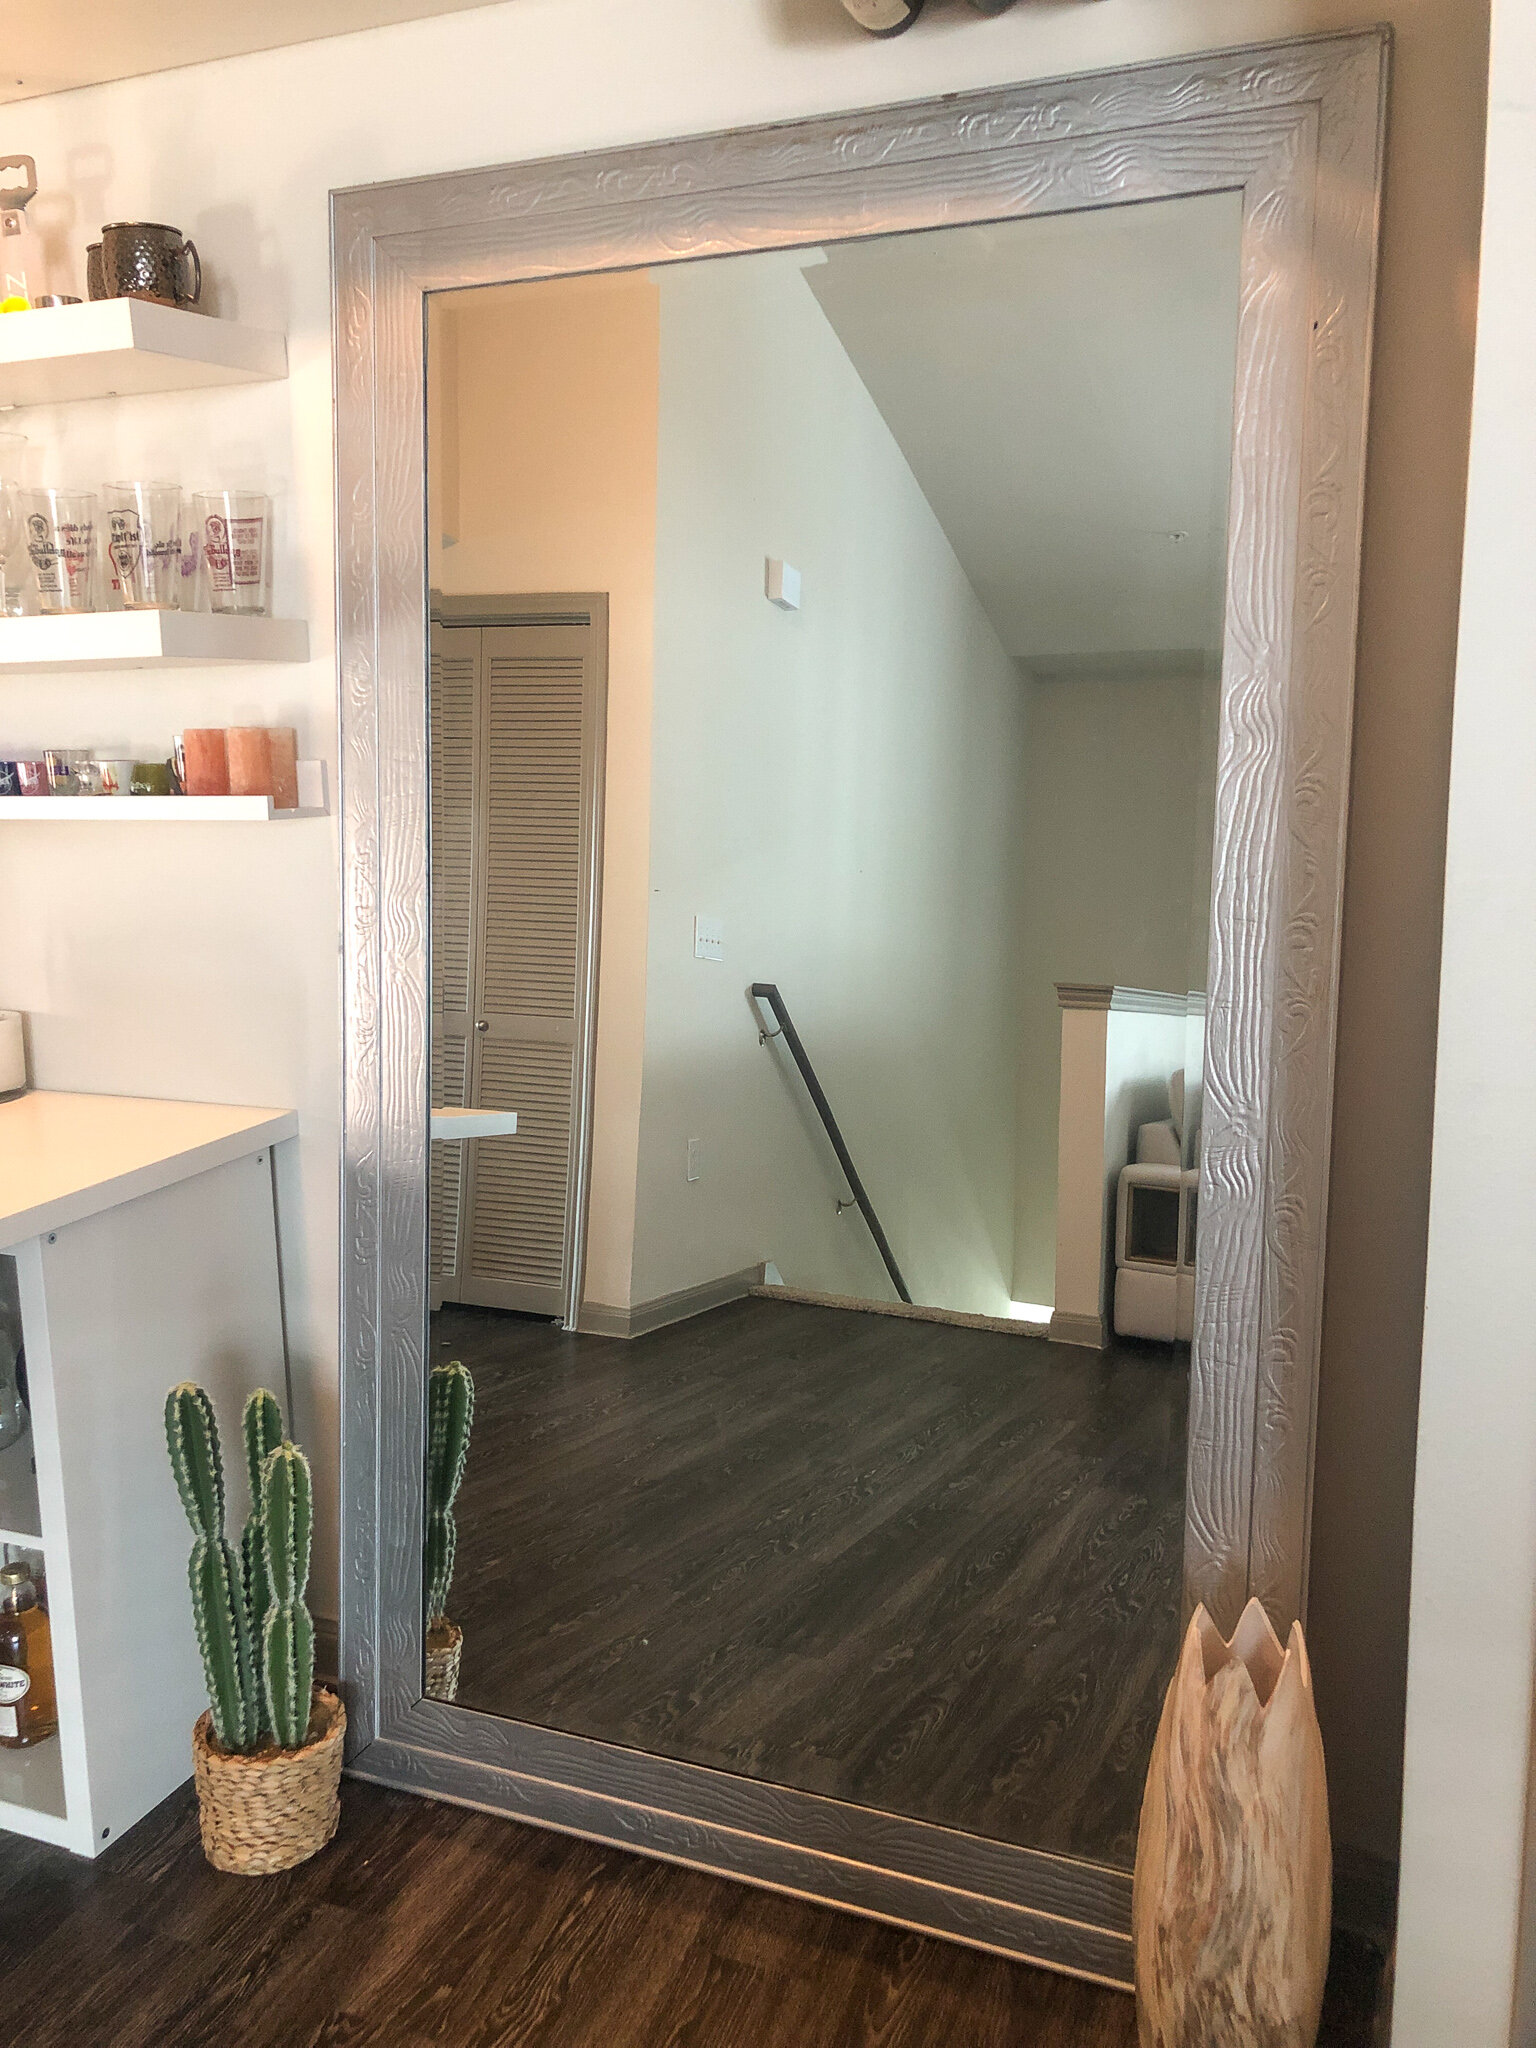
Return to top of page. Mirrors are not only functional but also decorative. Having a mirror in a space can make it feel more open and spacious. For our home gym we purchased two large mirrors each measuring 5 x 3 ft so the total surface area of both mirrors together is 6 x 5 ft and this is what we ended up framing. You can use this same tutorial for any sized wall mirror in any room just make sure to adjust your measurements.
Click here to read my full disclosure policy. For best measurements I recommend installing your top and bottom pieces, then measuring for the side pieces and then installing the sides. I found the best way to figure out my cuts was to use a dry erase marker and a level.
I made several marks one inch from the edge of the mirror and then drew a line connecting the marks. This line marked the edge of where Build A Frame For A Large Mirror Value the wood frame would set on the mirror. Step 1 Make sure to locate your studs.
We already knew where our studs were located because the mirror clips were already in studs. After I made my bottom and top cuts I sanded and stained the wood. I also lightly sanded just the edges of the frame after they were stained to add a rustic touch.
Step 2 Then we placed the piece of wood against the mirror over the clips and marked where I would need to carve out the wood for the clips. At first I thought about using a chisel to carve out the wood, then a genius idea hit me. I decided to use a forstner bit instead and it worked amazing.
Then we did a test fit, lined it up with the dry erase marker marks, checked for level, and fired in several 18G brad nails. We repeated this for the top part of the frame.


|
Used Cnc Woodworking Machine 2019 Ace Hardware Drawer Pulls Test Panel Door Router Bit Set Uk Log |

SuNNy
04.05.2021 at 10:27:36
KETR
04.05.2021 at 16:43:52
KRUTOY_BAKINECH
04.05.2021 at 23:33:59
POSSAJIR57
04.05.2021 at 12:34:30