Woodworking Tape Measure Diagram,Kreg Jig Stop Collar Stuck Quote,Nativity Scene Woodworking Plans Inc,Diy Router Sign Job - PDF Books
There's more to measuring and marking than stretching a tape across a board and drawing a pencil line. By using the right tools and accessories, you'll greatly woodworking tape measure diagram your precision and even speed up your work. Fortunately, these improved results don't require fancy gizmos or staring through a jeweler's loupe.
Let's focus first on the most basic item—what you mark with—and how it affects accuracy. Cutting to one side of the line yields a far different result than cutting to the other side.
Accurate layout of parts woodworking tape measure diagram joinery requires the fine line drawn by a pencil with a 5H lead, available at office-supply stores. The harder lead sharpens to a finer point and holds that point longer. A carpenter's pencil leaves a thick, easy-to-see line, good for labeling parts. A 5H lead makes a much finer line for precise layouts.
Save your carpenter's and no. Mark a curlicue on the jointed face, a "V" on the jointed edge pointing to the jointed face, and an "X" on an end yet to be crosscut. A pencil won't leave permanent marks on a workpiece; the marks erase or sand away easily. To avoid leaving a mark in the first place such as when marking a finish-sanded partapply a piece of masking tape and write on the tape. When marking a line that will be cut away or hidden by other parts, switch to a woodworking tape measure diagram knife, top photo.
The beveled face and flat back of the knife put the cutting edge right next to a straightedge for a surgically precise mark. And a sharp marking knife severs woodworking tape measure diagram wood fibers, creating a shallow kerf -- the ideal starting point to register the blade of a chisel or the teeth of a handsaw. The kerf creates a shadow, which is easier to see on the workpiece than a pencil line. To use a marking knife, place a steel rule on the "keeper" piece and, with the flat face of the knife against the rule, draw the knife along.
Woodworking tape measure diagram the knife should stray off woodworking tape measure diagram, the mark ends up on the waste piece. Every country has a bureau of standards, which maintains a set of incredibly precise measuring instruments against which other measuring devices are calibrated.
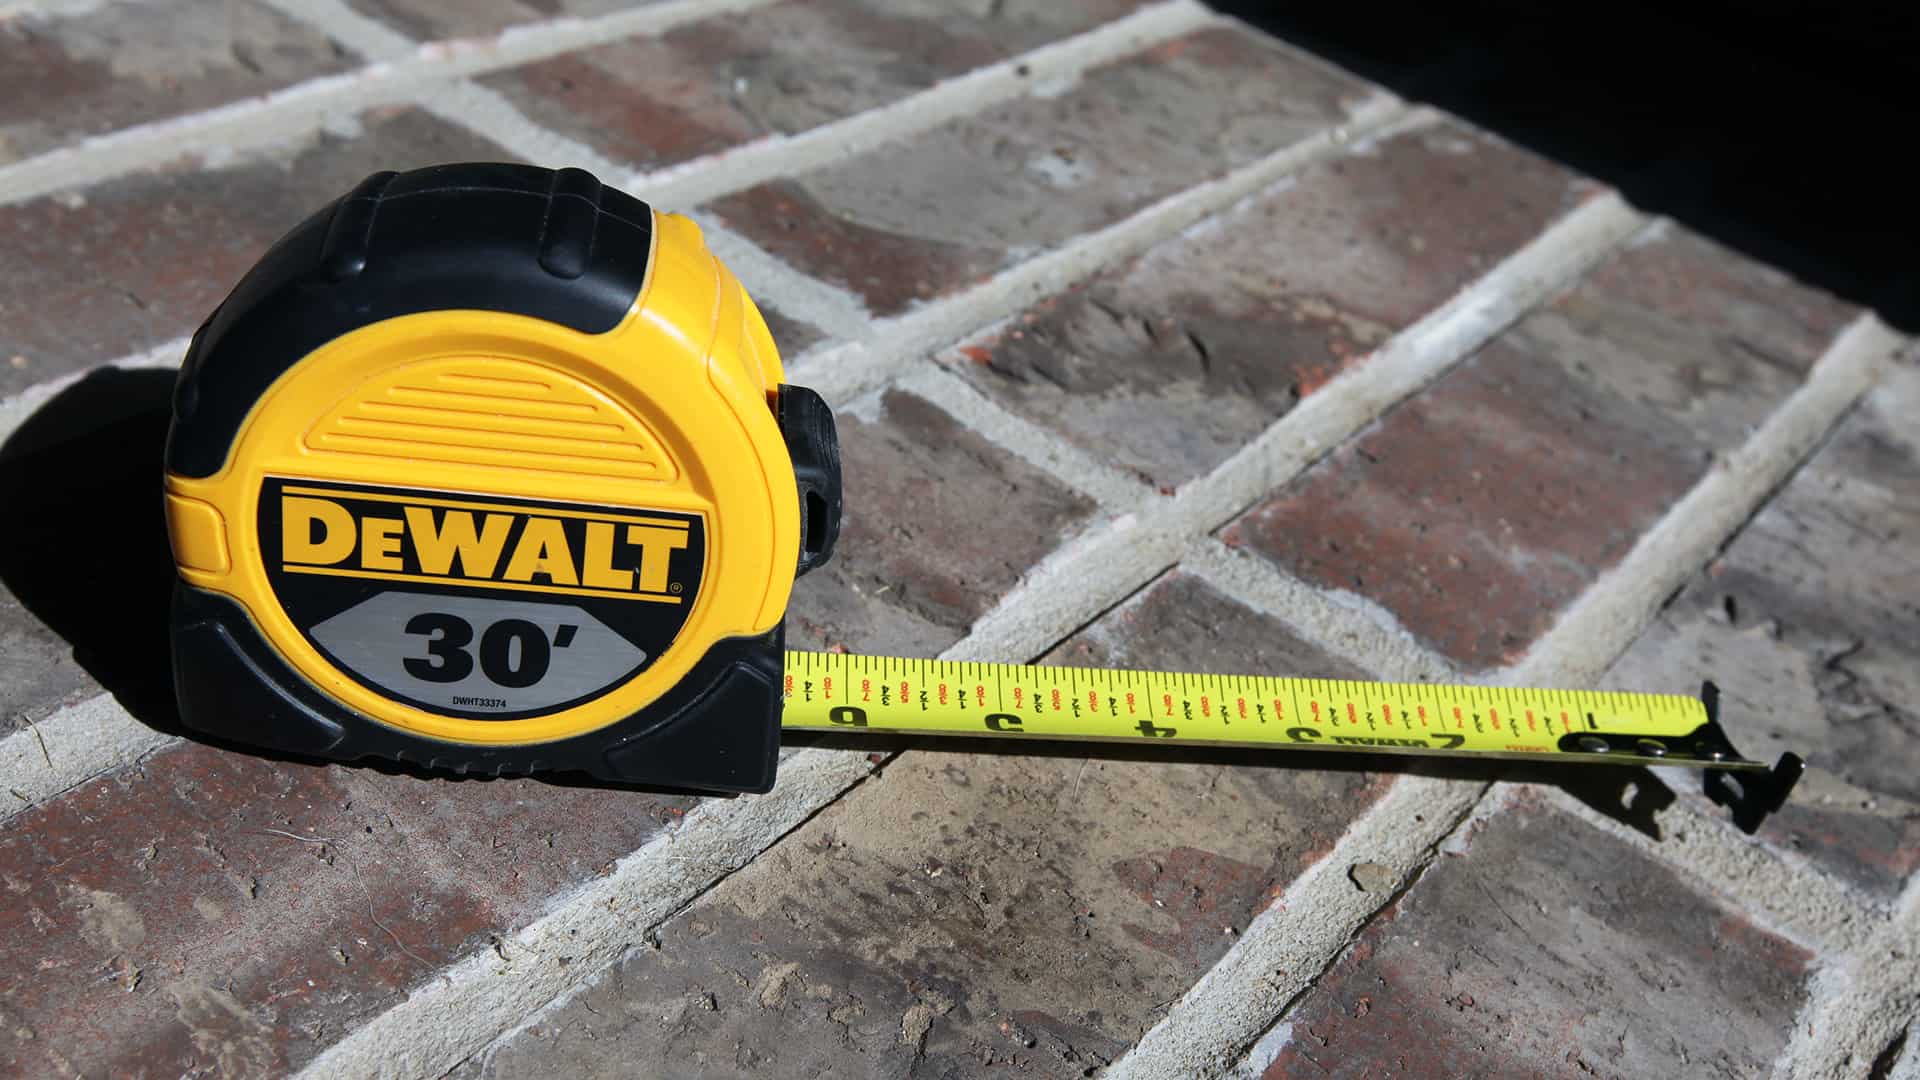
Carry this concept into your workshop. Choose a precise, finely etched 12" steel rule for the bulk of your measuring tasks. For measurements longer than 12", woodworking tape measure diagram only one 12' tape measure. Anything longer woodworking tape measure diagram just extra bulk to carry. And check the tape against the rule to make sure they agree, below. Markings on this tape perfectly match those on the steel rule, eliminating any error caused by switching between them.
Check your tape occasionally to make sure a bent hook hasn't thrown off its accuracy. Now that you've established which rule rules the roost, make sure everything else in your shop agrees with it; for example, the rip-fence indicators on your bandsaw and tablesaw, belowand any other rulers.
If other rulers don't measure woodworking tape measure diagram, relegate them to the house. Using your reference ruler, check the accuracy of the tablesaw rip-fence scale. Loosen the adjustment screws, adjust the indicator as needed, and then tighten the screws, making sure the indicator doesn't shift.
A metric rule can come in handy, too, especially if woodworking tape measure diagram with imperial dimensions give you a headache. Proving a square has the right angle Calling a tool a square doesn't make it square.
To ensure that yours lives up to its billing, do this simple test with a piece of straight-edged scrap. With the head of the tool to one side, draw a line the length of the blade. Flip the square and draw a second line next to the first.
If the second line parallels the first, two photos belowthe square is true. If the lines slant away from each other, the square needs adjustment or replacement. After determining that your square is square, protect it from drops and bumps that could compromise its accuracy. After choosing quality measuring and marking tools, use these simple techniques to get the most accurate results.
First, select reference edges and faces and measure from them as often as possible. For example, when laying woodworking tape measure diagram a series of drawer openings along a cabinet's stiles, always woodworking tape measure diagram from the same end of each stile. After marking the locations, measure between the marks to double-check your accuracy.
When marking, make sure you sight straight down on the ruler. Working to one side throws off what appears to be an accurate mark, below. From this angle directly above the head of the square, the pencil point appears to be exactly on the 4" mark To mark a dimension, draw a "V" extending from woodworking tape measure diagram ruler instead of a single tick mark. A single line can end up angled, causing confusion over which end is the real dimension.
To extend a line or transfer it around an edge, place your knife or pencil on the tip of the "V" and gently slide your square or ruler up to it.
Then use moderate pressure and draw the pencil or knife across the workpiece once. Repeated passes only widen the mark, reducing accuracy. Maintain the proper orientation of nearly identical parts as you mark them by indicating which surfaces are the top, bottom, left, right, front, back, inside, and outside as needed. For several pieces needing identical layout marks, such as matching mortises in opposing table legs, save time and improve accuracy by clamping the pieces together and marking across all of them at once, right.
Striking lines across several pieces with one setup ensures that the marks align. Labels help you place the marks on the correct faces. Finding the center of a workpiece is simple: Measure the width, then divide that number in half.
To confirm your math, measure in that distance from each edge and make a mark, below. If the marks fall on top of each other, you've found dead center. If not, adjust the measurement by half of the amount between them and try again. Rest a knife flat against the rail, then press the cutting edge against the workpiece.
Use a square to help transfer the mark Measure King Digital Tape Measure Diagram to the face. In some instances, the most accurate measurement comes from avoiding a ruler or tape.
For example, when fitting a divider between two rails in a face frame, belowmeasuring and then transferring that dimension to the workpiece invites at least two chances for error to creep in. Instead, place the workpiece against the opening and mark the dimension directly onto the workpiece. With an old handscrew clamp and some scraps of hardwood, you can set up your thickness planer to Skip to main content. Measure and mark for better accuracy.
Be woodworking tape measure diagram to make your mark Let's focus first on the most basic item—what you mark with—and how it affects accuracy. Facebook Pinterest Twitter Text. Printer-friendly version. Read more about Layout, Measuring, and Marking Tools. Buying a Workbench.
Miter Gauges and Sleds. For more related content, subscribe to our newsletter! Routing Ovals With an Ellipse Jig. Big-spin wood lathes. Tested: Twist-bit sharpeners. Tip of the Day. Mill uniform widths with your planer. Magazine Subscribe Magazine Customer Service. Contact Us Advertise With Us. Facebook Twitter Youtube Pinterest Instagram.


|
Under Drawer Soft Close Slides Example Luban Marking Knife Pdf |

Janna
22.01.2021 at 19:30:31
GATE
22.01.2021 at 23:14:40
q1w2
22.01.2021 at 10:23:33
JEALOUS_GIRL
22.01.2021 at 21:26:50
113
22.01.2021 at 13:44:59