Router Table Extension Wing View,Dayton 6x9 Belt And Disc Sander 80,Opensuse 132 Hardware 3d - Tips For You
My Cart. Go to Home Page. Mobile Navigation. Same Day Shipping Find a Store. Search Go. Topics Cabinetry. Choosing Hardware.
Dust Collection. Friends of Woodcraft. Getting Started with Woodworking. Make Something. Pen Kit Reference Chart. Press Releases. Resin Casting. Shop Talk. Woodcraft Magazine. Woodworking Adventures. Constructing the tabletop assembly Note: The letters referenced herein refer to the illustrations on next page. Mounting the extension to the saw table 1 Follow the four-step drawing below to mark the mounting holes in the tablesaw extension.
STEP 1 Mark and transfer the centerlines from the saw-table holes to masking tape. STEP 2 Position the extension table against the saw table, and transfer the marks.
Router Accessories Quick View Item Quick View Item Write Comment You must be logged in to write a comment. Learn More. Customer Care Talk to a friendly customer care representative to help with your purchase. This is done carefully so that I just cut the front side where the nut will pass through. The wider t-track can now be installed into place with some screws as well.
You can see here how the bolts can now slide into the blue t-track. These are what I will use to hold the fence in place. I'm a rebel, so I ditched the hardware that came with the fence from Rockler and instead installed the cam levers instead.
These will be super fast and easy, exactly to my liking. Excuse me? Did someone say mail time?! Well looks like the postman is forcing me to upgrade my router lift, I can't say no to that man. I swap out my router from the old router lift for the upgraded and beefier Rockler Pro Lift router lift that is brand new. I like beefy, so I like this lift, you can't argue with my logic, don't even try.
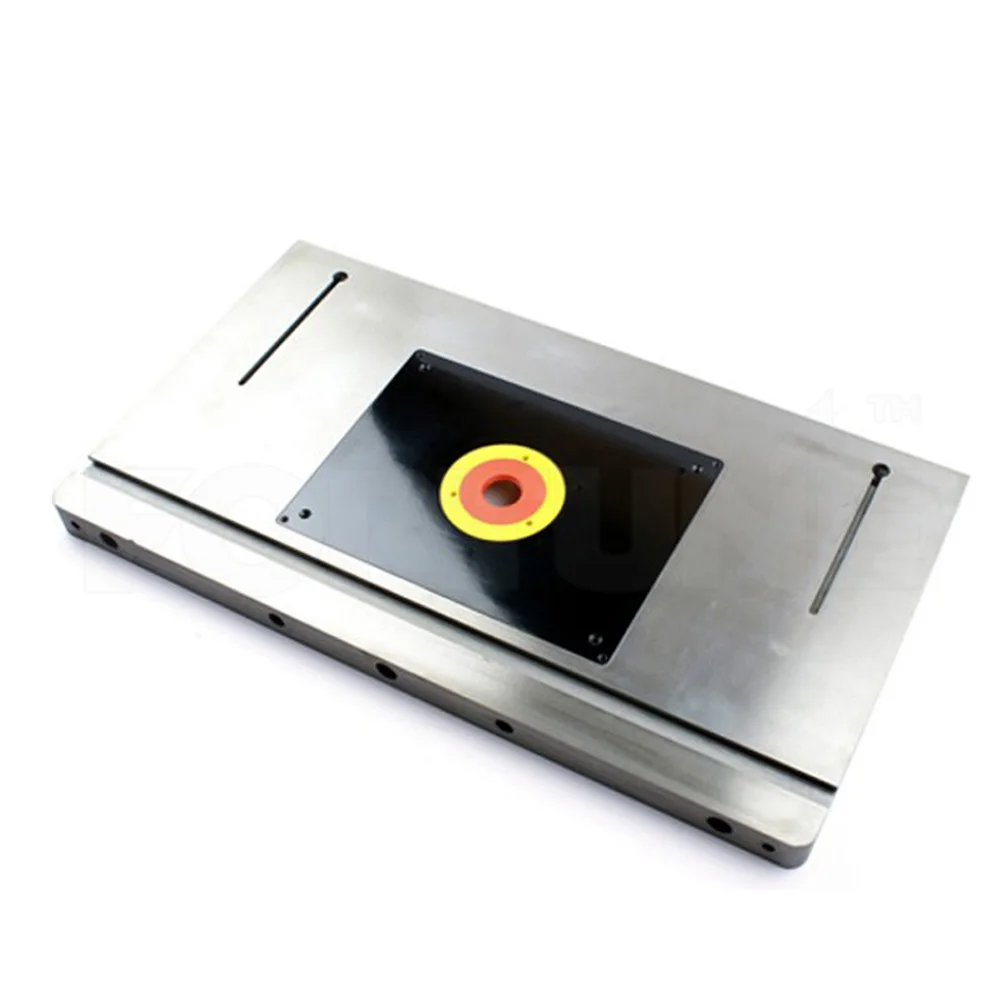
So the router place the big silver metal plate on the new router lift is thicker than the old one. I'm not like most people, but on store bought router tables they will give you extra thickness and some leveling feet to fit different thickness router plates. Well I'm sorry to say I'm like most people now. I use my router to cut the depth down and fine-tune that cut with a chisel. I then install some t-nuts to the underside of the table and thread in bolts at each corner to act as leveling feet and I can finally install the new lift in place.
Now onto the fun part, playing with my wood! Definitely take a few seconds to check out that dresser build if you haven't yet, it's sexy, if I do say so myself I do. These will be used a tracks where the drawers will slide. I remove the legs from the extension wing of the saw. The saw will stand find without them, but putting a moderate amount of weight on the table i.
I use the bolt hole in the metal angle that held the leg on, but I use it instead to hold the cabinet up. I mark the location and drill the hole in both sides of the cabinet. One last hole that I drill is in the bottom of the cabinet and that is a 4" hold in the bottom. This will accept the dust collection port later to help keep me from making a mess it'll try at least.
Each of the sides and the center panels are installed inside of a dado that I cut and fastened with glue and staples. I use staples because they're much stronger than brad nails and I still needed something thin because there isn't much material left to fasten into after cutting the grooves out of the bottom.
The whole cabinet box can then be installed into place. Before putting it in place, I drew a line 1" down from the top of the cabinet and used that to make sure it was lined up parallel when I installed it. It's first installed using the bolts from the saw and then I level it out using my line and screw it into the table.
I also need to make sure again that the table is flat in relation to the cast iron surface of the table saw because those bolts are what was holding it in place. This should theoretically be the last time I have to do this. You may have noticed that there was no back to the cabinet yet, well pat on the back to you! I waited to install it because I wanted to notch around these cross members under the extension table.
This will allow me to completely seal off the section where the router lives to be able to better fine-tune the dust collection. I hold the back panel in place and mark it out for the notches and then cut those out on the table saw. I cut it down to size until I have a perfect snug fit and then fasten it in place with glue and some screws. I also need to cut out a hole for the cord of the router to pass through, otherwise I'm to have to manually power my router and I don't have that kind of energy.
I use a forstner bit to cut a hole big enough for the plug, but this leaves a large hole because the cord itself is much thinner. Here you can see it from the inside of the cabinet. The cord passes through the hole and is capped off with the circular plate. The big gaping hole in the bottom is for dust collection, be patient, it's on it's way. The width is enough to protrude into the groves on either side and then the length leave a little extra on the front to act as a drawer pull.
I also add a label to the top of them so I can label each drawer later, but this orange PVC piece will also act as a drawer stop. I temporarily clamp the orange piece in place so it sits flush with the front of the cabinet.
I then sand the edges flush with the plywood and screw it in place on either side. Rinse and repeat for all of the drawers. In my vast collection of Jackman hardware land, I didn't have any tiny screws that were short enough for this operation. I thought about using rivets, but I wanted these to be removable, so my best option was to use my shortest screws and just same them down flush with the plywood.
It made for a good visual anyway, so win-win? The drawer fronts are all installed in place by centering them against the PVC pieces I just installed and screwing them in through the bottom of the drawer. For the top 2 drawers, I wanted actual drawers with sides. I then fastened them in place with glue and staples through the bottom of the drawer.
The rest of the drawers will hold various route bits. Not all of these holes will holds bits, but it will give me great versatility to store some wider and thinner bits at the same time.
You can see here that each hole has 2 different sized holes in it, peculiar, eh? These plates are then just screwed into place through Router Table Extension Wing Plans For Windows the drawer bottom and they can then be slid into place! Now the center compartment needs a little something. I want to seal it off from the front too, to get better suction from the dust collection. And to do that, I use whatever I've got, like how about this scrap piece of acrylic embedded with a wire mesh?
I just had to include a close-up of this stuff. I don't know that it serves any practical purpose, but man does it look cool. To fasten the door in place, I need to look for the right hinges in my collection.
I have a tool box full of stuff like this that I've dug out from the trash. So many people throw away the junky particleboard furniture once it starts deteriorating, but oftentimes it has some really great hardware on it. Well that hardware finds it's way into the tool box for projects just like this.
The plate of the hinge is just a little too tall and interferes with the drawer bottoms, so I shrink it down a little bit with some grinding on the sanding disk. The hinges are simply screwed into place and then I mark out the door so I can notch it around each of the hinges.
This will allow me to make it tight against the right side of the opening and inset the whole piece into the opening. By the way, I cut the sheet down to size on the table saw using a table saw sled, cutting acrylic was a hot mess as usual, always a good time.
To install it, I predrill holes for each of the screw just slightly under the diameter of the screws. This acrylic can be brittle stuff with enough friction, so it's key to make sure it's not to tight of a squeeze. But once that's good to go, it's just a matter of screwing them in place. Same thing is done with the pull on the door, except I drill some through holes and screw it in place.
But I'm a fan of honestly, and let's be honest, this is the only thing you came here to see Breath it in folks. For some reason I felt like this deserved it's own step. Alright, moving on. Last part of the structure is just installing the legs back in place.

|
Best Rap Album Of The 2000s Spec Kreg Pocket Holes On Mitered Corners Mp3 Bessey Parallel Clamps Set Up |

Sanoy
23.01.2021 at 23:21:59
JXL
23.01.2021 at 22:46:40
Konulsuz_Imran
23.01.2021 at 12:26:47
18_USHAQ_ATASI
23.01.2021 at 10:59:42