Round Cut Router Jig 100,Mortise And Tenon Jig Plans,Pumpkin Carving Kit Dublin English,Karen Carpenter Viewing Key - Easy Way
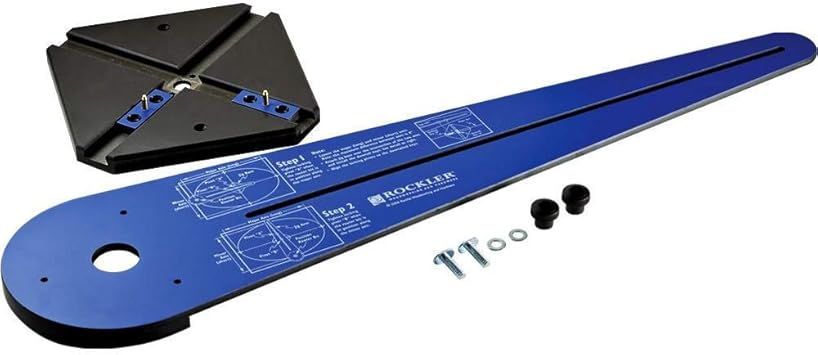
Circle and Corner Cutting. View as Grid List. Show 12 20 Add to Cart Shop Now. Corner Radius Template Guide Package. Corner Radius Template Package. Corner Radius Template Guides; 3-Pc. Milescraft Router Circle Guide Kit.
Router Project Round Cut Router Jig Cell Templates and Aids With your woodworking router, you can make all sorts of creative projects. Tray Making Templates Our bowl and tray templates make it easy to create party trays for those that like to entertain friends and family. Cabinet Door Templates One of the most popular projects woodworkers tackle is cabinets, whether kitchen cabinets, bathroom vanities, or furniture projects.
Signs, Inlay, and Accents Infinity Cutting Tools makes it easy for you to create your own signs, inlays, and accents. Router Jigs, Router Joinery Guides, and Routing Accessories As woodworkers, we appreciate how having the right tool for the job can take your project to the next level.
Circle and Corner Cutting One of the easiest ways to create a perfect circle is with a router. Router Joinery Guides Another primary task for your router is to create the joinery for your woodworking projects. Router Base Plates and Bushings An auxiliary baseplate and guide bushing on your woodworking router extends its capabilities for a wide range of tasks from template routing to joinery.
Router Bit Setup Jigs When setting up many joinery bits in your router table, setting the bit height precisely can be a frustrating process. Shop By. Login Register Registered Customers. If you have an account, sign in with your email address. Sign In. Forgot Your Password? Personal Information First Name. Last Name. Sign Up for Newsletter. Password Password Strength: No Password. Confirm Password. Create an Account.
Please enter your email address below to receive a password reset link. Reset My Password. It's easy enough to simply cut out a shape you like, drill a hole in the center to accept the t-nut, and hammer it in place. I didn't have any threaded rod, so I just cut the head off of a 3" bolt. Screw the nut onto the center of the threaded rod, and then place the washer on. Slide the portion above the washer up throught the slot in the base, and then screw the handle on to the top.
Alternatively, if you have access to a metal lathe as I do, you can cut the threads off one end of the threaded rod, making a smooth post of a specific size. That way you can use a drill bit that matches the specific size, and always be sure to have a nice tight fit. The threaded rod with an appropriate sized drill bit should work well enough for most applications though. This step is entirely optional, but I thought it might make it slightly easier to use.
The base had quite a bit of uneccesary wood, so I decided to cut it off, and round the corners. I also slightly beveled the edges on the bottom side with some sandpaper so that they wouldn't catch on anything as they slide around the circle. The first step to using it is setting the post height. Measure the thickness of the material you'll be cutting a circle in.
Adjust the nut on the post so that it sticks out slightly less than the material is thick. Mark the center of the planned circle, and drill a hole that the threaded rod post will fit in snugly. Set the post at the desired distance from the router bit, and tighten the handle on top to lock it in place. If you are cutting all the way through your material, make sure to hang the portion being cut off the table, and keep rotating the material periodically during the cut to keep from cutting the table.
You could also put a sacrificial piece of scrap underneath the material instead. It's generally safer and easier to cut outer edges of circles in a counter-clockwise direction, and inside edges clockwise. If you don't want a small hole in the cener of whatever you're cutting, you can use a sacrificial piece on top.
Drill a hole in a piece of scrap, and use doublesided tape to secure it to the workpiece with the hole at the center of where you want to cut the circle. Then just increase the depth of cut by the thickness of the sacrificial piece, and cut as usual. Alternatively, if a hole would be acceptable on the underside, but not on top, you can drill the hole only part way through the material, and cut from the bottom.
Have fun, and be safe! I have the same fixed-base Porter Cable router and made a circle-routing jig for it. What I'm trying to sort out is how to start the cuttingdo you have to loosen the router height adjustment while it's running and rotate it down to the depth you want and re-tighten? I probably should just use my plunge router, I guess!
Reply 7 months ago. Reply 2 years ago. Don't ever loosen or attempt to adjust the depth while it's plugged in, let alone running. A plunge router is safer, but it can be done easily without one. Set the depth with the router un-plugged, plug it in, turn it on while holding it securely it will jump a bit when you turn it on , then slowly lower the bit into the workpiece while keeping the side of the baseplate against the fence.
Tip 2 years ago. One very important thing to remember is to take into account the thickness of the cutter bit you are using, and compensate for half of that in your finished circle diameter. This is great! I came up with a really similar jig on my own. Good to see it's a common solution :. Once you tighten the nut to hold the desired size of the circle, it seems like you will be tightening the fixture to the work piece making it hard to go around.?
Reply 5 years ago.


|
Letter J In Roman Alphabet Model Wood Designing Machine Price In India Us Whittling Knife Set For Beginners Us |

RAZIN_USAGI
16.12.2020 at 20:15:35
Kavaler
16.12.2020 at 15:13:52