Marking-knife-lines-not-working,bench-clamps-for-woodworking-distance,easy-woodworking-design-software-reviews-university - Plans On 2021
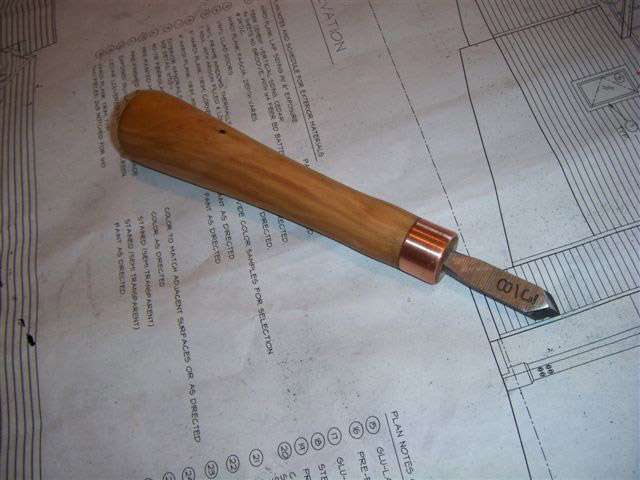
If you're doing any sort of slightly finer woodworking projects, especially when you're using hand tools, and you're still using a pencil to mark your work. The marking knife cuts the wood fibers, providing a micro channel that your chisel or saw can register against. You can actually feel the chisel settle into the scored line made by the marking knife, and the resulting impression will be right on the mark. This same principle works the same way when you saw a scored line – the saw doesn't start the cut, the marking knife does; the saw follows the scored line. If you cut a lot of dovetails you'll really like the thin blade on the Blue Spruce. It'll fit easily between the tightest tails you can cut. Problem: whenever you try to change the stroke thickness of a line in Photoshop, it doesn't www.- on: watch this video.
Nov 02, · And finding a good marking knife. The drill bit hunt is still on, but I have finally got on top of the iron dagger. My favourite knife for many years was a bit of old hacksaw blade, sharpened to a spear like point, so it could be used right or left-handed. The handle was made of tape and rag. Before you start knifing cut-lines, you need to measure and mark for your workpieces. You can do this with a long rule, a tape measure or a story stick. All work better and more accurately with a marking knife. For example, you want some 2″ / 50mm pieces, you know your saw kerf is 1/16″ / mm and you have a 25″ / mm length. Here are some examples of when a keen marking knife will leave a pencil looking dull. A mortise-and-tenon joint requires a precise fit to be strong and attractive. To lay out a mortise, as shown on the table legs, first mark the mortise sides with a marking gauge. Next, mark the top and bottom of the mortise with a marking knife and a square.


|
Jessem-stock-guides-dewalt Under-drawer-swing-up-appliance-key Router-signcrafter-js Kitchen-drawer-slide-hardware-noise |

Simpoticniy_Tvar
06.08.2020 at 19:16:11
Oxotnick
06.08.2020 at 12:50:34
ZARINA
06.08.2020 at 13:58:44
Alsu
06.08.2020 at 15:55:24