Box-joint-router-table-jig-plans,digital-tape-measure-reviews-uk-60,stamp-carving-kit-reviews-review,build-a-toy-plane-english - PDF 2021

This way you will get a professional-quality result that will help you to optimize your work with wood. Whether it is herringbone jigs, router box jointing jigs, router jigs, crevice jigs, sanding jigs, table saw jigs, etc. When you are involved in a woodworking project having the right jigs and templates can make your job more comfortable and easy and prevents you from a lot of pain and failures. So this collection Of free woodworking jigs plans makes it easier for you to find the right jig plan you need, free woodworking jig plans provided by the best woodworking related sources on the web that show you exactly how to make jigs for your woodworking shop, tenon jig plans, router jig plans, the router box joint jig, Sandpaper ripping jig, Joinery jigs, Mortising jigs, table saw jigs And More.
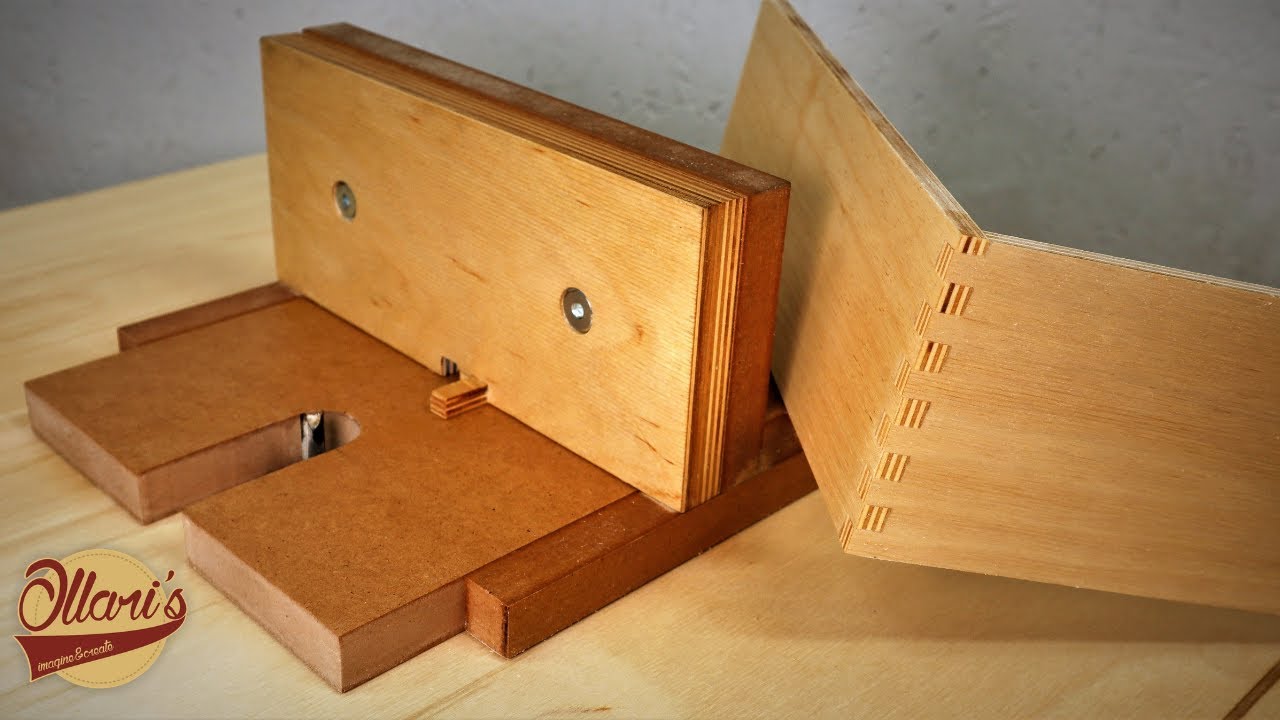
Sandpaper Ripping Jig Plan. Wedge Cutting Jig Plan. Sizing Board Jig Plan. Table Saw Tenon Jig Plan. Mortise Router Jig Plan. Drawer Clamping Jig Plan. Miter Saw Box Plan. Box Joint Jig Plan. The result is perfect-fitting box joints every time. You can download the additional shop drawings that you purchased using the link in this box.
Note: After your purchase, you will receive an email containing a PDF attachment of your purchased plan, as well as instructions for logging in to download the plan and access any other associated files and videos, which will all be located on this page.
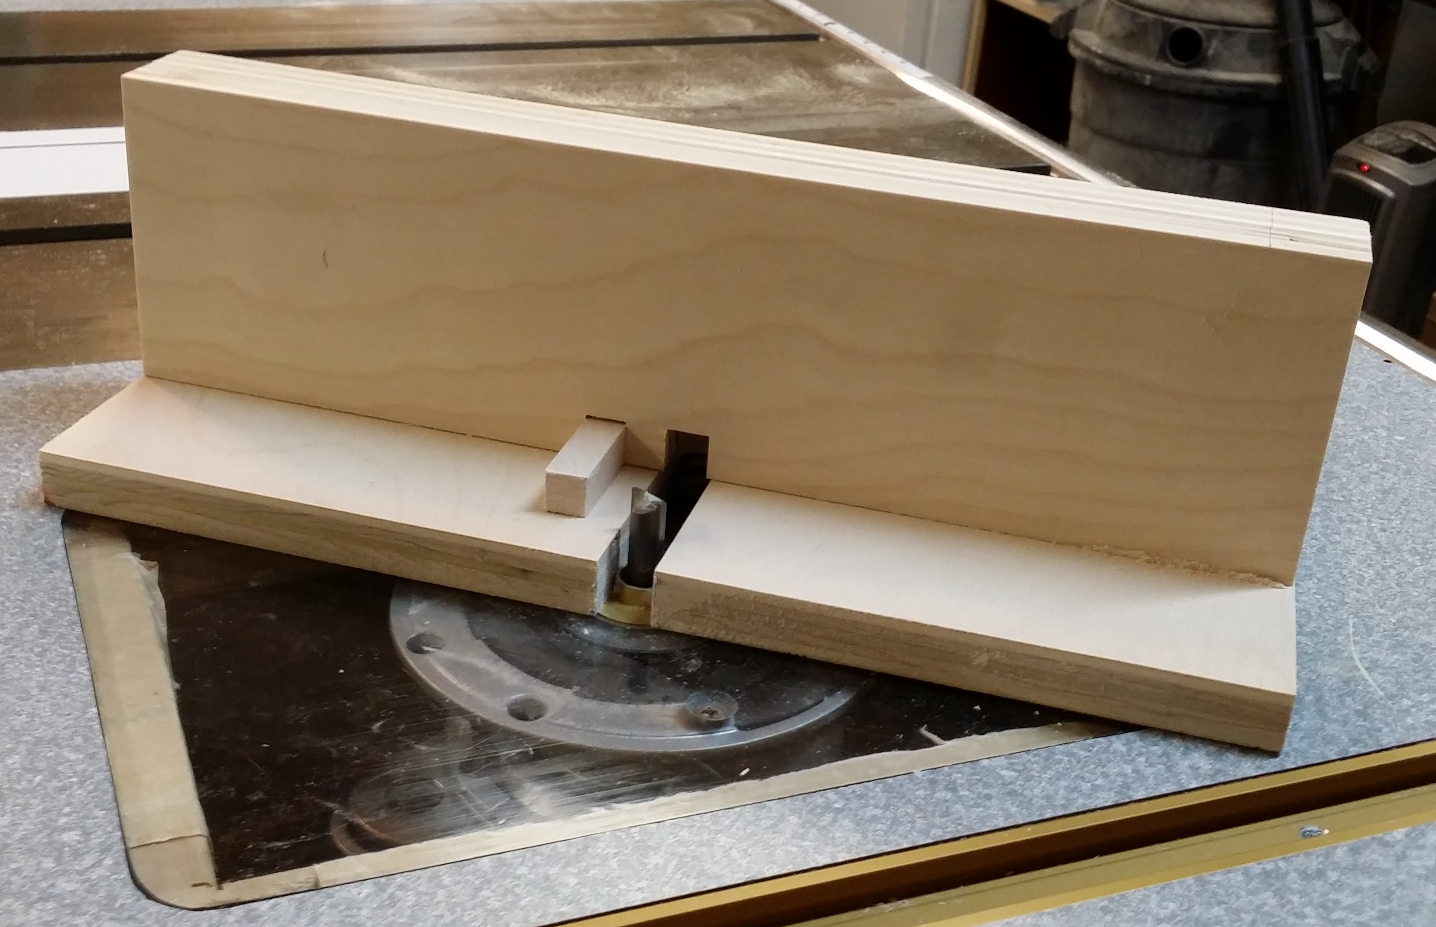
We may receive commission when you use our affiliate links. However, this does not impact our recommendations. No wibble, no wobble. It's all about the base, no wobble. Sorry, just got an ear worm. I glued the base to the runner, making sure the base was square with the table. I found a chunk of colonial casing and trimmed the mitered ends for aesthetics. I glued and screwed it to the front of the base. TIP: If your clamps ever lose one of the rubber cushions just use one of those thingies you put on the bottom of a chair to protect the floor.
The glue is not the best and it is advisable to add a little daub of super glue to it. I found a chunk of 2 x 4 and used it as the back fence and ran the router blade up to it. I screwed the fences through the base and counter sunk the screws. Make sure this fence is square to the base. I've seen some people secure right angle wedges to the back of the fence to keep it square. It took me a bit of finessing, but eventually I got a perfect fit.
I cut two pieces. One is secured to the base and is one router bit width away from the cut made by the bit. The other is used to basically eliminate any space and will allow the router bit to cut a hole in the end of a board. I raised the router bit a skosh above the thickness of the wood I'd be using. It is easier to sand off a protrusion than to fill in a depression. Then ran it into the rear fence and tested the keys.
I made that error and knocked out the key and trimmed it down and the spacer down to the proper height. Now to test the jig.

|
Woodworking-projects-free-plans-zip Wood-cutting-cnc-machine-kit Woodworking-plans-armoire-02 |

GULYA
02.12.2020 at 18:31:45
impossible_life
02.12.2020 at 19:41:58
PERF0RMANS
02.12.2020 at 12:35:47
Almila
02.12.2020 at 10:33:21
HEYATQISA_DEYMEZQIZA
02.12.2020 at 12:57:24