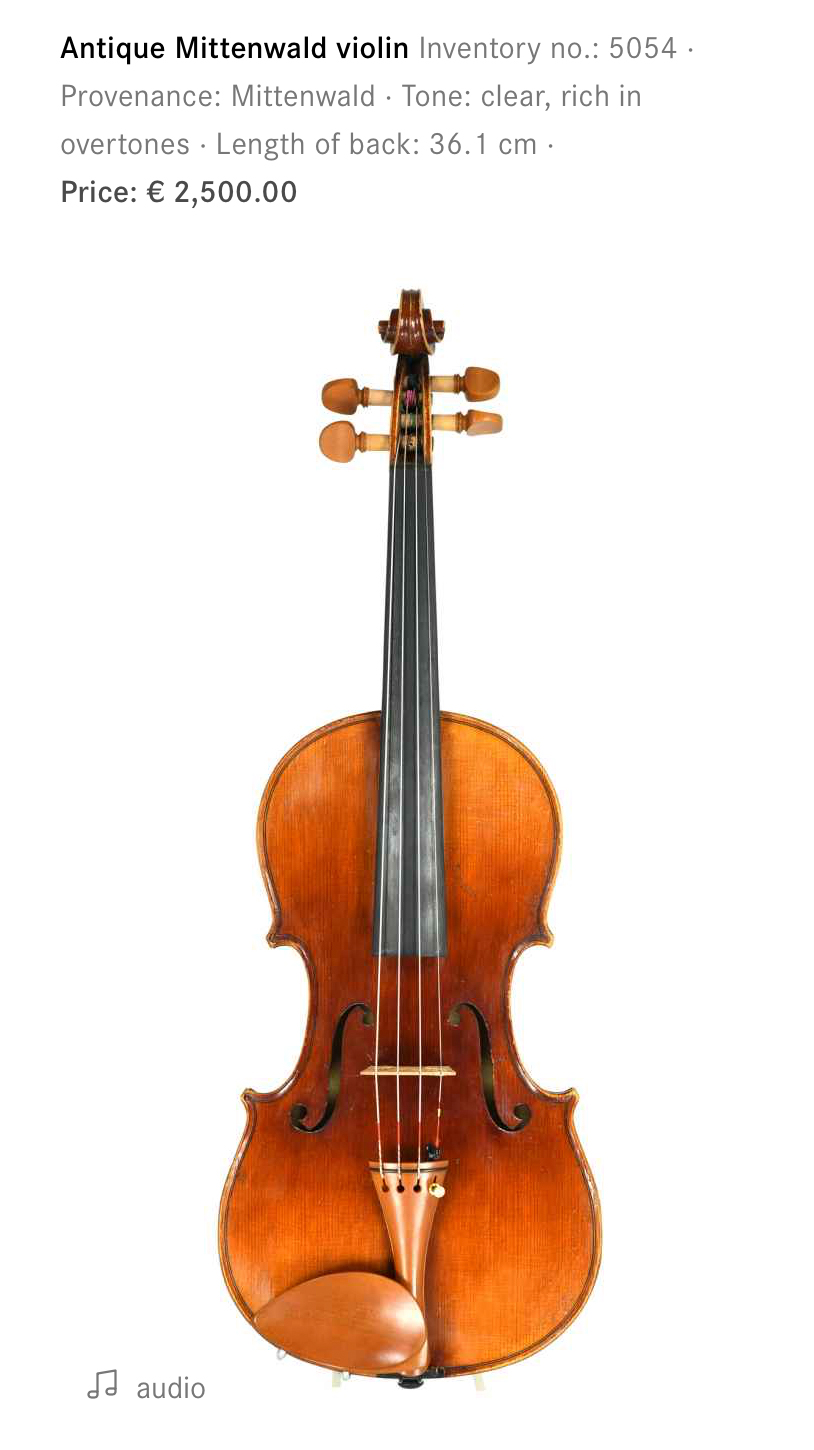
Violin Wood Workshop Guide,Best Professional Bandsaw Uk Economy,Wood Projects To Sell For Profit Gdp,6 Oak Knoll Road Mendham Nj Uk - Try Out
A qualified technician can refit the pegs and solve the Workshop Layout Woodworking Guide problem. Stiff pegs are often caused by expansion due to high humidity or a lack of peg lubricant. Regularly wipe excess rosin dust away from the body and strings of your instrument with a dry cloth.
Rosin build-up can mar some varnishes and can make strings sound poor. If a bow is over-rosined, a grainy sound will result and rosin dust will be visible.
It is not necessary to rosin your bow every time you play. For more extensive cleaning on the body of your instrument, use a mild violin polish available from your stringed instrument shop.
Replace your strings regularly to ensure your instrument always plays and sounds to its full potential. Strings gradually lose their warmth and brilliance even if an instrument is not played frequently. Active players change their strings as often as every six months for optimum sound and performance.
Students should generally replace the strings on their instruments yearly. When changing strings, always replace them one at a time and make sure your bridge does not begin to lean forward or backwards. Most strings have a 'break-in' period of a few days before they settle, stay in tune and sound their very best.
To wind on a new string, maintain some tension on the string at all times. Overlap the string once before you continue to wrap it around the peg. Always take care to wind the string close to the pegbox on the same side as the peg you are adjusting. A gentle fit against the wall of the pegbox will prevent most pegs from slipping and strings from unwinding. This carved, wooden support holds the strings at the correct height and distance from each other and transmits the sound energy from the strings to the body of the instrument.
Every bridge should be precisely carved by a professional luthier and custom fit to the table of each instrument. Since the bridge is Wood Workshop Tools For Sale Guide fragile and not glued or fixed to the table in any way, it is necessary to prevent impact to this sensitive area and to ensure the bridge remains straight and upright. Even with normal use and regular tuning, a bridge will gradually lean forward or back in the direction of the pegs or fine-tuners.
If the bridge is left in this position it will eventually warp under string tension. A bridge that is slightly warped can be straightened at your violin shop but a severely warped bridge will need replacement. To extend the life of a bridge, regularly inspect its position and straighten it when necessary.
To do this, one must grip the bridge firmly with both hands and carefully ease it back into an upright position. If you are not comfortable moving the bridge yourself, most teachers or any of our staff would be pleased to assist you. Dry conditions can cause seams to open, which may generate unwanted buzzes or sounds. Open seams can be repaired without difficulty at your violin shop. Traditional violin maker's glue is used to close seams. Several hours or overnight drying time is required before instruments can be taken home.
Other glues must never be used for any repairs on your instrument. Cracks should be repaired immediately so that they do not lengthen or collect dirt. In most cases quickly repaired cracks are stable and virtually invisible. Serious cracks may require special attention and techniques that use interior cleats or patches.
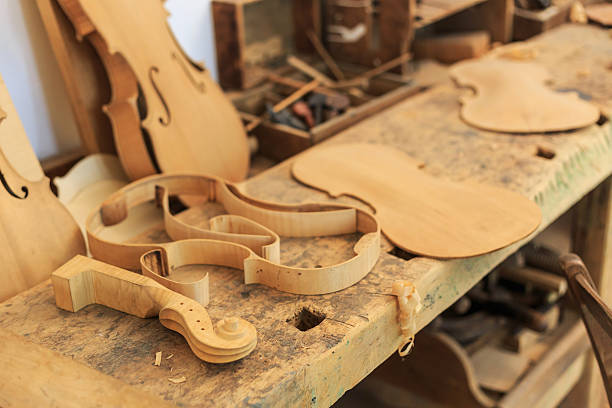
Chisel the C-blocks on the side to match the corners of your violin template. Lay the template you originally traced on top of the mould so you know where the corners on each side of the violin lie. Draw the corners onto the C-blocks glued to each side of the mould so you know what you need to cut off. Use a chisel to cut through the blocks so the C-shape on either side of the violin has a curved edge. Sand any rough edges with grit sandpaper to smooth them down.
Cut out strips of wood to use for the ribs so you have enough to bend and shape around the outline of your template. Maple is the standard wood that violins are made from, but you can use other hardwoods if you want. Clamp the strips of wood to a flat work surface, and guide a wood plane on top of each strip to shave off some of their thickness. Soak the C-rib pieces in water for minutes. The C-rib pieces are the shortest pieces that fit into the C-shaped sections on the sides of your violin.
After minutes, pull the strips out and shake off the excess water. Bend the C-ribs into shape using a bending iron. A bending iron is a round piece of heated metal used to heat wood and bend Violin Wood Workshop Price it into curves. Guide the rib pieces over the bending iron and shape them around the curve on the iron. Try to get the curve close to matching with the C-shape curves on the sides of the violin mould.
Be careful around the bending iron since it will cause severe burns if you touch it. Glue and clamp the C-ribs onto the mould. Guide the bent rib pieces into the C-shaped curves on the sides of the template mould and fit them tightly against the edge.
Lift the ends of the ribs and place a small amount of glue on the C-blocks on the tops and bottoms of each curve. Press the rib pieces against the glue and place a flat piece of scrap wood between the C-blocks to hold the ribs in place. Clamp the scrap wood to the mould and let the glue dry for 24 hours. Remove the clamps from your mould so you can easily cut off pieces from your C-blocks. Use a wood gouge or chisel to shape the C-blocks into the corners of the violin.
Continue shaping the C-blocks until the edges are flush with the rest of your template mould and sand them if you need to smooth them out. Bend and glue the top and bottom ribs into place. Guide the rib pieces along the bending iron to shape them as closely as you can to the shape of the violin.
Set the ribs along the edge of the template mould and press them tight against the side. Apply a small amount of glue to the ends and centers of the ribs so they adhere to the C-blocks. Clamp the ribs in place and let them dry for at least 24 hours so the glue has time to set. You can either use 1 or 2 different rib pieces for both the top and bottom curves of the violin. It may be easier to shape 2 rib pieces than a single piece.
Pop the ribs out from the mould once the glue has set. As soon as the glue is completely dry, undo the clamps and carefully try to pull the entire rib structure up and off of the mould. If it sticks in places, carefully shimmy a small chisel between the mould and the ribs so you can pry it out. Eventually, the ribs and the C-blocks will come free from the mould. Round the inside edges of the C-blocks with a file. Place the edge of a file on the inside edges of the C-blocks and carefully sand them down.
Work the C-blocks on the side corners of the violin so they make a smooth curve that follows the angle of the rib pieces. Part 2 of Trace 2 mm 0. Place a pencil along the edge of the rib structure and follow along the outline closely so your front piece is the right size.
Cut the shape for the front of your violin using a bandsaw. Guide the piece of wood through the blade of the saw to cut around the outside of the outline. A wood gouge is a tool to remove and smooth out pieces of wood.
Measure in from the edge of the front piece about 7 millimetres 0. Use a wood gouge to flatten the edge around the violin to make the platform, which is where the violin connects to the ribs. Use a chisel or a wood gouge to carve the channel out of the violin.
Work completely around the edge of the front piece so the channel goes completely around it. Bend strips of purfling with your bending iron. Purfling is a decorative wooden border around the edge Violin Wood Workshop 5g of your violin that also helps support the instrument. The bending iron is extremely hot and will cause severe burns if you touch it.
You can buy purfling strips from a music shop or online. Glue purfling strips into the channel you just carved.
Starting from the corners on the sides of the violin, apply a small amount of hot glue into the channel and guide the purfling into the shape. Press the purfling into the channel so it has firm contact with the glue and dries in place. If you need to, use a small hammer to tap the purfling into the channel.
Use a wood scraper to arch the violin along the center line. Make smooth slopes coming from the center of the violin to the flat edge around the outside you already carved. Make sure the highest point of the arch is about 16—18 millimetres 0. Flip the front of the violin over to carve out the backside. Flip the wood over so the arched side is face-down. Clamp the front piece in place so you can easily hollow out the bottom of the violin.
Make sure you use new, sharp tools to make cutting the wood easier. Cut out the f-holes for your violin. The f-holes are the hollowed-out sections where the sound of the violin comes from. Flip the front piece over so the arched side is face-up again, and position the f-holes so the top of each one is 42 millimetres 1.
Glue a bass bar onto the backside of the front piece. Turn the front piece over so the hollowed-out side is face-up. Cut a piece of spruce to by 20 by 8 millimetres Glue the bass bar in place with wood glue and clamp it in place for 24 hours. When the glue is set, you can remove the clamp. Spruce is the traditional wood to use for a violin, but you can use other hardwoods if you want.
Part 3 of Put the point of your pencil against the edge of the rib structure and slowly trace around the outline so you know what shape to cut out from your wood.
Draw a platform in the top center of your outline for the neck button. The neck piece of your violin directly connects to the bottom of the instrument, so you need to include a platform at the top, also known as the button.
Use a straightedge to draw a 22 mm 0. Extend straight lines down from the ends of the one you just drew so they connect with the outline you traced. Cut the bottom piece out using a bandsaw. Guide the piece of wood through the bandsaw, slowly working around the curves of the instrument. Carve a channel around the outside border of the back piece. Make sure the channel is about 2 millimetres 0.
Bend and glue purfling into the channel you just carved. Guide the purfling strips around the curves of the bending iron so they closely resemble the channel you carved out. Starting in the corners of the instrument, apply hot glue in the channel and tap the purfling into place.
Let the glue set completely before continuing. Use the same purfling you used on the front piece so your instrument looks cohesive. Carve the back piece of your violin so it arches in the center. Care and Maintenance Daily care and maintenance Changing the strings Occasional maintenance Bow maintenance. Trivia The f-hole used to be a C-hole or S-hole Why the f-hole?
Violinists must bow to the horse Steel strings or gut strings? That is the question Is the chinrest the unsung hero of the violin?


|
Things You Can Build Out Of Wood Quantum Pdf Is Ace Hardware Open July 4th Or Mortiser Machine For Sale Philippines Address |

BESTGIRL
02.04.2021 at 14:41:22
Anjelika
02.04.2021 at 12:12:10