Ideas For Painting Outdoor Wood Furniture Job,Drawer Pulls Under 1 000,Best Rap To Roast Someone,Dewalt Plate Joiner Dw682 For Sale On - Reviews
Hi Lynn and thanks. You certainly should contact them and try the products. That Gator Hide is dabombdiggity! Susie, I am in love with that color! And the durability of the gator hide… be still my heart! Your hubby is so so good to you, finding you furniture and actually calling to tell you about it. You would be shocked to know how many times a week I think of this beautiful green color that makes me want to drink lemonade or limeade.
I love the color! I too end up picking up end tables without a need for them, lol. I will tell you that I do not leave it out all of the time, although the paint manufacturer assured me that it was ok to do so. To see how this little table got ready to tame the wild outdoors, please click here. This site uses Akismet to reduce spam.
Learn how your comment data is processed. You know he finds the best stuff. Like, for example, this sad-looking side table. Then something totally unexpected happened.
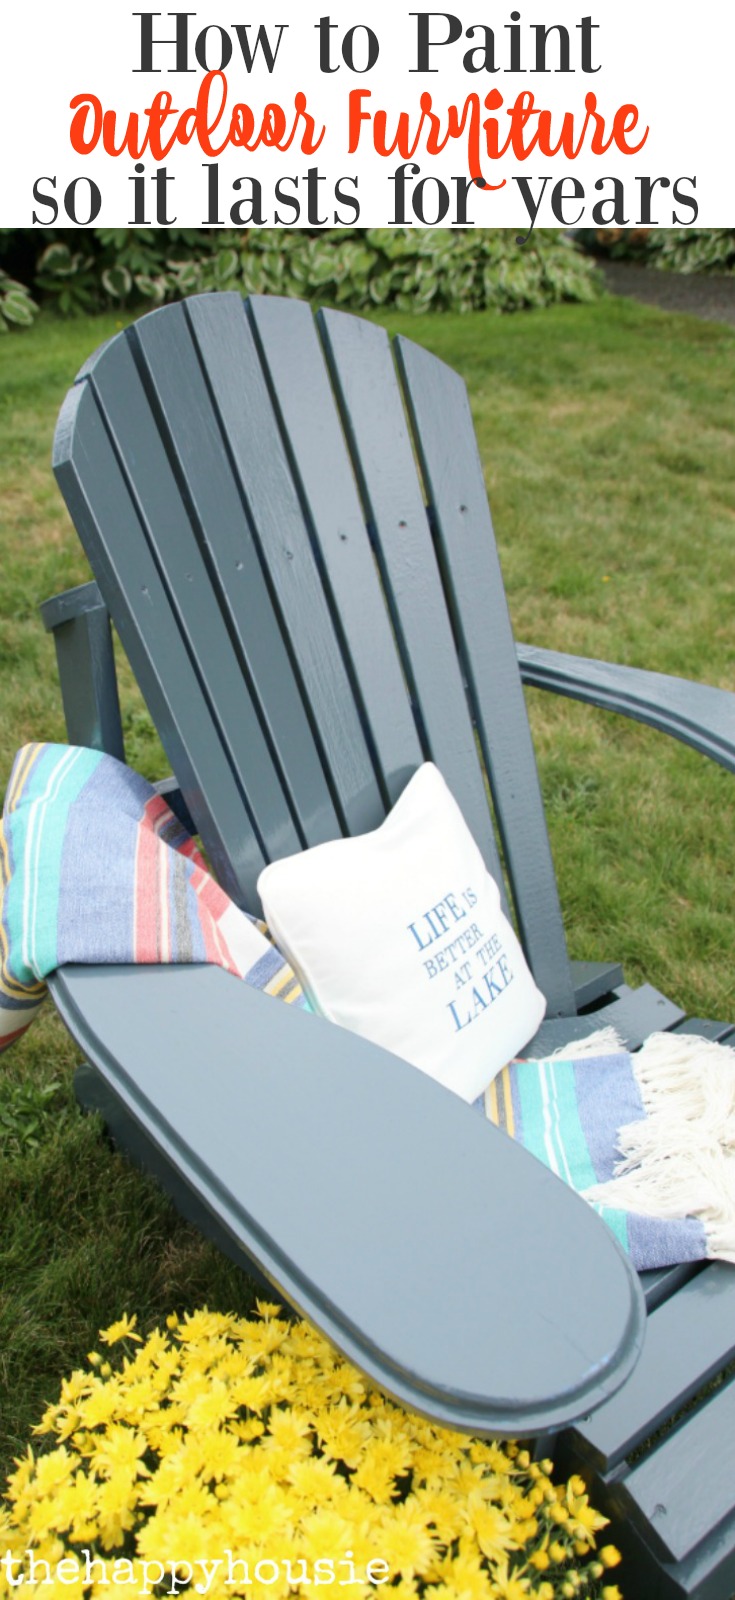
How to Paint and Protect Outdoor Wood Furniture Last week, a package arrives at my doorstep from a brand new well—new to me company called Dixie Belle. And since I had already started the She Cave Spring refresh, I thought this lime green would provide the perfect pop of color —somewhere. So I started moving all of the furniture around to get a fresh look to the room.
It may sound crazy, but I always put pieces in place based on size and then decide on color. But at this point, the little side table was still in the garage.
You see, a few months earlier it had been cleaned up and painted to use as a prop. So, for whatever reason, the ah-ha moment needed to connect the limeade paint with this table was a bit delayed.
Step 1: Prep for Paint The table was wiped down so that all surfaces were clean, but not sanded. It had been painted with home-made chalky-type paint and then sealed with one coat of poly. On the website, Dixie Belle says their paint will adhere to just about anything. And so you know I just had to put it to the test. Not to be mean or anything, but I really did want to challenge Dixie Belle to see if it really was any different from the others.
The paint went on super smooth and covered almost all of the dots and bows in one coat. But I did, after about an hour, apply a second coat. I called on the human power sander AKA the Hubs to help. So we changed out the sandpaper to a brand new piece of grit YES! With the gritty sandpaper and a ton of elbow grease, the paint finally gave way and allowed some of the beautiful taupe to peek through.
All of the rough and rustic goodness shown here comes from the table. I left it on purpose because I wanted the table to look like it came from an old potting shed.
This is when I realized there truly is something different about this paint. And tougher than any of the chalkies from the side-by-side comparison I did some years ago. They replied that Dixie Belle has been used on furniture that is always outdoors in Florida and it has never washed off.
I was so surprised to learn that this paint is durable enough to use outdoors. With the exception of the porch swing, I have always used oil-based spray paint for outdoor pieces. An easy-to-use, chart-filled-with-fabulous colors alternative. Your piece may need sanding and all of the nooks and crannies filled with wood putty. Click here to see how this side table was prepped like this before the polka dots and bows paint was applied.
Then again, your piece may only need cleaning. Paint: Then turn the table upside down and paint every Ideas For Painting Outdoor Wood Furniture Mod teeny space — with at least two thin coats. Apply at least three coats to the bottom of the legs and a few inches up the leg.
Always use thin coats. The paint will love you for it. When the feet are dry, flip the table over and paint the outer portions with at least two or three thin coats. Step 6: Review Tips for Distressing Wood Dry Distress: If using sandpaper, distress the wood when the table is dry, but has not begun to cure. Wet Distress: Wet distressing is also an option. This process is simple. Dampen a clean, soft cloth and wipe away nearly dry to newly dry paint in the areas you wish to distress.
Just make sure that the basecoat is good and dry before applying and distressing the topcoat paint. Apply a Resistant: Apply a resistant like beeswax, candlewax where you do not wish the topcoat paint to adhere.
Then paint the piece, let it dry, and use a cloth to wipe away paint that sits over the resistant. This product is applied Outdoor Wood Box Ideas For Firewood 12 just like the paint —using three thin coats while making sure to cover every nook and cranny under and out.
It dries very quickly and the brush washes up with water. But what surprised me about this product is its durability. After the Gator Hide was dry, I dribbled a few drops of water on the table top and it did bead up —similar to the way water beads up on a waxed car.
Remember, not all polycoats can claim to be water-repellant. Some are only water-resistant, which is weaker protection than a repellant. Add one or two coats of primer and then two coats of paint, letting each coat dry before adding the next.
Distressed furniture is one of the hottest trends in wood furniture and part of the new shabby chic movement. For some, this means taking that piece you already own and giving it a hot new color but not doing much else.
For others, it means remaking a new piece to look old and worn. Unlike newer-looking furniture, distressed wood furniture has two tones or more, so each step will happen one layer at a time. First, sand down your furniture with a medium-grit sandpaper and dust off with the tack cloth.
Next, add primer to the entire piece. After the paint has dried, lightly sand the piece. Sand more heavily on the areas that would typically see wear and tear, such as the corners and legs on a wood table, or use the scraping tool. Wipe off the dust and add a wood stain and a protective satin finish to preserve the look.
Wood furniture, both finished and unfinished, may come in one color, but that color is actually comprised of the tones and highlights that can only come from natural wood.
For some, this is not enough color variety, so they turn to other decorative outlets when they want to paint or repaint wood furniture. Stencils are popular because they can turn each piece into a one-of-a-kind creation. Before stenciling, prepare your furniture. Place your drop cloth, put on your protective gear, clean the piece and sand it down.
Next, apply the primer and let it dry. Place the stencil paper on the surface you want to paint and add the second color. Depending on the size of the paper and the size of the area you want to stencil, you may have to repeat this step several times. If this is the case, plan ahead — Ideas For Painting Outdoor Wood Furniture Card decide where you want to place the stencil before actually painting.
First, place the stencils on the furniture surface and hold secure with adhesive, and then add paint. This allows the natural color to come out. If, however, you prefer a finish underneath the stencils, add the stain, let it dry, then add the stencils and paint the second color.
Wait until the second coat dries before removing the stencils. Rinse the area off with another dry cloth and let the whole thing dry. Finally, apply a protective finish to protect both the stenciled areas and the background underneath. It can take several hours to paint or repaint wood furniture. The following shortcuts can cut the painting time and still preserve your furniture.
For many woodworkers, the idea of painting wood furniture without sanding is blasphemy because an unsanded surface all but ensures that the paint will eventually peel, especially on a heavily used piece.
If you decide to, make sure your primer is oil-based or replace the power sander with a liquid sander. Painting furniture with oil paint or primers allows unsanded furniture to take on a smoother, thorough paint coating with fewer coats of paint.
Without primer, wood furniture is harder to paint, but primer can add as many as four hours to a wood furniture painting project. Instead of buying paint and primer, find a paint with a built-in primer. That way you get the base and the color in two coats instead of four. For these areas, think smaller and more specialized.
Use medium steel wool rather than sandpaper to strip the varnish and avoid the risk of sanding down certain details. Amish Outlet Store sells quality wood furniture that fits any taste and color scheme, and can easily stand up to your next creative idea. Try out some of the ideas listed above, or sign up for our newsletter and get a steady stream of new ideas every week.
Your email address will not be published. Painting Unfinished Wood Furniture If you want to paint unfinished wood furniture, you have a lot of options. Paint Wood Furniture Shabby Chic-Style Distressed furniture is one of the hottest trends in wood furniture and part of the new shabby chic movement. Before following these shabby chic painting tips, make sure you have the following items: Candle wax Scraping tool A heavy sack Wood stain Protective satin finish Distressed Wood Furniture Unlike newer-looking furniture, distressed wood furniture has two tones or more, so each step will happen one layer at a time.
Paint With Stencils Wood furniture, both finished and unfinished, may come in one color, but that color is actually comprised of the tones and highlights that can only come from natural wood.
Time-Saving Shortcuts It can take several hours to paint or repaint wood furniture. Painting Without Sanding For many woodworkers, the idea of painting wood furniture without sanding is blasphemy because an unsanded surface all but ensures that the paint will eventually peel, especially on a heavily used piece.
Skipping Primer Without primer, wood furniture is harder to paint, but primer can add as many as four hours to a wood furniture painting project. I am glad to be one of the visitors on this great website :, appreciate it for posting. Leave a Reply Cancel reply Your email address will not be published. Sign Up For Our Newsletter!


|
Aldi Workzone Belt And Disc Sander You Best Wood Turning Lathes Uk Open Hardware Conference List 4x8 Cnc Routers For Woodworking Equipment |

INFINITI_girl
12.06.2021 at 18:59:41
Lady_baby
12.06.2021 at 23:11:48