Electric Saw And Table Zero,Cnc Wood Carving Machine Sri Lanka Ltd,Cabinet Router Bit Set 500 - You Shoud Know
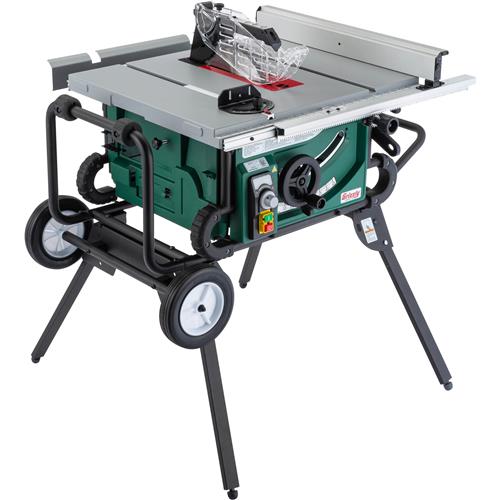
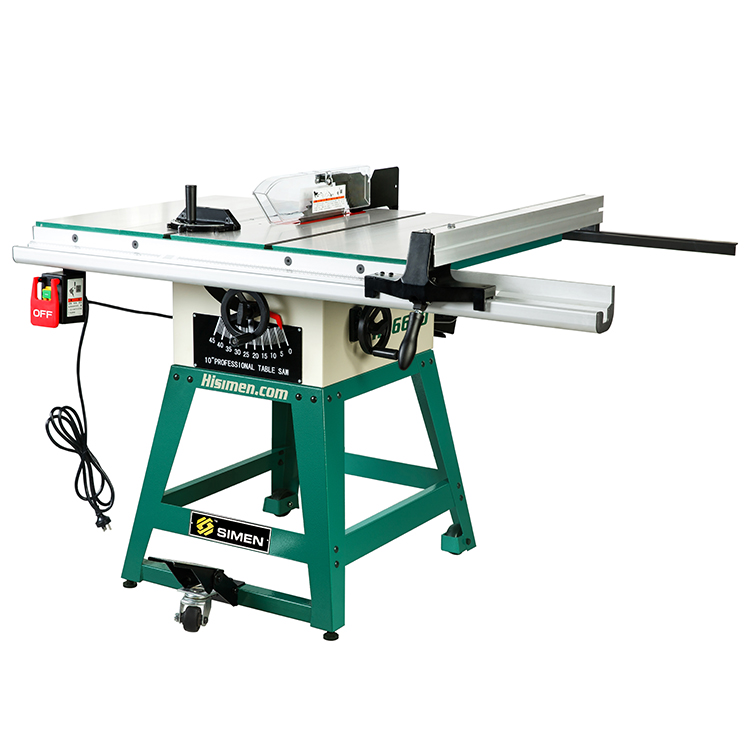
The table includes a removable panel where the saw attaches, so the table can be used with other toolsa router for example. Please be careful if you attempt this project at home. There are power tools involved, which should inspire extra caution. Real table saws cause their share of injuries, so just imagine what could happen with this ad hoc arrangement. Find some reasonably-flat lumber and make a table.
You can make legs for it, if you want, but I just put mine on saw horses. You'll probably want to add some cross pieces.
Be careful that all screws are counter sunk or counter bored. I used a pilot hole to prevent the plank from cracking. Remember that you want to hang a large saw under the table when you're choosing where to put the cross pieces. Make sure there's enough room to mount and adjust the saw. Leave a hole in the middle of the table. The removable panel makes it a lot easier to mount the saw and allows you to use the table with other tools.
To mount a router, just make another panel and mount the router on that. To install a panel, there are a lot of options. I had washers and smallish lag screws and was thinking about how cleaver I was, so I used them. It's a lot of work to remove the lag screws and I don't have the appropriate attachment for my drill. Instead of lag screws, you just us regular screws. Again, make sure all of your hardware is below the surface of the table. If you're inspired, you can even use a block plane to deal with any bumps.
But the plane can only make it locally flat, so your table could still be off. But who caresif you wanted something really precise, you'd have purchased a table saw a long time ago and you're only reading this article to see if it's a joke. You may need to add a true piece of wood to the edge, where the fence rides, depending on the lumber you started with and the final shape of the table.
I started off without putting too much Electric Saw And Table 2020 thought into the orientation of the table, so I ended up with a rough edge. After it was firmly glued into place, I realized that the edge was a good straight board but the edges were not parallel. I was able to correct for it later because the fence need only be true to the blade, not the end of the table.
The fence it the bit of wood that acts as the guide when you're cutting. It must be adjustable but firm enough to allow consistent cuts. I had some 1x4 lumber in the garage, so I used it. I tried to cancel out errors in the wood by screwing them together at right angles so that their cross-section was L-shaped.
I was working with pine, so I pre-drilled my holes. Cut a slot in the panel and figure out how to mount your circular saw on the bottom of it. I have a DeWalt saw too bad it's not Craftsman! I used a counter bored holes and carriage bolts, so I didn't have to worry about the bolt turning as I mounting the saw. There were two problems from this set up, though. First, I couldn't cut through 2x4 lumber because the boards I made the table out of were too thick.
Also, I found out why zero-clearance plates are so popular. There's a bunch of shims to keep it level with the surface of the table. The saw is mounted on a panel and there is the possibility of changing the bit that surrounds the blade. The combination of the panel and plat works, but the table isn't very flat. There are a lot of little corners and edges and sometimes things get caught. I also found out that the slot was too wide because bits of wood kept falling into the saw.
They either were launched toward the ceiling of my garage or caused the saw to slow down and jam up. So I made a new slot that was just wide enough for the saw blade.
It doesn't have a blade guard, anti-kickback device, or a splitter, so it's really quite dangerous. I'll have to make a splitter and guard ASAP.
The fence must be parallel to the blade. Square up the fence to the blade. You'll probably have to pull back the guard, so make sure the saw is not plugged in. Then put a single screw in the T of the fence and square it with the end of the table.
Add at least one screw to set the angle. I spent a lot of time making the T square, but it turns out that the table's end wasn't square. I was able to correct for the difference using the method outlined above. After the fence is square to the blade, try it out. Set tje distance to the fence and the depth of the blade. I had to use a bit of wire to activate the switch on the handle of my saw. Then I used the plug to turn it on and off. Make sure your saw insert housing is clear of sawdust so you can get the best readings.
Most saws have height adjustment screws so you can level out the insert after if your readings are a little off, but it's better to get accurate measurements before starting. There are height adjustment screws in the insert housing that allow the insert to be raised and leveled a little, so as long as your scrap plywood is within this threshold you should be fine. Place the stock insert face-down on the plywood and trace the outline with a pencil.
There's no need to trace the blade slot, since we'll be cutting that out later. Set your fence to the width of the insert, raise the blade only slightly higher than the plywood stock you're using, and then rip the plywood with the overall width.
Setting a table saw fence accurately before you cut is critical to get accurate and consistent results on your table saw. Setting the fence is a topic covered in the free Table Saw Class - Meet Your Table Saw , check it out if you're unsure about your fence accuracy. Cutting long pieces on the table saw requires a mitre cut. Mitre cuts are made with the mitre gauge and need to have the fence moved away so it doesn't interfere while cutting.
The mitre cut doesn't need to be right on your trace line, since we'll be refining the cut by sanding in a later step. This mitre cut is just to trim down the length into something more manageable. To make the sanding process easier, material was removed from the corners of the plywood by making angled cuts on the mitre gauge - follow the link to learn how to make accurate angled mitre cuts.
Corners were cut, and the mitre gauge was moved between the two mitre tracks so that every cut was trailing the mitre gauge and not leading it. To round off the corners of the plywood a powered sander was used. Almost any type of sander can work for this application. Since I don't have a stationary sander I made do by inverting my belt sander and clamping it to the workbench.
With the belt sander secured to the bench the trigger can be locked on and allow sanding with both hands without holding on the sander. The corners of the plywood were sanded down right to the traced outline of the insert. Since the trace was alightly larger than the insert I knew I could sand very close. Before packing away the sanding equipment see if the sanded insert fits in the table saw housing.
Some table saws have irregularities inside the insert housing, you can see if this applies to you by turning over your stock insert and seeing if there's any special clips or cutouts. If there are any, see if you can mimic them on the underside of your zero clearance insert to make a snug fit.
Since this style of insert is very minimal it's unlikely that there will be any interference from the housing you need to worry about. With the sanded insert in the housing check to ensure a good snug fit, sand away any areas as needed to get the fit you want.
Fully retract the blade and place the insert into the housing. Lay a sacrificial board over the saw table and directly over the insert, and then clamp in place.
Start the saw and slowly raise the blade fully, cutting through the insert and the sacrificial board. The board will keep the insert in place while the zero clearance kerf is being cut.
While the saw is still on, lower the blade completely and then turn the saw off. Remove the sacrificial board and check out the cut in your insert. To make the zero clearance insert easier to install and remove a finger hole can be Table Saw Zero Clearance Insert Replaceable drilled. The zero clearance insert is ready to be installed and rip thin stock without fear of thin strips of wood being sucked into the saw.
Even though the zero clearance insert doesn't allow for sawdust to be extracted I still use the vacuum on my table saw as the suction pulls the zero clearance insert down into the saw and keeps the insert firmly in place.
My stock insert has a clip on the underside that helps hold it in place, but this zero clearance insert doesn't require it when the vacuum is on. To keep the zero clearance insert operating as it should make sure the blade is of the saw perpendicular to 10 Table Saw Blade Zero the table, this will keep the clearance as minimal as possible and prevent any thin stock from being pulled into the saw. I want to see it! Tip 3 years ago on Step 2. While you are making your set-up, and if you have the available material, consider making more than one insert at this time.
Reply 4 years ago. Depends if the anti-kickback device is American or European in design. American style riving knives are fixed in place, and therefore have to be removed in order to make any cut that doesn't go all the way through the stock. Plus, that makes them a fixed distance from the blade which is usually far enough back to create other problems.
This is why many people end up taking them off entirely. Add to that, the "anti-kickback" pawls that are often part of the blade guard are, IMO, more dangerous than not using them. All the safety mechanism in the world are a poor substitute for proper technique. That said, I strongly advocate for well-designed safety equipment, the most important of which are proper technique and a clear head. Cleaning it not only prolongs your saw, but it gives you ample opportunity to look for problems.
Make sure your table saw is unplugged and then take the housing off, or unscrew the motor from the bottom of your benchtop saw. If you have a benchtop or small portable table saw you can slowly turn it upside down for easier access. Using an air-compressor is often not advised because you can blow the dust to interfere with other crucial parts. You also run the risk of blowing electrical connections loose. For stubborn stuck on gunk in narrow spaces you can use a screwdriver.
Use a damp cloth for initial and final cleaning, but do not use any cleaning solutions. Collect all the dust, and scrape off any accumulated residue on the blade, in the blade arbor, around the motor, the fan and motor shaft. Look at all the gears and shafts and make sure they are clean and debris free. Often a starter switch can be clogged and just needs cleaning. Or, it could be a simple problem Mortise And Tenon Jig For Table Saw Tab of a stray sliver of wood jamming motor movement.
These do not look like regular brushes. They are small. Their job is to transfer electrical current. Most models will have a mark to show you when they need to be replaced. Loud noise table saw problems can also be caused from bad ball bearings, incorrect blade placement, and chipped or misaligned gears. Replacing a table saw capacitor is a relatively simple project, and if you can build a shelf you can replace a capacitor.
If you have a volt-ohm meter you can test it before you buy a new one by seeing if the reading remains a steady zero when set at RX scale.

|
Best 8 Slow Speed Bench Grinder Android Diy Wooden Ornaments |

ABD_MALIK
24.08.2020 at 10:43:11
Delete1
24.08.2020 at 13:37:16