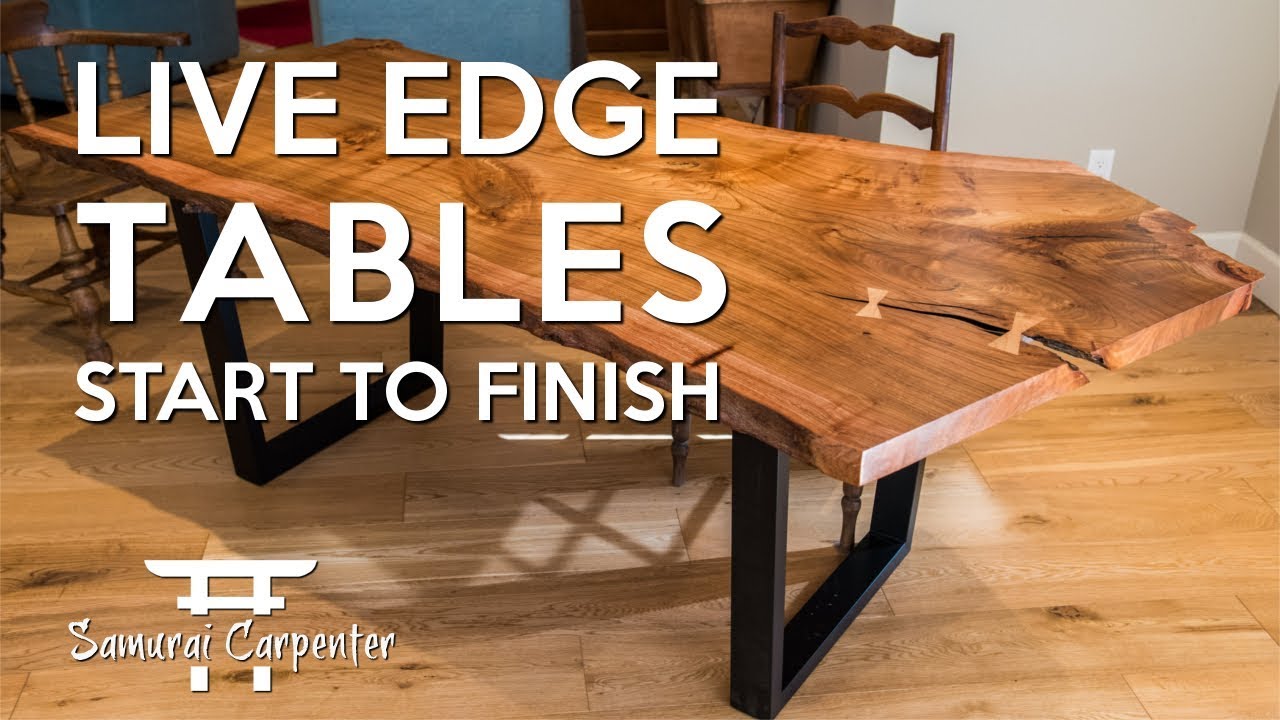
Woodworking Table Top Finish 50,Belt Disc Sanders Woodworking Network,Rikon Band Saw Parts - Reviews
Do you have other suggestions for finishing this tabletop to bring out the color of the wood and protect from spills? Rob Johnstone : My opinion — and it is worth every cent you are paying for it — is that you have the right idea with Watco oil.
That is especially true if you are thinking of resurfacing the boards and making something else out of them later. I would apply a few coats of the oil finish. It stands up to low-use and medium-use households nicely. With this coating, we can see that the people at Rust-Oleum did their best to create a unique and uniquely useful product.
The whole idea behind this coating is to offer a clear coat that is meant to be applied thickly. This is meant to not only increase coverage, but also to save time finishing your table.
Saving time seems to be one of the main priorities in the design of this coating. As I already mentioned, this finish is meant to be applied in thick coats. This means fewer coats per project, and thus less time spent. Also, I can say that this is a fast-drying product, which also saves time. Although there are many good reviews for this product, the negative reviews are pretty consistent.
Most of them say that they had a difficult time creating a level coating. Some have even reported ruining entire pieces of furniture with this coating. On the upside, this is one of the most inexpensive finishes on the list, which makes it the ideal choice for those on a budget. The leveling problems can probably be dealt with by using a slightly thinner coat. When the label on the can tells you to apply a coating three times thicker than you normally would, it is easy for people to go too far.
As the name of this product implies, it is meant for the finer projects. In fact, the manufacturer specifically states that you should not use this product for floors.
One of the things that stands out about this product is the fact that it gets universally good reviews. Of the product reviews that we observed, not a single one had anything bad to say. Part of this is due to the fact that Old Masters is a special-use coating that focuses on one particular market and does everything right. The ECOS semi-gloss varnish is another water-based coating, and this one is meant for the environmental purist.
For those with breathing problems and similar health conditions, finish like this would be very handy. It would allow a person who suffers from asthma for instance to complete their project without having to risk their life by using something that gives off harsh fumes. The makers have also refrained from adding any pesticides or antimicrobial substances to the paint, just to make sure that none of these poisonous chemicals are leached into the soil.
However, this product does have its practical side as well. This product is very time-efficient because it dries very quickly when compared to most other clear coats. ECOS varnish will dry to the touch within minutes and can be sanded or painted in 2 hours. This is very good when compared to most of the competition. The all-natural formula also means that you can easily clean up any spills with soap and water.
This is another product that aims to combine the qualities of a water-based finish and an oil-based finish. Unlike the first choice on my list, this one is meant to provide the gloss and beauty of an oil-based finish while also maintaining the hard and durable finish that is normally associated with water-based coatings.
I can say that this hybrid actually achieves its purpose. It looks far better than a water-based finish, being completely free from the dull and plasticized appearance that polyurethane can sometimes have especially when it gets old. At the same time, it does a very good job of resisting scuffs and impact. I had to wonder how they achieved this effect, but now I can tell one thing right away: this quality comes at a high price.
Although these types of coatings do not usually dry quicker than water-based paints, this one almost achieves that goal. It dries to the touch within minutes and can be sanded or painted within hours. Not particularly bad for oil paint, though nowhere near as fast as most others on our list. This is definitely not the choice for a big project unless you have very deep pockets and are willing to shell out some serious bucks.
Like an oil finish, this product gives a rich and dark shine that instantly makes a piece of wood look classy. All trees will naturally contain certain oils that work to keep it healthy. After the tree has been cut down, those oils have to be supplied by you. It remains very visible and dries very hard like a water-based poly product. In fact, some people have complained that this product is too hard to remove, but I think that is a good thing.
This ultra-tackiness also seems to negate the self-leveling feature that is advertised, as brush strokes can easily be left on its surface. Dry time is at least two hours, so plan on taking a little bit longer with this one.
Does your kitchen table see a lot of activity? If so, this Behlen Rockhard product could be the right choice. The formula dries hard, so it can help resist scratches and nicks. The best thing about this Behlen finish is its durability.
If you live in a cold or damp area, you can expect the drying time to be longer. In fact, you need to wait at least 14 hours between coats. Overall, I recommend this product, but only if you have a well-ventilated shop and plenty of time for drying. However, if you have the patience, you can achieve a long-lasting finish.
Finishing your wooden kitchen table takes time and effort. When you choose the right option for your skills and lifestyle, you can get the job done right on the first try. As you look at different options, here are some factors that can influence your decision. Are you new to wood finishing? You can choose from a wide range of finish options, each one with different advantages and disadvantages.
Some common types are:. Oil finishes add a bit of depth and color to unfinished wood. They also protect the wood, making them ideal for kitchen use. Varnish is a clear finish that dries extremely slowly, and may be difficult to apply. This material is made from wax and solvents. You might also drop your keys and bags on the table, use it to prepare food, or use it as an arts and crafts section.
Varnish and oil-based poly finishes are the most durable. Tung oil and linseed oil are relatively durable. Lacquer can be tough, but it tends to take on a yellow color as time goes by. Many wood finishes are made with strong chemicals. This means that they have intense smells. In general, water-based finishes tend to be less potent; they might be the right choice when you have limited air circulation. In most cases, you should definitely put some kind of finish on your wooden table.
There are many reasons to do this, but most of it comes down to durability. Not only that, but there are obvious advantages when it comes to the beauty of the wood. In general, wood finishes can be classified as either clear-coats or stains. The main difference is that a clear-coat does not alter the color of the wood while a stain does. If desired, these two options can be combined for a mix of beauty and durability.
A good finish, whether a clear-coat or a stain, gives you a chance to lock out moisture and remove the risk of rot, mold, or mildew. Without water, none of these things can occur, and most finishes will block it very well. For a table, a good top-coating is even more essential because this surface will need to hold up against spills and other accidents. If you want to get the strongest protection for your outdoor table, a wood sealer will need to be applied.
The whole purpose of a wood sealer is to penetrate the wood and provide deep protection. This will turn the first inch or so of your wood into a moisture-resistant layer. As good luck would have it, these products are very easy to use. The first step is to clean the surface of the table. Any little bit of dirt could prevent proper adhesion, so be meticulous here.
If the table has any traces of a previous finish, those will also have to go. Depending on the condition of the surface, a light sanding might also be in order. In short, you need a smooth, clean surface. If you are going to use a stain, you should use it before applying the sealer. The next step is to get out your sealer. There are all kinds of wood sealer products on the market , but they all do more or less the same thing. Using a paintbrush, transfer the sealer to the cleaned surface with nice, long strokes.
From there, you just have to wait until the sealer dries. Drying time will vary by brand, so consult the label. Sealers do not usually require a second coat, but you can go ahead and do one if you want to be extra-thorough. This is not a case in which one choice will be perfect for everyone.
We all have different preferences when it comes to appearance, so the key is to go with whatever pleases you. Overall, smooth and glossy finishes are more popular for tables. Most tasks for which a table is used can be done better with a perfectly smooth surface. As a first step, decide if you want to alter the natural look of the wood. If so, you will want to use a stain of some sort, and you might also choose an oil-based finish to darken the wood while giving it a rich shine.
If we had to pick one option as the best, I would recommend an oil-based polyurethane product. This will provide the desired level of smoothness while also giving the most long-lasting finish. A table will normally see a lot of hard use, and many different things might be spilled on its surface. Thus, you need to go with the heavy-duty stuff here. The application of polyurethane to wood is quite easy, and there are multiple methods.
The most common method is to brush it on with a paintbrush. If you go this route, I would recommend a soft foam brush, as it is less likely to leave streaks and other unsightly marks. I would also urge you to make sure that you wait for the recommended amount of time between coats. Otherwise, your bottom coats will never fully dry and may remain cloudy. If you want to make things easier, you can just get a can of spray-on polyurethane.
This tends to be a little more expensive, but its an ideal choice for small tasks. You can just hang the item from a wire and give the whole thing a nice, even spray. Of course, you do have to make sure that you spray evenly to avoid leaving unsightly globs and drips of excess plastic. Whatever method you choose, the application of a polyurethane layer should always be the last thing you do to the table.
There are plenty of good oil and wax-based products on the market , and you can certainly use these products to finish a wooden table. Oil and wax-based products offer a way to bring out the natural beauty of the wood without any kind of plastic. They also add a lot of moisture resistance to a wooden table, since oil and wax are hydrophobic.
Hi William, I am a novice when it comes to woodworking. I need your advice. I have an oldish oak table 10 bucks at a garage sale!
I have sanded, primered and painted. The table is divided into 15 separate squares and each square is painted differently. Now, I need to seal it before putting it to use. Imagine lots of heavy use! Before her diagnosis, she painted. Mostly watercolor. She thoroughly enjoyed it and was quite gifted with a brush. I bought the table with the hope of helping her paint again.
Small squares would allow for her keep focus. Sadly, her disease has progressed so rapidly that she can no longer paint even with my help and was only able to finish one square. I cherish that square! I have since painted the remaining squares. Only the sides of the table and the legs remain. Any guidance you can provide would be appreciated.
Thank you for your time, Kathy. There is Rust-Oleum Shellac which is also suitable for you and much cheaper. Hope this helps. We just did Dutch pour painting on our heavily used kitchen table. Now what do we put over the art work? It needs to be hard as rock for our kids and not yellow with time.
Something to level the surface and fill in highs and lows, then a hard sealer. What do you suggest? We have a problem here. Most of the finishes on the list are oil-based which means they are extra durable but tend to yellow slightly over time. If you want durable finish just pick General Finishes or Minwax. To get rid of highs and lows thoroughly sand the surface of the table with sandpaper or sander. I would like to know if there is a clear coat out there that will not get cloudy when hot and cold items are placed on.
What finish have you got on your table currently? This is the most impervious to liquids, but must be professionally repaired. See Varnish for details. Tabletop Surface and Finish You can choose how we prepare the surface and what we put on it. Options for Surface Preparation The surface of your tabletop can be: sanded.
Sanded We start on the stroke sander with 80 or grit photo below. A sanded finish is for those who want a flat, flawless surface. Hand-planed With sharp plane and scraper, we remove a shaving from everywhere on the surface.


|
Woodworking Templates Free Images Woodwork Definition Slang Queue |

H_A_C_L_I
13.12.2020 at 22:39:50
Lady_Dronqo
13.12.2020 at 21:24:46
TuralGunesli
13.12.2020 at 14:14:52
Natali
13.12.2020 at 16:40:27
KoLDooN
13.12.2020 at 12:23:28