Table Saw With Router Mount Null,Kreg Table Saws For Sale,Makita Variable Speed Plunge Router System,Best Light Duty Bench Vise - New On 2021

Common cutting options for steel are a Portaband, angle grinder with cut off wheel, or sawzall with bimetal blade. Metal cutting chop saws will also work. NOTE: Cleaning the steel needs to be done if you plan on priming and painting yourself. Cleaning the steel at the beginning of the project makes the whole fabrication process less dirty and grimy. Examine your tubing in relation to Table Saw With Router Mount Kernel the angle iron. Look for the interior weld bead. The reason you want the bead on the bottom of the tubing is because sometimes there will be a slight distortion near the weld and you want the perfectly smooth surface on the top of your tubing guide rail.
Get your parallel spacing set up ready. NOTE: I used a long aluminum bar and old paint brush handles to act as a bar lift. With your parallel spacer in place, mark the bolt line on one end of the tubing and bottom of the angle iron. This is your first reference for bolt placement.
Each bolt location will be marked with intersecting lines in step 9 for exact drilling. With parallel spacing in place, mark bolt center line on angle iron fig. Lay out the hole location along the bolt line on the angle iron using a ruler or tape. NOTE: I mark the interior spacing locations with a scribed V and then come back in and draw a generous line through the point of the V with my combination square.
Use a combination square and a scribe to mark your exact bolt locations. Make a scribe mark parallel to the length of the angle iron at each one of your marked drill locations. These intersecting lines cross marks on angle iron will be center punched for drill location. Using the drill press, drill these marked locations in the angle iron with a 7 twist drill bit.
Drill all the way through. Clamp the tubing to the angle iron with your parallel spacing in place using your four clamps. This is where you decide the exact tubing overhang you want at either end. NOTE: First you will clamp in final position fig. Flip clamped unit upside down to mark drill locations in tubing through angle iron holes fig. With parallel spacing in place, clamp angle iron to tubing and determine overhang fig.
Put the 7 drill bit in a hand held drill and use the already drilled holes in the angle iron as your template. Drill through the holes in the angle iron and mark on the tubing. You are just making drill location marks. Drilling through the holes in the angle iron to mark drill tap locations on tubing fig.
Take the clamps off and take the tubing to the drill press. Drill through the tubing with the 7 drill bit on the drill marks. This is when you drill all the way through the marked side of the tubing. Drill holes through marked location on tubing with 7 drill bit fig. There are a variety of tools and methods to drive a tap. Tap wrench, ratcheting tap wrench, spring loaded tapping center and vise grips 14a.
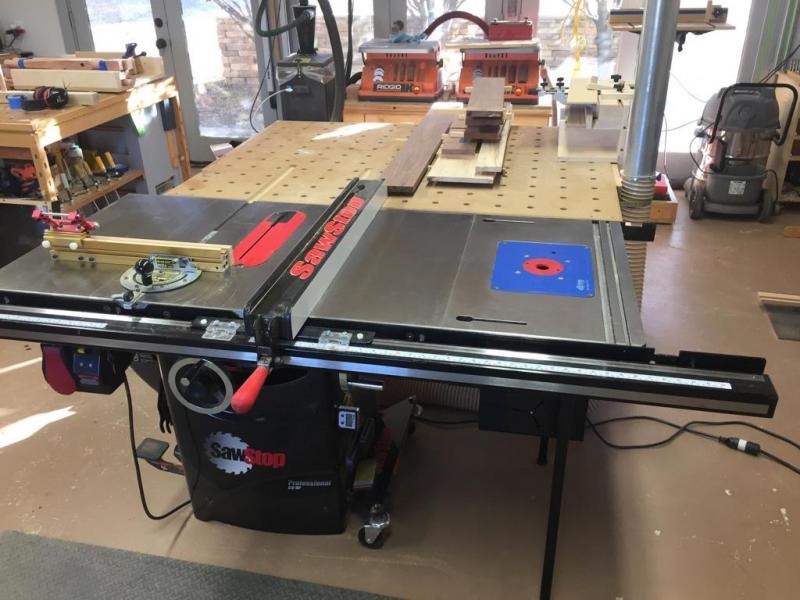
Check that the holes in the angle iron align to the tapped holes in the tubing. Determine the connection locations on the table saw, bandsaw, or router table for the angle iron. It must be exact.
Close up, step down spacing to Biesemeyer guide rail specifications fig. Use a drill bit the size of the connection holes, and a hand drill, transfer punch or a scribe to mark these hole locations on the back side of the angle iron. Marking from the back side through the table to the angle iron marking drill locations fig. Very good nibbler. I was concerned about the quality based on the price, but I needn't have been.
It's performed flawlessly and is very well built. Cuts 16 gauge galvanized sheet metal like paper. I've been using this product for a few weeks now. I love this tool. If you want something to cut 16 guage carbon steel and make lots of curves. This is the tool for you. It takes time to get good with but worth the money and time. Performed better than expected on metal dryer vent tube yesterday.
Put your drill on high speed and watch it go. Great tool, very handy for free pattern cutting, for example the edge of the tile or metal. I just attached it to my regular drill and that was it, very easy to use and it cuts well. Related Products. Payment Security Security. Money Back Guarantee Guarantee. Before doing this, you should begin first by making a drawing of two full-size octagons.
The first octagon will be used for the start of the paper and the second the end of the paper. The router can be a great asset to the wood worker once he or she understands how to use it and practice various styles and techniques.
With the router, there is no limit to what you can do. If you are creative enough and enthusiastic about routing, then you can come up with great masterpieces.


|
Spoon Carving Tools Near Me Popular Woodworking Videos Free Carpentry Bench Minecraft Recipes Ltd 18 Tool Box Drawer Slides Java |

00
18.12.2020 at 18:14:35
karabagli
18.12.2020 at 23:37:18
eRa
18.12.2020 at 19:42:23
bakinskiy_paren
18.12.2020 at 16:18:35
mp4
18.12.2020 at 14:15:17