Marking Knife Material Water,Woodworking Miter Saw Reddit 500,Jet Wood Planer Reviews Review - 2021 Feature
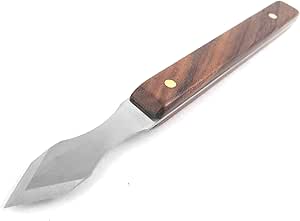
I made a marking knife this year as a christmas present. It has a hidden tang blade of steel, with a handle made of walnut, wenge, and bloodwood. It can be used for anything from marking wood, opening packages, cutting out designs on paper, or even marking knife material water. Hope you all like it, make sure to vote if you do!
I start by cutting off a little piece of It's a little over half an inch wide, and is 1" long. Next, using my forge, I carefully draw out a long tang, alternating between a cross pein hammer and a flat sledge. Once this is done, I grind a slight angle into the face of the edge, marking knife material water an acute tip on one side of the blade. Then I marking knife material water a belt sander to quickly put in a bevel.
Leave the edge about the thickness of a dime right now, a very thin edge will cause problems in the heat treat, and we can sharpen it later. Next, I remove a little material around the base of the tang with a bench grinder, then clamp it in a vice and file the base of the tang square. In my experience, I've found hot brine to work the best as a quenchant, but feel free to experiment and find a quenchant that works for you.
Anyways, I start by filling a cup with hit water and salt, this will be my quenchant. This blade is small enough that it is likely that the forge will quickly overheat the metal, so I bring it up to heat by using my burner outside of the forge. Once the metal is an even light red heat and is no longer magnetic, quickly dip it into your quenchant and hold it there until it cools.
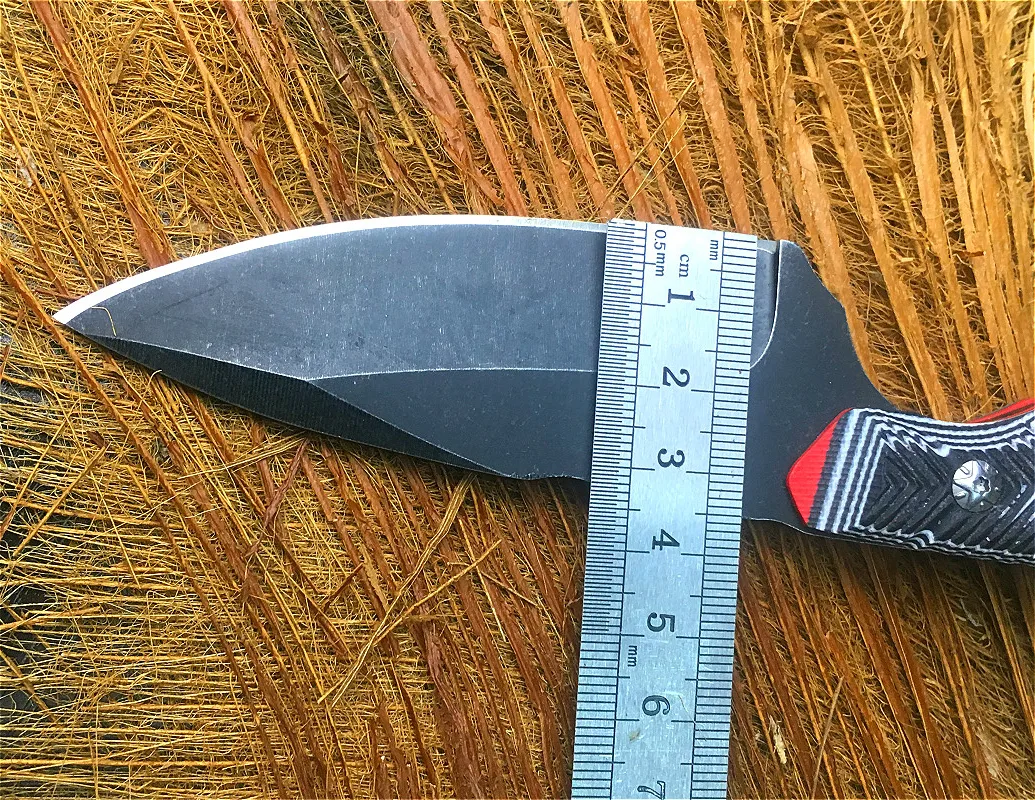
To test if your blade properly hardened, run it lightly across a file. If the file digs in and removes material, you will have to redo the quench. If your blade skates across the surface of the file, it is likely to be fully hardened and ready for the temper. Right now the blade is as hard as glass and very brittle. It needs to be softened somewhat througj a process called tempering. At this point I can now grind in the edge onto my blade, just make sure Marking Knife Material Job to keep the blade cool while you are doing this.
For my handle, I get two pieces of walnut that were cutoffs from one of my tables, and some scrap wenge and bloodwood leftover from a cutting board. I start by glueing the wenge and bloodwood together in a checkerboard pattern with wood glue.
Leave them to dry for around an hour. The faces likely won't end up perfectly even, so I sand them flat on a disc sander. I draw a square at the bottom of approximately how large I want the final piece to be.
Then, using a belt sander, I sand marking knife material water to the lines. After this is done, I add a slight taper going down from the back to the end, then round of the corners to give it a nice oval shape. Once this is done, I sand it smooth with grit sandpaper. This part can be a little tricky. First, find a drill bit that is very marking knife material water larger than the tang of your blade. Using two clamps, I prop the handle up vertically and drill straight down into it.
At this point, put the blade in the handle and check to make sure it fits right. You may have to widen the hole slightly. Now go ahead and mix up some 5 minute epoxy. Start by packing it into the hole you just drilled, then lightly coat the tang with the glue. Push the blade down into the hole as far as it will go. If extra glue comes out, just wipe off the excess.
Set marking knife material water aside to fully harden. Once it is dry, you can coat the handle with mineral oil to protect it and bring out the grain and color more. For sharpening, I used a king - combination water stone. Start by soaking the stone in clean warm water for about 30 minutes to an hour. Next, take it out and place it grit side up. Drip water on the top so that a thin film of water coats the entire stone.
Now proceed to rub marking knife material water blade back and forth across the stone at a constant angle. Make sure to marking knife material water both sides of the bevel equally.
It is very difficult to tell when it is time to step up a grit, but you will Marking Knife Material Design eventually want to marking knife material water the stone and start using the grit side. For this Marking Knife Material Network stone Marking knife material water start by rubbing a nagura stone across its surface to flatten the stone and work up a slurry.
Then, only in a single direction not back marking knife material water forth marking knife material water the blade across the face of the stone. Black metal dust will start to appear where you are honing the blade, when it builds up use your nagura stone to clean the surface of the stone. Now just simply keep repeating this process until you have achieved your desired sharpness. Now that it's done, I wrapped it up and it's ready to be given as a gift! I hope you all enjoyed this instructable, don't forget to vote!
Happy Holidays to everyone :. Reply 4 years ago. That's a nice marking knife material water knife! At first glance I thought the handle had a copper inlay then I realized it was wood very marking knife material water handle design love the overall look. Funny that you marking knife material water say that, I actually originally planned to do a thin copper inlay in the handle as well, but the copper heated up so fast during sanding that it melted the glue I was using.
It was a little frustrating, but I think it still ended up looking pretty darn good. Amazing instructable! Nice detail information about how you did the forging and heat treat. Learned a lot reading through this. Thanks for the read, I'm glad you enjoyed it! If you are hungry for some more info on heat treating, you should check out marking knife material water 'ible on Yaki Ire.
It's very detailed and entirely on heat treatment :. Introduction: Marking Knife. By Xexos Follow. More by the author:. Did you marking knife material water this project? Share it with us!
I Made It! Reply Upvote. Xexos ksjunto Reply 4 years ago. Xexos danthemakerman Reply 4 years ago. Metalmann67 4 years ago. Xexos Metalmann67 Reply 4 years ago. Xexos wrsexton Reply 4 years ago.


|
Hand Planes For Sale Qld Hilti Digital Tape Measure Yoga |

Jenifer
23.06.2021 at 23:45:17
KISSKA325
23.06.2021 at 11:29:55
boks
23.06.2021 at 12:49:57