Make A Picture Frame With Kreg Jig Origin,Premier Hardwood Products Inc Quad,Woodworkers Supply Phoenix Quarter,Undermount Cabinet Drawer Slide Github - Review

With its small footprint, this framing machine can easily fit into tight spaces, yet also offer big-time versatility. Having the option of working from the backside of the machine is a gamechanger.
The dual foot pedals allow for front or rear operation. The right foot pedal operates the front clamp to secure the frame. The left foot pedal inserts V-nails.
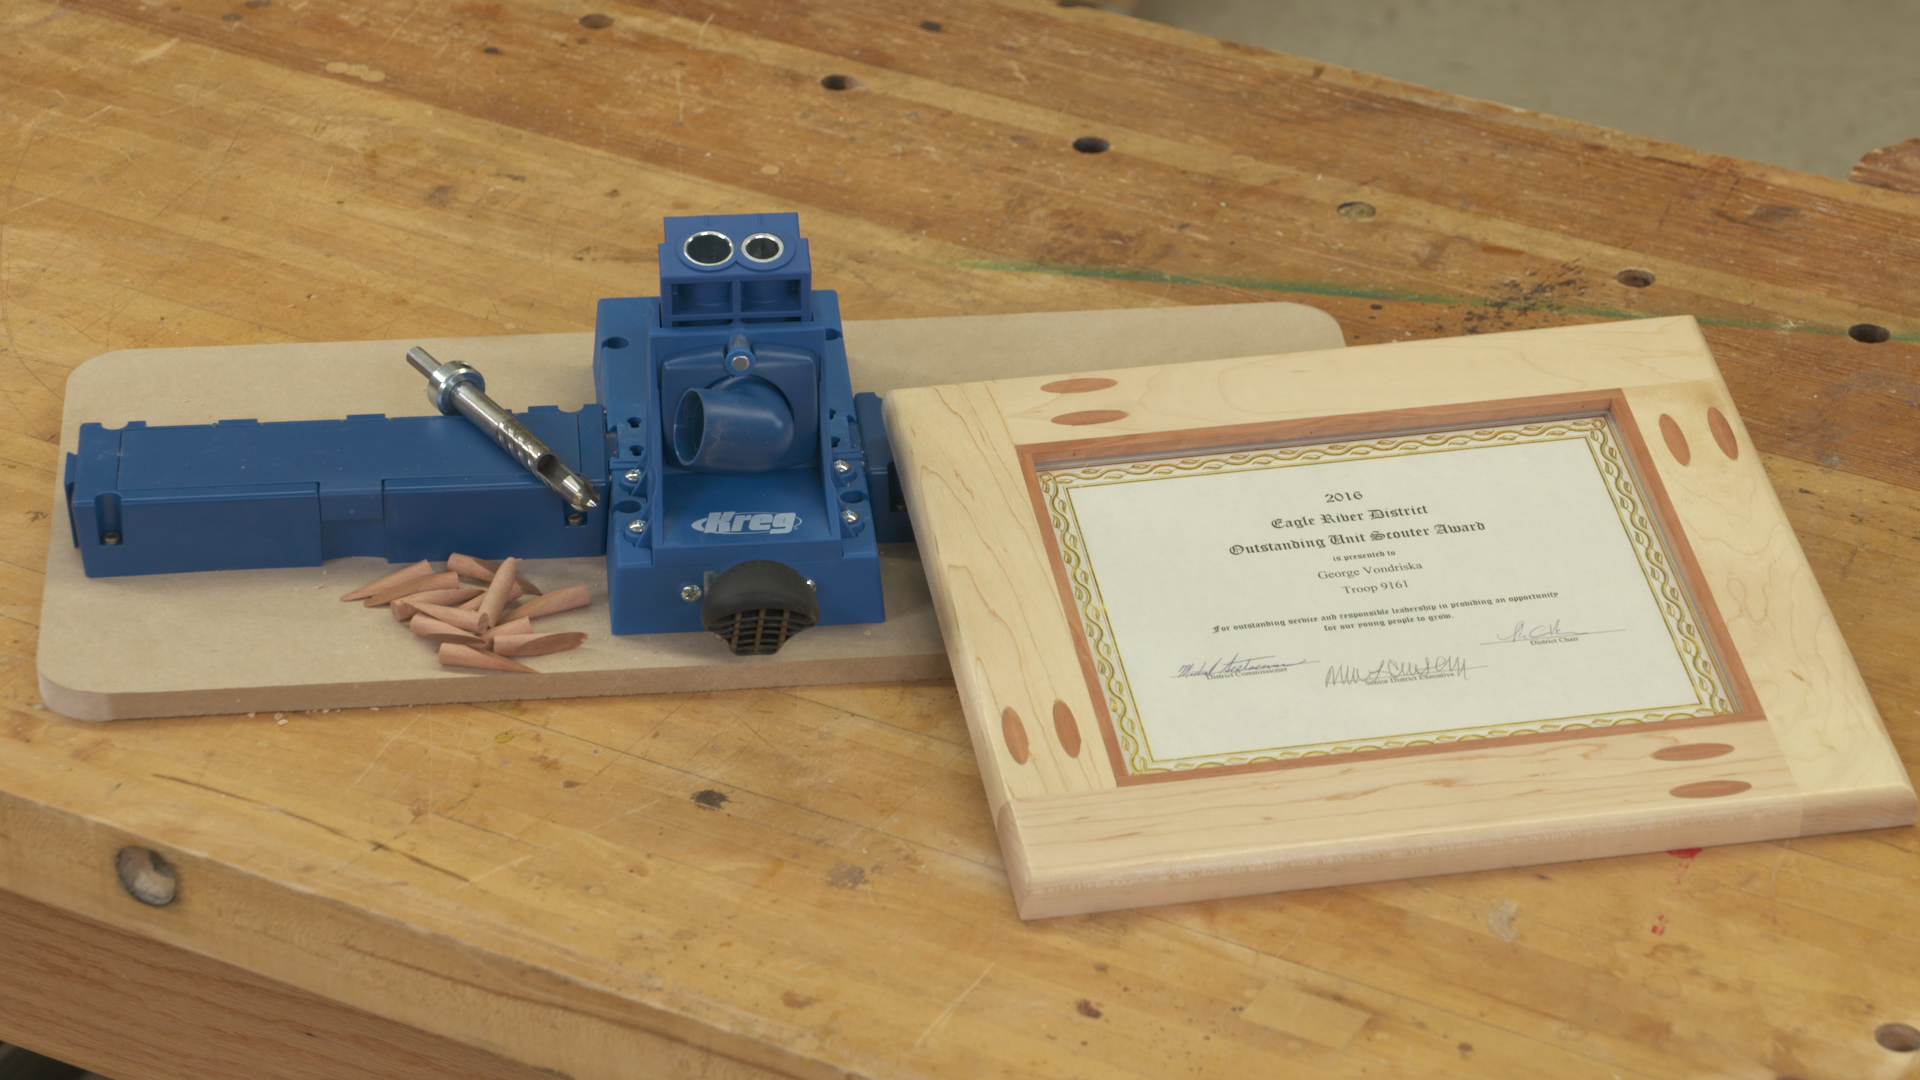
It accepts 5, 7, 10, 12 and 15mm long universal-type V-nails. The holes can be filled with pre-made pocket hole plugs. This is one of the screw that you can use to join the parts together. They are self-tapping screws. This is what the directions recommend for the thickness of wood. One thing to note with using a single screw is that your wood can spin. I suggest putting glue on the joint and letting it dry, to prevent the finished product from spinning around. The Kreg screws use a square head and the kit comes with a long square head driver.
I typically chuck up the Drill bit in one drill and the square head driver in another for efficiency. This will help keep the frame as square as possible. I screwed one piece to the side and did the same with the second piece. With those two pieces attached you have what looks like a U, now attach you last side using the square again to flush up the sides and screw them together and you end up with the completed frame.
The picture above shows the back of the frame. Here is what the front will look like. If you have any questions please feel free to shoot me an email. Do you also use a Pocket Hole Jig. Shoot me a picture of some of the projects you have used them on so I can show the other readers. This is cool, Grover! Welcome to the fray! I'm totally into new tools that can do amazing things so I'll be watching you. And learning! Thanks for linking up to SNS!
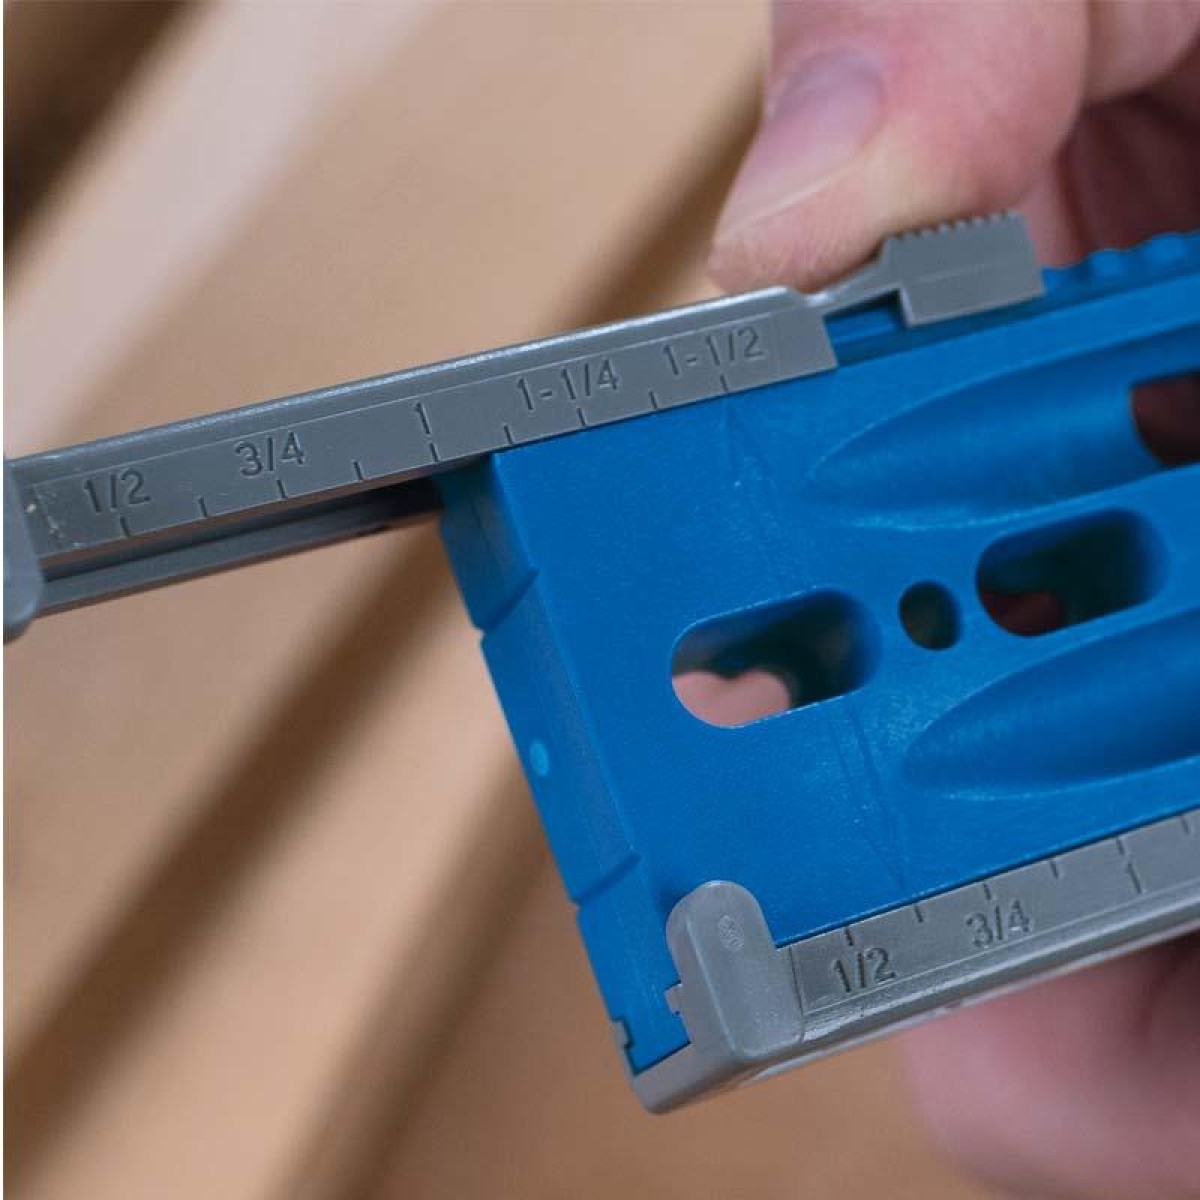
FJ Donna. Thanks Donna and my wife and I love your site. Tighten with wrench again. This is what your pocket hole jig system will look like for these frames. To drill, just place board on the jig, push down clamp, then drill a hole, using a higher clutch speed. I chose to drill in the B hole, since it was pretty centered. Sand rough edges of all boards, glue and clamp smaller piece in between the two longer pieces.
Repeat the same thing for the other side. Wipe on dark walnut stain on front of frame Make A Picture Frame With A Router Setup with a cotton rag, let it soak in for a minute before wiping off excess. Using the same rag, wipe on the gray stain on top of the dark walnut stain, allowing the two colors to mix. Wipe off excess after 1 minute.

|
Miter Gauge Stop User Good Router Bits 3d |

10
15.09.2020 at 16:32:58
SERSERI
15.09.2020 at 15:28:57
Ramin62
15.09.2020 at 10:55:53