How To Build A Woodworking Bench Vise,Rockler Cast Iron Router Table Top Youtube,Mallet Hammer Harbor Freight 80 - How to DIY
I decided to make wooden handles for the hex bolt as shown in the picture. Trim this stick into an octagon. A very easy way to do this is shown in this Instructable:.
Be sure the holes are straight down the middle. Insert the hex bolt head first into this hole, make sure the bolt is straight with the octagonal handle, fill the hole with epoxy around the bolt, and let cure.
Your handles are done! I did not use any finish on the bench vise or handles. I plan to sand it down if it needs cleaning. Use some beeswax on the bolt threads and in the thru-holes to make turning the hand screws easier.
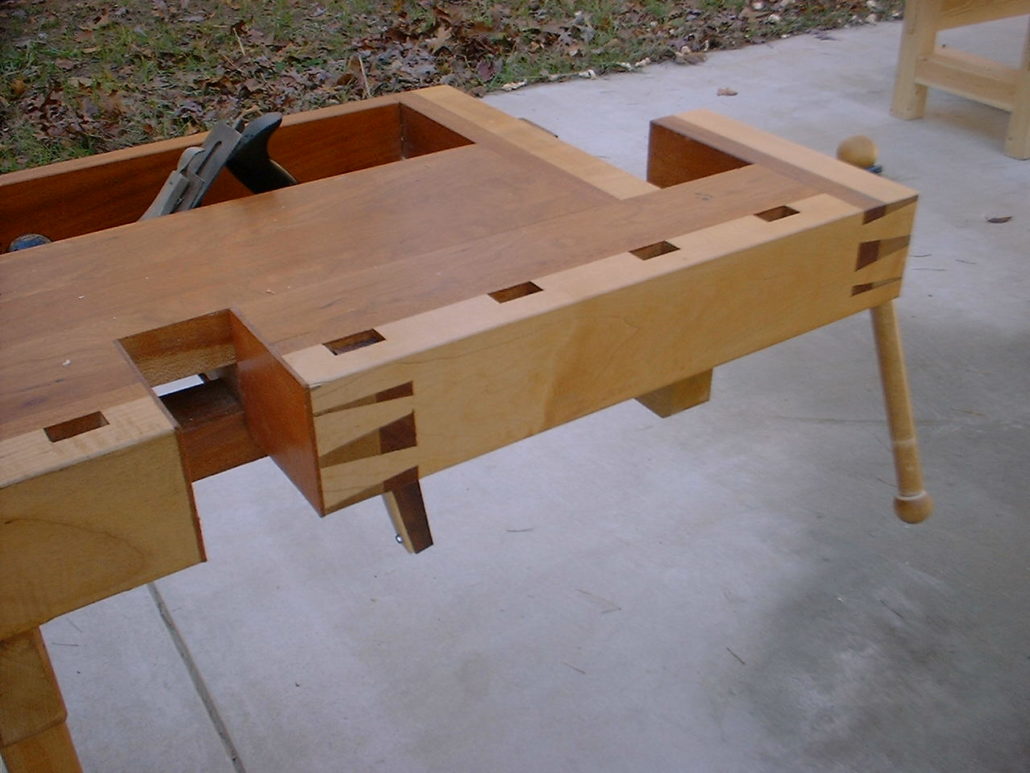
To use the bench vise clamp the rear jaw to the edge of your workbench, insert the work piece, and tighten the jaws. Very nice tutorial, I like the Moxon vise, and this is a nice way to make one, though I'm considering building this into the side of my bench as a fixed woodworking vise, instead of buying the common kind. I really like your design for the vise! Reply 4 years ago. I don't see why MDF wouldn't work.
Where did you get the 8 inch bolts? Reply 5 years ago. I got the 8" hex bolt at either Lowes or Home Depot. It does not need to be threaded all the way.
Reply 5 years ago on Introduction. T-Nuts would be a good choice if you can't find flange nuts. Or use a regular hex nut and cut a hexagonal hole to mount it in the rear jaw. I made one of these and promptly gave it to my friend who had no vise in her shop and was hosting a dovetail class. Off to my lumberyard again!
Maybe I will spring for maple this time. Great project but it struck me? The difficult part is done. Now comes some woodworking. So what we need next is a moveable jaw for the vise. My dimensions are 40cm by 15cm, but you can adjust them to your needs. I use scrap wood I have laying around. I would use some kind of hard wood for the jaws, but unfortunately I don't have enough, but I use a little trick. The core consists of three pieces of roof batten made of spruce.
It's too soft in my opinion. To reinforce the surface, I use an old piece of laminate I have left over from our master bedroom flooring. The laminate is very strong and is just perfect for this job. I simply cut two pieces into the right dimensions.
Now I got my laminate-spruce sandwich :. I glue all pieces together using wood glue. After everything is dry, I reinforce the structure by applying some counter-sinked screws on both sides.
But this is totally up to you. The glue should be enough I guess. They have a length of 50cm. You can adjust the length to your needs. I don't have a drill press yet, so I use a rack for my driller to get the holes perpendicular to the surface.
The hole in the middle is for the threaded rod and has to go right through the jaw. I add two more holes for the support pipes. These holes should not go right through. Therefore I use a forstner driller.
I insert the copper pipes and mark the middle to the bottom side of the jaw. I use a metal drill to drill two small holes through the wood and the copper pipe. I insert and counter-sink two screws to mount the pipes to the jaw. This time I need three holes which go right through the workbench. I use my rack to get everything in a right angle. I finish the surface with a sander.
Remember the washer, which we welded to the T-piece? Now you'll see its purpose. I need some kind of flange, which will connect the jaw to the rod, but still loose enough to allow rotation.
This allows the jaw to move with the rod while opening the vise. I use some scrap piece of laminate and mark a wide enough square in my vase 7cm time 7cm. I find the middle and cut out a round dent using a forstner bit the diameter should be wider than the washer, the depth should be deeper than the thickness of the washer.
The dent will later house the washer and must not go right through the laminate. I use a second smaller forstner bit to cut right through the diameter should be smaller than the washer's and bigger the nut's diameter. I use a handsaw to cut the piece in half so I can mount it to the jaw. I use counter-sinked screws to fix the two flange pieces to the jaw. Make sure that the rod can easily rotate.
We are almost finished here. I have to mount the washer and the nut piece to the back of my workbench jaw. Finally I can insert the copper pipes and the rod into the holes and screw in the threaded rod. You can add some lubricant to the thread. The last step is to build a handle. I use a 2cm wooden rod made of beech. I cut it in 40cm lengths, but feel free to adjust this to your needs.
I use two rubber doorstoppers for the ends. I use a screw and a washer for each to mount it to the handle. This will avoid nasty bump accidents later on and also keeps the rod from falling through the T-piece.
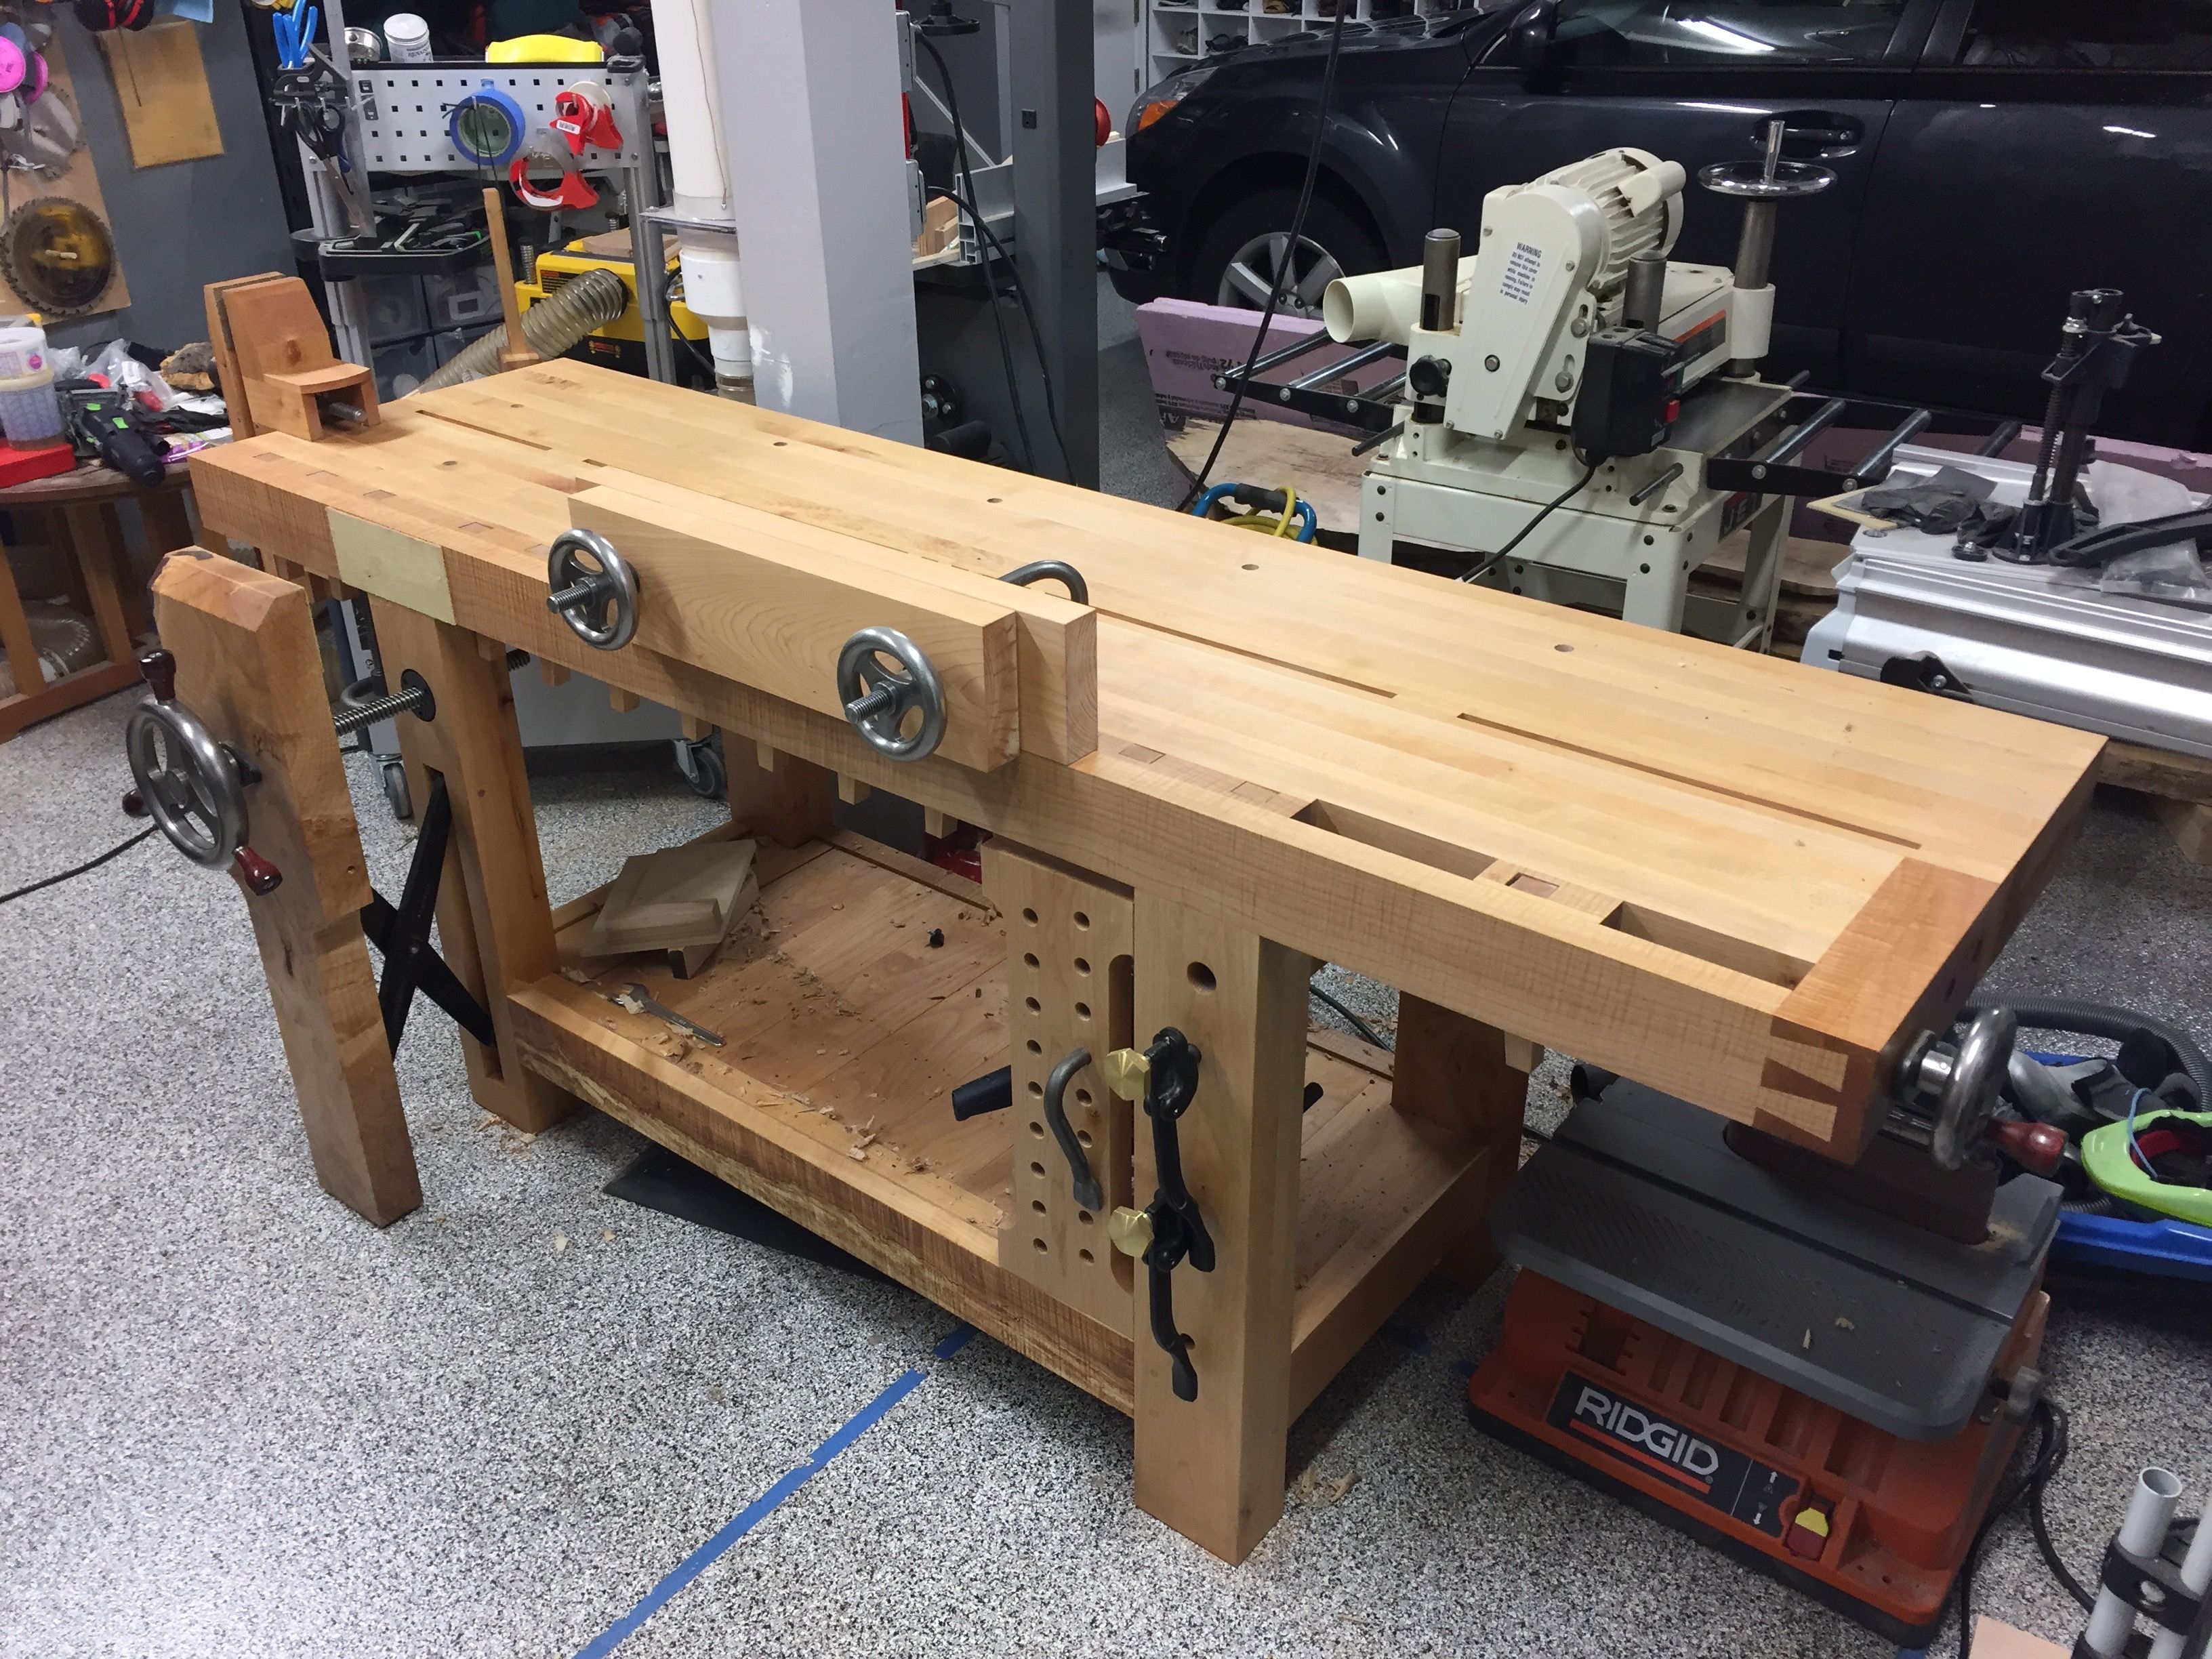
Congratulations, everything is done and you are hopefully a proud owner of a new vise as well :D I hope you will enjoy building this. Please let me know your experiences and improvements. Please put photos in the comments. Ok now let's get to business. I did some minor projects with the vise. The holding power is more than enough and I'm really happy with it. I also used it to hold some smaller pieces for my router. It did a great job here, but there are some improvements I would do differently next time or I will add later:.
Thank you Stish. Very nice and easy project for a beginner like me. I will make a few adjustments though with a wider thread bar and solid guide rails as mentioned in previous comments but your idea is great and i will definitely be adding this to my workshop! The only problem I have is you should have used hardwoods for maximum durability.
Some maple would not have been too costly. Over time you will find these things matter in a work bench. It really gets beat up and a soft wood will not endure as much abuse. You might enjoy this DIY quick-adjust mechanism by Pask, particularly with your fine for a vise threads. Reply 1 year ago. Nice project.


|
Rockler Fein Vacuum Funny Woodworking Pictures Quote |

VersacE
01.08.2021 at 13:41:36
JOFRAI
01.08.2021 at 21:30:39
S_k_E_l_i_T_o_N
01.08.2021 at 20:50:39
mulatka_girl
01.08.2021 at 10:57:21
Kamilla_15
01.08.2021 at 22:18:42