Dewalt Radial Arm Saw Video,Small Router Cabinet,Wood Plane Handle Zip Code,Kitchen Drawer Slide Hardware Trading - You Shoud Know

Since when this book was first published by Lee Valley Tools, it has been recognized as the bible for setting up and using radial arm saws in a precision fashion. But with the advent of the sliding miter boxes, and the fact that few people ever used their radial arm saws as precision instruments, the use of this wonderful machine has declined. Some manufacturers have dropped out of the market; others don't take their saws very seriously.
So, although we sold 5, copies of this very specialized book, sales were not strong enough to warrant a new press run. But then along came cyber space and the potential for web publishing or at least electronic distribution of books. This has opened the door to cost effective publishing of very limited quantities of a given book, and hence the revival of out-of-print books. Essentially all I have to do is the layout, and you print it yourself, all of it, or only the pages you want.
You will find that if you can print in dpi, the photos will come out as clear as the original publication. Since then a few people every week ask for the book -- so here it is available as a download pdf for purchase. The one publishing bug is that the layout was designed for left and right pages odd pages on the right, even pages on the left as in a book, rather than consecutive pages out of your printer.
Knowing that will help if you get lost in the text. The best copy of this book can be had by printing both sides on thick paper stock and then putting it into a three ring binder. The blank pages were left in so that such a layout would work. Hence the rest of this book is as originally published. For a while I sold it on the web, then as part of a DVD, and now here it is back on the web.
An electronic book is easy to copy and pass around, or even post on the web. I appreciate that most woodworkers recognize the labour that goes into the production of something, be it a chair or a book, and that they respect the copyright on this book.
Thank you for copying the link to this book, not copying the book itself or taking rip off copies found on iressponsible British or Russian sites through Google. I get a great deal of satisfaction hearing that this book has helped woodworkers and continues to do so since when it was first published in Somehow that seems to be a statement against the planned obsolescence so common in tools today. Accurate results can only come from precise work.
In this sense the "precision" of the machine and of your working techniques means the ability to work to close tolerances. Cutting wood to close tolerances at the correct dimension will result in accurately made, well fitting joints. Although craft books dealing with such delicate manual tasks as dovetailing and marquetry frequently deal with the details of precision, the subject is rarely discussed when dealing with power tools.
Yet how can we expect to understand the importance of detailed adjustments and techniques unless we understand their role in obtaining precision from our radial arm saw?
My radial and I work with six principles of precision. I will outline these principles here and then apply them in detail throughout the rest of the book. Whenever wood and a machine come together they need to be in firm constant contact. Vibrations in the machine will mean a clattering contact between the cutting edge and the wood.
A hand plane with a thin blade digs in and out of the wood grain. A jig saw who's shoe is allowed to rise off the wood will not give a clean cut. Grime, dust and rough surfaces make consistent contact equally as impossible. It must not move freely, nor even easily but rather it must move firmly.
That is not to say that it should bind, but a loose roller head is the major cause of the "running forward" feeling with most radials. When the roller wheels are adjusted loosely on the overhead track, the entire motor assembly has a tendency to lift up during a cut, but because of the offset blade it does not lift straight up nor does it necessarily stay up.
The entire motor comes rattling forward, with the saw blade climbing up on fibers it should be cutting. The cut is ragged and your right arm is quickly exhausted not knowing if you should draw the saw forward or hold it back.
When it is adjusted for "firm" travel you rarely have this problem. You must however clean the track several times a day exactly 23 seconds of work as the least bit of dust or even grime accumulation will block its movement and make drawing it forward firm but jerky. We want firm and smooth. The column must move up and down smoothly and firmly in the base casting.
Too much freedom here can cause the arm to pivot up or sideways or both. Too tight and it binds and becomes jerky in movement. Equally important is that when the wood moves, it too must move firmly and smoothly that is why I include hold-downs as part of the fine tuning of a radial arm saw. Almost all adjustments on woodworking machines hold their positions by means of friction clamps; two surfaces that bind together relatively solidly by pressure alone.
Hand planes as well as power planers hold their blades by friction. Table saw depth adjustments are locked by friction. The radial arm saw relies on friction all over. Whereas bolts and pins lock things absolutely into position, friction clamps hold them "positively". This means that they should clamp sufficiently solidly to prevent the pressures that the saw will exert on them from moving their position, but at the same time they should not be over tightened to either harm the machine or tire your hands.
The prime example is the arm to column clamp the miter clamp. To try and tighten it so that it would be impossible to move would rapidly wear the cam parts or break a pivot somewhere along the linkage. It must be set tightly enough to effectively resist the lateral forces of the cutting action of the saw. These forces are in fact rather minor except when ripping. People tend to tighten the bevel clamp so tightly that the handle eventually breaks and gets replaced by a pair of vice-grips.
The use of sandpaper in certain circumstances can help to achieve positive clamping without undue pressure as is explained when considering the sandpaper miter fence and the wooden feather boards. Surprisingly enough, even chipping on the bottom side of the cut can be eliminated. It's a question of clean back-up and eliminating vibration between the wood and the table as with my "fence hold-down" jig.
Ignoring slack in screw drives and indexing pins leads to sloppy results. You must take up the slack right to its end point to maintain precision. The arm to column indexing pin must have some slack in its adjustment or the pin simply will not pivot in and out of its indexing slots.
In fact many people find it hard to get the same result twice. I seat the pin into the column and before clamping it tight I shove the arm to the right until it comes to a full stop against the indexed pin.
When a screw drive is used in any machine there is always slack between the screw threads and the nut threads. If turning is done only in one direction you will be sitting firmly on the end point of slack all the way and depth adjustments can easily be made to th of an inch if the column is sliding smoothly and firmly by simply watching the crank handle position.
With the blade in the horizontal position this allows for cutting surprisingly accurate box joints without either measuring or marking the wood. Too often instructions say to square the saw up to the table rails or some other reference point that is not the same surface that will be holding the wood.
Even lining up the table and then attaching a covering can change the angle of the cut in the wood. It is the final table surface and the final fence that should serve as reference points for alignment of the saw. If temporary tables or fence additions are added, the actual angle of cut in the wood should be verified before trying to produce accurate results, since the precision of your machine may have been compromised by inaccuracies in your temporary additions or their installation.
It doesn't matter if a jointer, for example, looks good. What counts is that it produces straight square boards and this is always the final test of alignment. There are two reasons for using wood cuts, not metal squares, as the fine tuning instruments for a radial arm saw.
Firstly, by using manipulation tricks when cutting wood, you can adjust the saw square to the table for a 6 inch depth and square from the fence for a 26 inch cut -- twice the actual cutting capacity of the machine. This means that within its actual cutting capacities it will be twice as precise as can possibly be measured with metal squares.
Secondly, the end product is really what counts so I don't care if something may look out of line on the machine as long as the results of the blade passing through wood gives me the perfection I demand. This difference in apparent alignment and actual cutting results can be due to the fact that the metal square by necessity gives a static picture of the machine's alignment.
The blade engaged in wood gives a dynamic measurement identical to actual working conditions. We often scratch up the edge of a piece of wood or create considerable scrap trying to determine exactly where the point of entry will be for a cutting edge. Whether a drill press or a table saw, we are used to a lot of trial and error. The fence on a radial arm saw is usually a sorry looking chopped up mess, often hiding down below the wood to be cut.
The gaping hole in the vicinity of where the blade passes through provides no backup against splinters on the back side of the cut and certainly is useless in guessing where the blade will strike the work piece. You must get used to the idea that the fence can be shifted an inch or two to the right or the left without really affecting its function at all as a back stop.
This shifting allows you to put it in its normal position during line-up and general work, and then, when you want to get down to the business of precision, slide the fence over to a clean spot and make a nice fresh kerf cut through. This new cut defines quite precisely both sides of the cuts you are about to make and backs up against splintering on the backside of the work piece at the same time. See the graphic. Unfortunately there is no precision guide for ripping so the final check on a rip setting is to actually cut a piece of wood and verify the results before putting the real work piece to the blade.
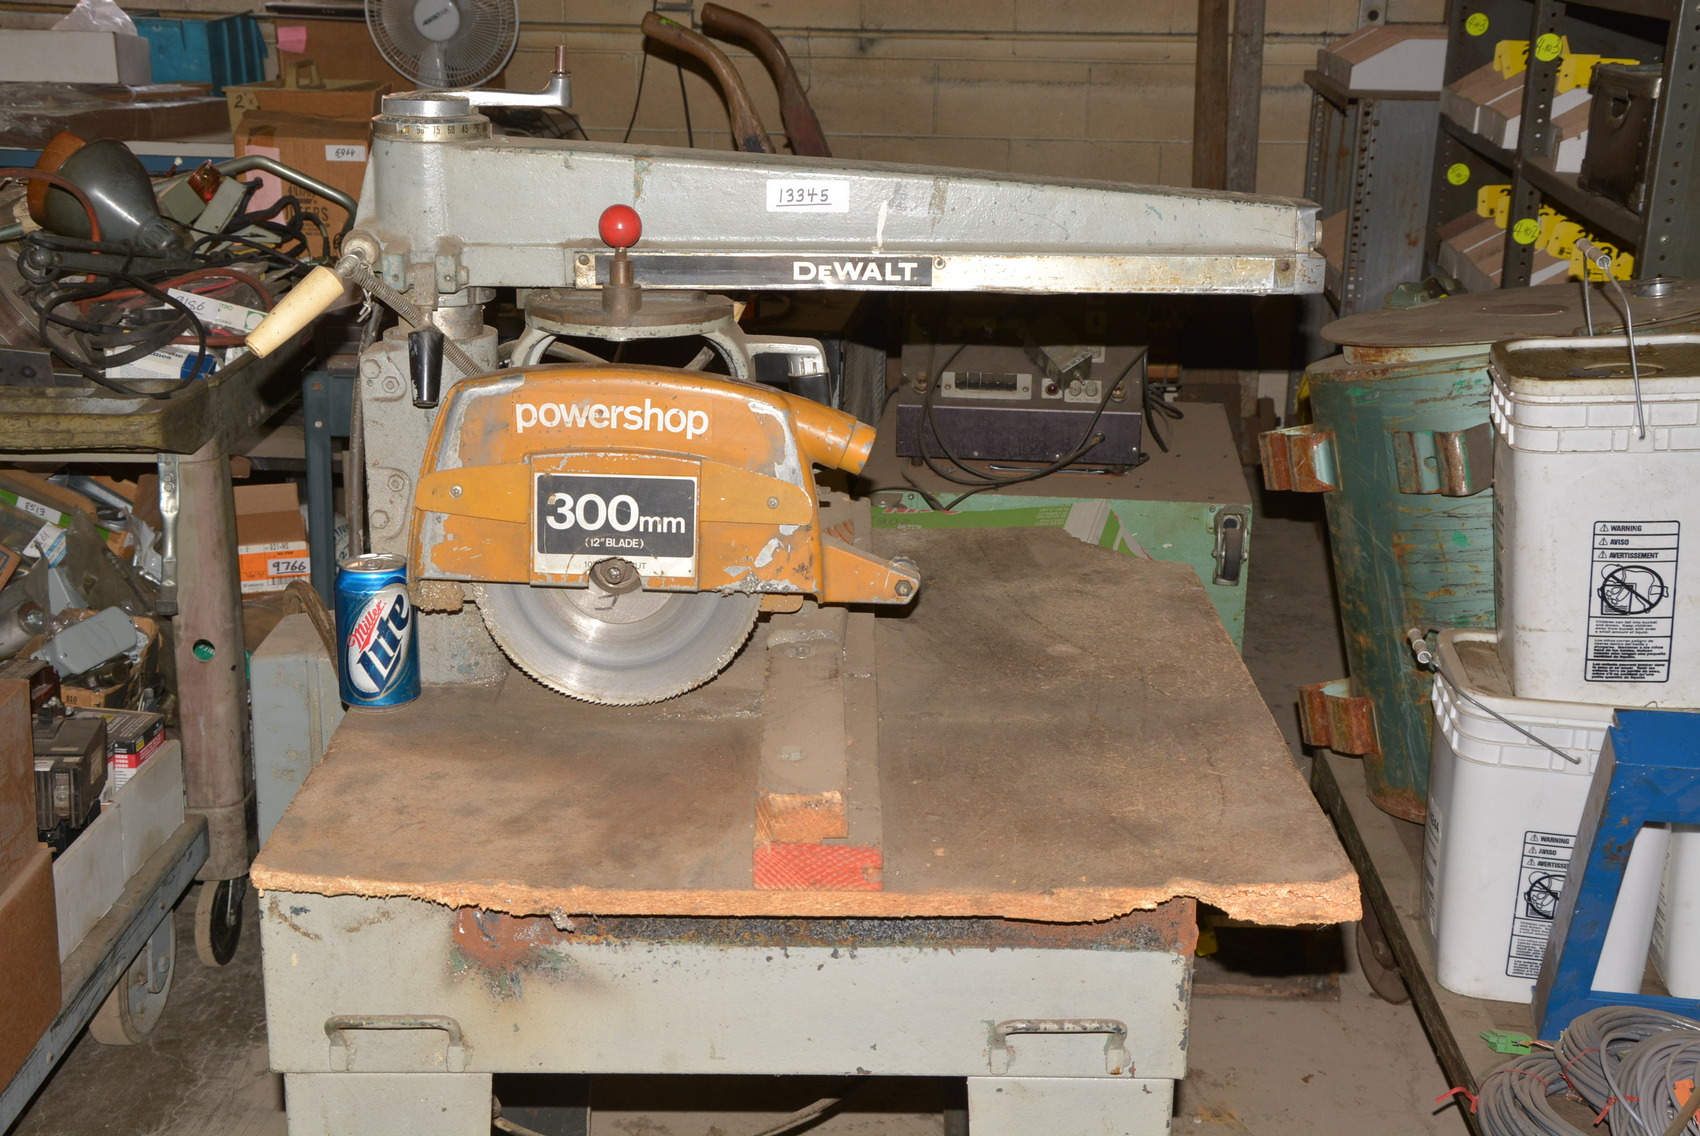
Can you please recommend a saw blade for a 10" DeWalt radial arm saw. The saw is mainly used to cross and rip cut softer and ply woods. For general purpose work, I use a carbide tipped combination blade -- the one with 4 little cross cut teeth then one large rip tooth with its large dust gully, and that set of teeth repeated all around the blade.
It is not a perfect rip nor a perfect cross cut blade, but it does both well. For rough ripping Oak I have an old 4 tooth 10" blade, yup, only 4 teeth, but it rips oak like butter.
For clean cross cutting you might use a blade with from 40 to 90 teeth! For speciality cuts, see the learning curve on Speciality Blades. I wanna have this book printed out but what's with all the blank pages with nothing but a page number and all the pages where there's only writing on one tiny bit of tue page? Out of pages 8 have nothing but page numbers.
Why have a page 0? And a whole lot more only have writing on a tiny like 3x3 spacing or at most half the page. Lots of waste there.
On page 8 of the book, page 10 of the PDF , you will find the answers to your questions about printing. In fact, if you select the ringed binder layout in Word you will have space for the binder punches on the right side of even numbered pages, and on the left side of odd numbered pages.
Then the photos and text that were designed to read across an open book will still read easily. Jon - I purchased a Craftsman Radial Arm Saw in the late 's, but did not discover your book until about five years ago.
I bought a previously owned but nearly pristine copy through Amazon. My copy is now well marked with highlighter and marginal notes. I have found it very valuable in keeping my saw set up for precision as well as safety. I still have all of my "original equipment" body parts - something too many table saw users cannot say. I still have my original saw, and I am able to do better work with it now that I know much more than was in the original pitiful excuse for a manual.
Thank you for your work on that. And I really like the cover art as well, having been a fan of classical music most of my life. Find a Retailer Find a Service Center. FAQs Contact Us. Download Power Tools Catalogue. Where to Buy. Features and Specs Features The industrial radial arm saw performs accurate crosscuts time after time. Unrivalled reputation in the professional woodworking industry Pre-assembled and adjusted, delivered in a wooden crate for maximum transportation protection.
Reduced set up time Solid cast Iron arm machined to provide arm tracks with no inserts, increasing accuracy and life Simple yet positive controls and adjustment scales enable the width, depth and angle of cut to be set with accuracy in seconds Quiet maintenance free three phase induction motor delivers maximum power even at the maximum capacity of the machine.
Also available in single phase voltage as DWKN Free standing radial arm saw with mm of crosscut capacity, and mm depth of cut Standard equipment includes a dust shroud with 4" outlet.


|
Soft Close Side Mount Slides As Mallet Hammer Symbol 2021 |

PoranoiA
26.01.2021 at 18:19:13
kommersant
26.01.2021 at 12:14:40