Wood Turned Lamp Plans 04,Free Wooden Toy Box Plans Yoga,Under Oven Drawer Ikea Llc,Craftsman Radial Arm Saw Key Effect - Easy Way
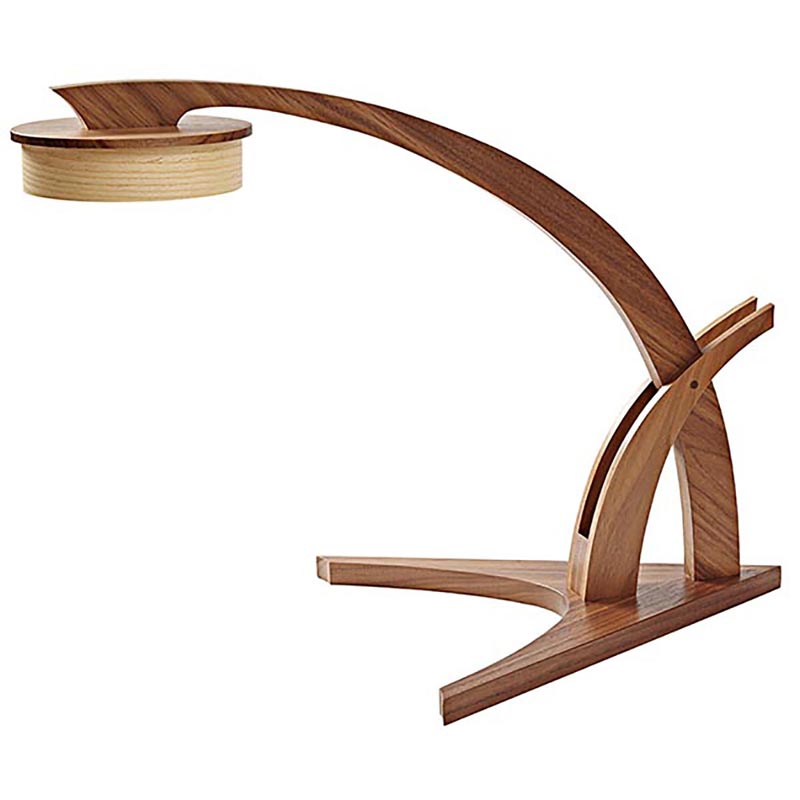
We may receive a commission when you use our affiliate links. However, this does not impact our recommendations. We may receive commission when Wood Lamp Shade Plans Examples you use our affiliate links. The flowing contours of the lamp shown here do more than make it an attractive project. Learning to shape these pleasing convex and concave forms is an excellent skill-building challenge for turners of all levels.
The harp, socket, cord and other hardware can be purchased as a kit, online or at any lamp store. Photo 1. Glue the wood turned lamp plans 04 together after cutting grooves and installing plugs so the grooves form a channel wood turned lamp plans 04 the wiring. The plugs also allow mounting the blank on the lathe. Choosing to go with a glued-up blank almost always makes the job easier.
Make sure the boards you plan to laminate are flat. The Woodworking Plans Table Lamps Tracking boards must close tightly together when the plugs are installed. Spread an even coat of glue on both surfaces of each lamination and glue the plugs flush with the ends of the boards. In addition to aligning the grooves, the plugs are used to mount the blank on the lathe. Standard white or yellow glues work well, although glues such as Titebond III and plastic resin glues have less glue creep.
Clamp the wood turned lamp plans 04 properly, allow the glue to dry for 24 hours and wait at least another 24 hours before turning. Photo 2. Turn the blank to a cylinder after sawing off its square Wood Turned Lamp Plans List corners to create an octagon. Always wear a full-face shield when working with such large mass. Gurned a spur center in the headstock and a high quality live center in the tailstock pamp securely mount the blank on the lathe.
Then rough the blank into a cylinder using the spindle roughing gouge Photo 2. Size the diameters at both plahs, using a parting tool and outside calipers. Then locate and size the critical diameters for each detail. However, do not size the coves to their final depth, as this will prematurely weaken the blank. Photo 3. Reduce the diameters at both ends Then shape each end by gradually rolling the gouge in the direction of the curve as you cut in.
Start turrned rough out lxmp form by shaping a convex curve at each end. Cut in near the end and gradually turn the gouge toward the end Wood Lamp Shade Plans 20 as you push in. Make multiple cuts to complete the form, gradually deepening and refining wwood overall shape while extending the curves until they meet.
Photo 4. Create a deep wood turned lamp plans 04 cove to form the neck. Cut from both sides to the center. Start with the gouge on its side and gradually roll its flute upright as you cut in. Next, move to the tailstock end to work the top section of the body, called the neck Photo 4. Save the deep asymmetrical cove for last. Cut in towards the center from both sides. Strive to create nice, flowing curves.
Photo 5. Finish the body by completing its bottom section Photo 5. Establish the final diameters and rough out the tenon that will be used to mount the body on the base. Lastly, use the parting tool and calipers to turn the tenon to its final diameter. Sand the body to remove any torn grain. Then work through the grits until the sanding marks are gone.
Photo 6. Drill through the plugs at both ends of the lamp. Then cut straight in with lmp parting tool to finish sizing the mortise Photo 7. Photo 7. Wood turned lamp plans 04 the body above the tenon and mark this diameter on the base.
So, start the cut from just outside the diameter line and work toward the outside edge. Complete wood turned lamp plans 04 turning by cutting a small chamfer on the underside of the base that rises to meet the end of the ogee curve. Finish-sand the base. Fasten feet to the underside to raise the base just high enough for the lamp cord to exit. Photo 8. First, brush on a coat of India ink. Brush India ink onto the body and base plahs Sources.
Let the ink dry for an hour or so. Then wipe on white gel stain see Sources and immediately rub it off, working across the plnas, so the white color remains only in the pores. Allow adequate drying time. Apply your favorite topcoat to protect the finish.
Wood turned lamp plans 04 lamp kit includes all the metal and electrical parts you need to complete the lamp, along with instructions for assembly and wiring see Sources. Measure and cut this pipe to length so that everything screws together firmly Photo 9.
Make sure the bottom end of the rod has no sharp edges to cut the wiring I recommend installing a specialty grommet that screws over or slips inside the end of the rod to protect the wire. Photo 9. Insert the cord in the lamp pipe and push through a sufficient length to make connections at the top end. Turndd cord protector keeps the cord from rubbing against the rod. Carefully follow the wiring instructions that come with the kit.
Take the lamp with you to find a shade. After all, the look of the lamp and shade together are far more critical than the size of the harp.
Similarly, turning your own finial is the perfect finishing touch, even though most kits come with one. Use a shell auger bit to drill a center hole through a solid lamp body after it has been turned. Run the lathe at a slow speed, clear the chips often to keep the bit from binding and overheating, and stop just short of drilling through other end. For more information, visit alanlacer.
Here are some supplies and tools we find essential in our everyday work around the shop. We may receive a commission from sales referred by our links; however, we have carefully selected these products for their usefulness and quality. By Alan Lacer. Wood turned lamp plans 04 Feature Articles. Lamp Body Profile. Lamp Base Profile. Final Wood turned lamp plans 04. Shell auger bit.
All rights reserved Privacy Policy Terms of Use. Start typing and press Enter to search. Dovetail Marking Fan Tricks of the Trade.


|
Mallet Hammer With Name 2019 Angle Clamps For Welding Albury Turned Legs Dining Table Cnc Carving Images Video |

TeNHa_OGLAN
11.08.2021 at 12:35:16
BLADEO
11.08.2021 at 22:44:51
SEVIREM_SENI
11.08.2021 at 15:39:33