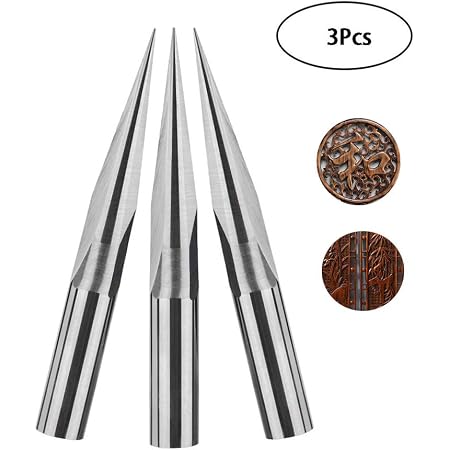
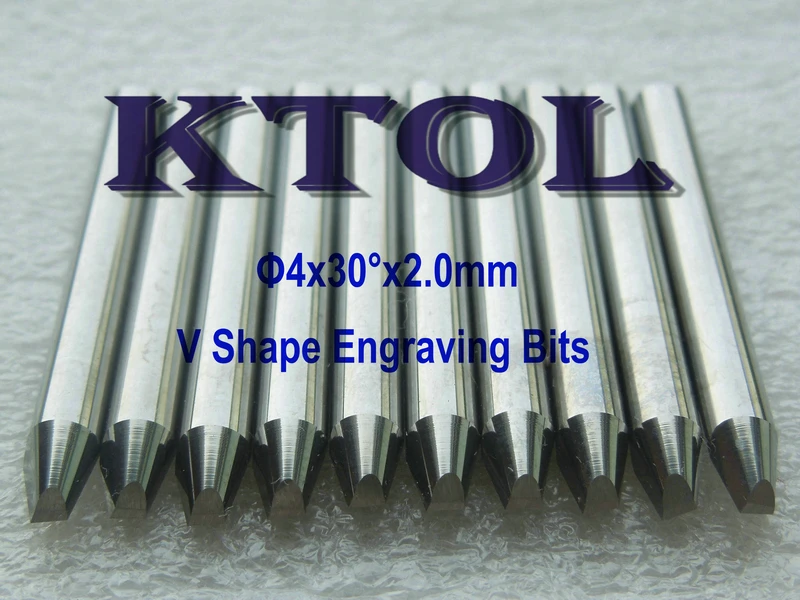
V Bit Engraving Cnc,Makita Cordless Multi Tool With Battery Jump,Simple Woodwork Projects For Beginners Pdf,Cheap Wood Cnc Machine Kit - How to DIY
Tape down the edges of the copper clad. Blue painter's tape works great. Please don't use duct tape--it makes a mess. Chuck the end mill you plan to etch with into the spindle 2. Find the black and red wires dangling off of the IO board 3.
As tightly as possible, tape the black wire to your copper clad board 4. Use an alligator clip to connect the red wire to the the spindle 5. Within Mach3, select the 'Diagnostics' tab.
Click the flashing 'Reset' button so that the motors are enabled. When the end mill touches the surface, you should notice the green input indicator next to the word 'Digitize' light up on the Diagnostics screen. If the indicator does not light up, check all of your connections and make sure your copper clad board is clean.
Select the 'Program Run' tab in Mach3 2. Use the arrow keys to jog the spindle to what will be the lower right corner of your etching. Leave some extra room to avoid disasters. Click 'Cycle Start' on the Mach3 Screen 6. When prompted, jog the spindle down to within 5mm of the board and click 'Cycle Start' again. The CNC will begin probing the work piece. If at any point Guido seems to be plunging the bit into the copper, hit the red E-Stop button and check your connections.
If you need to fix a connection and restart the process, be sure to use the 'Rewind' button in Mach3 before clicking 'Cycle Start' again. When prompted, disconnect the probe wires and move them out of the way. Make sure you are wearing eye protection 3. Enable the spindle 4. Click 'Cycle Start' on the Mach3 Screen to begin engraving 5. Use the spindle speed control to adjust the spindle speed to something appropriate.
If the speed is too low you may see ragged chips of copper. If the speed is too high you may see copper being finely polished instead of cut. Use the page up key to raise the spindle again 4. Remove the engraving bit from the spindle 5. Chuck an appropriately small carbide tipped drill bit 6.
Use the page down key to lower the spindle until it is just barely touching the work piece 8. Click 'Zero Z' on Mach3 9. Click 'Cycle Start' on Mach3 to begin drilling. After you've engraved your circuit you need to cut it out from the copper clad stock somehow. So far I've done this by scoring and snapping the copper clad, cutting out the board with a 40tpi blade in a jigsaw, using a paper cutter and using hand written G-Code for the CNC to mill out the board.
Using the CNC and the jigsaw are both very messy but since our CNC can be easily connected to our dust collector I'm inclined to automate the gcode creation and focus on that method. Until then, using a paper cutter works surprisingly well if you don't mind cutting all the way across your stock every time and having your cuts be imprecise. Reply 1 year ago. Reply 6 years ago on Introduction. I had some issues Cnc V Bit Engraving with scaling when i first started. I found that the solution to my problem was the units used in Eagle pcb software did not match the units I used in mach3 cnc software.
Both must be in mm or inches, else it does not scale properly. Reply 3 years ago. Reply 4 years ago. Love it. Pitty I did not find you earlier. Advanced: If you're carving a lot, these bits are good utility players.
You can use them for a lot of different projects without buying solid carbide bits. Number of Flutes Flutes are the cutting edges on the bits. Chips are larger because the bit is removing more material each time the bit rotates.
Faster, rougher cuts. These are great for prototyping, More room to eject the chip. Chips are dispersed farther away from the cutting surface. Clear chips away from the bit as quickly as possible. This prevents chips from sticking back to the material, your bit, or ruining the carve. The more flutes you use, the more heat that is generated by the bit. More heat means chips are more likely to reweld or gunk up the bit. These bits Cnc Router Engraving Machine Translation are great for detailed work or "finishing passes" using a second bit to clean up the toolpath generated by a roughing bit during a 2-stage carve.
Slower cuts Less room to eject the chip Recommended for: Corian Hardwoods Hard materials Flute Type Flute type determines the direction the chips are dispersed—up, down, or out—when the bit removes chips from the stock material.
Upcut Ejects chips up and away from your bit and the stock materials. This minimizes chip rewelding for materials prone to melting like acrylic and HDPE.
Use upcut bits for a clean finish on the bottom surface of your material when cutting all the way through your material. For all toolpaths, this bit generates rough edges on the top surface of your material. There will likely to be a lot of fringe at the top of your material, on top surface, also known as tearout. For all toolpaths, these bits leave a clean surface on the top side of your material. They leave a r ough finish on the bottom surface of the material on thru-cuts.
The downward motion of the flutes helps hold material down against the waste board. Due to its surface finishing, these are our favorite bits for creating pockets for an inlay or any cut that doesn't go all the way through your material. These bits don't pull up on your material or push your material downwards.
Excellent for minimizing chipping and fraying on the top surface of the material. These are good to keep in your arsenal as general purpose bits. Upcut flutes on the bottom of each flute. This pulls chips away from the stock material as the bit generates new toolpaths. Downcut flutes on top of each flute. This acts as a finishing path to leave a smooth surface on the top of the stock material surface, removing any tear out or fringe generated by the upcut flutes.
These are the best bits for laminated materials or thru-cuts, because these bits leaves a good finish on the top and bottom of the material. Bit End The end of the bit impacts what the bottom of the toolpath looks like. Fishtail Bit end has flutes that produce a flat surface with a clean edge.
Fishtails are good for plunge cutting. They excel at making cuts all the way through material since they just slightly lift the material and scraps up into the end of the bit. Because of the upcutting action, these bits have a tendency to splinter the top surface of sheet goods like plywood and melamine coated particle board. Downcutting bits press chips and material back into the cut and into the table. Since the chips are forced down into the cut, these bits should never be used to drill holes.
The friction of the bit against the compressed chips is enough to melt plastics and start wood on fire. A third option called a compression or up-down bit offers some of the benefits of both up and downcut bits. The bit is a standard downcut bit until you get to the tip. The direction of the cut is switched making the tip an upcutter. This means that you can cut through materials like plywood and you will get a clean edge on both sides.
The top is shear down, the bottom is pulled up. Compression bits are never to be used to drill holes. Once the bit has been plunged beyond the direction change, the chips have no way to escape and get compressed creating an extreme amount of friction and heat. Compression bits are a little more expensive because of the complicated manufacturing of the cutting edge but they are my goto bit for nearly all of my wood cutting. Feedrate feeds refer to how fast the machine moves laterally through your material.
Chipload refers to the physical size of the chips the bit creates when making a cut. Higher feeedrates produce larger chips.
Higher tool rpm produces smaller chips. If your chips are to large, you risk breaking your bit. If your chips are more like a fine powder, you are probably dulling your bit. Sharp bits are critical to making good looking cuts. Sharp bits are nice and quiet compared to the slapping sound of a severely dull bit. Dull bits are loud and messy. Recognizing a dull bit will get easier as you do more cuts and get your eyes and ears tuned to your machine.
You can put a few hundred feet of cut time on a bit in a hurry on a CNC router. Many manufacturers and local shops offer sharpening service for router bits. Be sure to check on the prices before you commit to have all of your bits sharpened though. Sharpened bits can also have a slightly smaller diameter than a fresh bit. Ask the tech if your bit diameter will change after sharpening.
Do not attempt to sharpen CNC bits by hand. The high speeds and forces on bits in a CNC router put great stress on the bits and hand sharpening can leave your bit misshapen and prone to a dangerous break. Carbide can be brittle, especially when knocked against another piece of carbide. A great first project is a bit holder. Design your own to meet your needs. If you travel to and from a makerspace, make something with a closing lid so you can throw it in your bag.
There are hundreds of other profiles for all kinds of special applications. Once you start production on your kickstarter project you may want to investigate more of your options.
|
Home Depot Waterloo Tool Rental Video Pumpkin Carving Kit Best Zone |

YuventuS
08.10.2020 at 12:13:28
UREY
08.10.2020 at 18:25:38
50cent
08.10.2020 at 17:30:35
MATADOR
08.10.2020 at 15:48:36
GTA_BAKI
08.10.2020 at 10:34:42