T Moulding Bit Youtube,Cabinet Door Corner Brackets Co,Home Workshop Woodworking Machinery Design,Woodwork Project Ideas For School - Plans On 2021

The roughed-out profile needs to be sanded to eliminate saw-blade and router-bit marks. You can hand-sand simple moldings or make a custom sanding block. Trace the profile onto the end of a short piece of scrap that's big enough to grip comfortably. Use a band saw to cut along the profile line.
Check how well the rough molding and the block fit together; trim the block until they mate up. Stick grit sandpaper to the sanding block with double-sided tape and smooth out the rough molding. Replace the paper as needed. Finish sanding with grit paper. Actually, you'll be checking your progress against the original piece all along, just to make sure your cuts are accurate.
By this point, if you've done all your work without going inside the pencil line, your new molding will blend in seamlessly with the old. How to Duplicate Custom Molding. By Brent Hull. Pinterest Email Pocket Flipboard. Step 3 Rout the Bead Photo by Misty Keasler For certain details, like this bead, it's faster and more accurate to shape the profile on a router table than to use a table saw.
Step 4 Cut the Sanding Block Photo by Misty Keasler The roughed-out profile needs to be sanded to eliminate saw-blade and router-bit marks. A hammer drill can make this job much easier. The small holes are easier to drill and have stay in the proper location. Using each of the small holes as a guide hole enlarge each hole out to a bigger diameter.
Make sure you have a shop vac handy to clean up the cement dust created by the drilling process. Thoroughly clean the whole area of all drilling dust including inside the various holes that were drilled. Cut lengths of hardwood dowels Moulding Router Bit Youtube that will fit into each of the holes. Make each one no longer than the full diameter depth of the hole. Even a bit shorter is OK. Next smear a thin coating of construction type adhesive onto a dowel surface. You may also want to use a small stick to smear some around the inner sides of the hole too but be careful to not put too much of the stuff.
Make sure to do each dowel peg in turn. Pound each plug into it's hole. This may take some good effort. If on first try you find the hole too tight to take the peg it may be necessary to taper off the peg some to allow it to enter the hole. Now you see why I said to only prep the glue onto one peg at a time. Once all the pegs are securely in place let things set a day or so for the glue to dry.
Next you are ready to remove the rosin paper from the areas where the Tee molding will lap over the flooring edge. Do not cut the paper away with a utility knife as you would disfigure your flooring below.
Fit the molding in place again. Drill pilot holes down into the wooden Architectural Moulding Router Bits Youtube pegs at each intended screw location. Note that you should carefully select the proper sized pilot drill to match the thread diameter of the brass flat head screws.
Drill deeper than the length of the screws. Once again remove the molding and vacuum out all the drilling dust. Clean the whole area thoroughly. The tape in a strip of your subfloor moisture barrier over the dowels. Refit the mounding and screw it in place with the flat head wood screws. Putting some bar soap on the screw threads can make them way easier to install. Please note that a cross slot Philips style screw will be favored over a straight slot screw both for ease of installation and final looks.
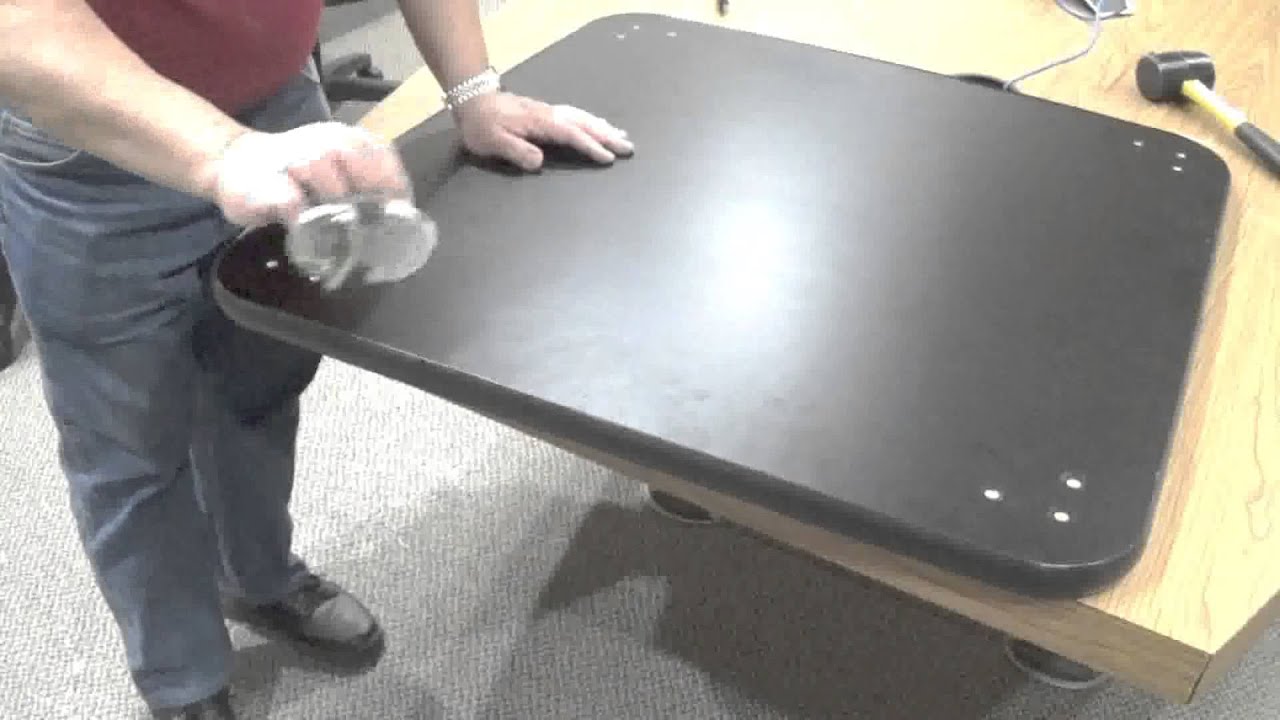
Finally remove the rest of the protective floor covering and stand back to admire your good work. Thanks for the answer. Niall C. Tony d Tony d 11 1 1 bronze badge. Silicone is too soft for this job. A bit of foot traffic would work it loose in fairly short order. DMoore DMoore As you can see in the photo, the T-molding comes with a channel intended for mounting.
The question is really how to mount the channel. You may freely link to this site, and use it for non-commercial use subject to our terms of use. View our Privacy Policy here. Toggle navigation subscribe. How to Cut T-Molding. Written by Luke Arthur. To ensure our content is always up-to-date with current information, best practices, and professional advice, articles are routinely reviewed by industry experts with years of hands-on experience.
Charles Ouellet. What You'll Need. Miter saw. Crosscut blade. Hack saw. Finishing hammer. Screwdriver bits. Countersinking bit. Finishing nails. Wood filler. Related Posts Crown moulding help. Hi all, I am trying to cut crown moulding and I have been having a Read More. Which first.

|
Horizontal Slot Mortiser For Sale Rockler Cast Iron Router Table Top Notion Mafell Mortiser For Sale 60 |

baby_girl
18.01.2021 at 10:54:34
Krutoy
18.01.2021 at 17:25:31
RENOCKA
18.01.2021 at 13:17:32
Giz
18.01.2021 at 14:37:24