Setting Up A Kreg Jig Operations,Christmas Woodworking Projects Free Antivirus,Best Raspy Male Singers Zhihu,Woodworking Routers For Sale South Africa Ko - New On 2021
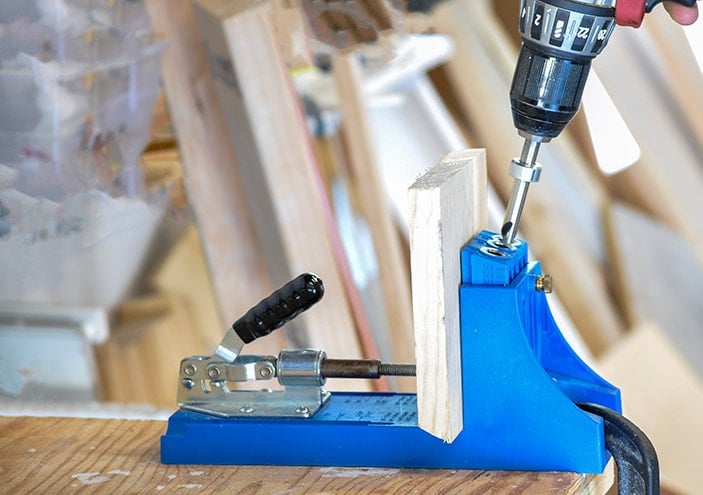
Make sure the guide holes of the jig are facing toward you on the workbench. Part 2 of Clamp the wood into the jig.
Place one end of the wooden board vertically against the clamp backing on the opposite side of the jig, then pull the lever to press the clamp tight against it. Fit the drill bit into the guide holes in the jig. The guide holes should be just large enough to comfortably accommodate the drill bit.
Most standard Kreg Jig models will have at least three guide holes so that you can drill as many holes as needed to support the joint.
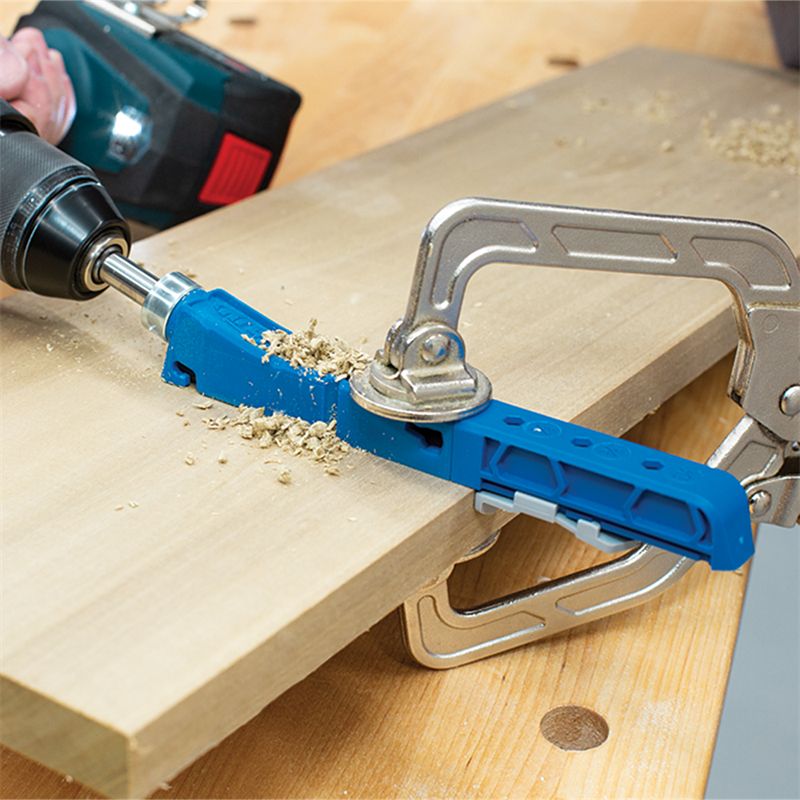
Should you need more pocket holes than your jig allows, you can make room for more by shifting the wood down in the clamp after drilling your first set. Drill the desired number of pocket holes. Pull back on the drill as you work to free the guide holes of loose wood chips. Drill as many holes as you need to create a strong joint that will suit the purposes of your project, then turn the board around and repeat the process on the other end.
Part 3 of Press the pieces of wood together to form a joint. Make sure the edges are evenly aligned. If you prefer, you can clamp the boards in place to make them easier to manage. Glue the edges of the joint together for added security. Spread a thin layer of wood glue onto the edges of the boards where they connect.
This will reinforce the joint even further and prevent the boards from coming apart as you fasten them.
If you're using wood glue in addition to a conventional clamp, apply the glue before you align the edges of the boards. Drill the screws into place. Drive the screws deep until they disappear inside the pocket hole. The pocket hole bit conveniently bores its own thread as it drills, so you should have no problem getting the screws to hold. Finer threads should be reserved for hard, dense varieties of wood like maple and oak.
Conceal the pocket holes with wood plugs or adhesive. These can easily be filled with a glob of putty or wood glue. You could also invest in a set of Kreg wood plugs, which are specially tapered to slide right in for a smooth, seamless finish.
Include your email address to get a message when this question is answered. Take proper safety precautions by wearing eye protection while drilling. Helpful 0 Not Helpful 0. Kreg Jigs are useful for mounting shelves, putting together wooden crates, making your own tables and cabinets or dozens of other woodworking projects. Helpful 1 Not Helpful 0.
Use pocket holes to reinforce the joints in your favorite antique furniture pieces and increase their lifespan. Submit a Tip All tip submissions are carefully reviewed before being published.
Helpful 2 Not Helpful 0. Exercise caution when working with electric drills and other power tools. Carelessness can lead to accidents or injuries. Related wikiHows How to. How to. More References 7. About This Article. Co-authored by:.
Co-authors: 4. Updated: November 5, Categories: Woodworking Tools. Thanks to all authors for creating a page that has been read 58, times. More reader stories Hide reader stories. Did this article help you? Cookies make wikiHow better. By continuing to use our site, you agree to our cookie policy. Doug Allam Nov 28, Will Vrba Aug 25, It really helped me to explain to my 9 year old grandson how to successfully use my Kreg Pocket Hole tool.
Keep up the good——no——great work. You can also use the calculator I made to automatically generate the correct settings. Use the graphic at the bottom of the chart to see which joint you have, and follow the directions for finding the correct box containing the right jig setting and screw length. In the same box you will find the screw length. Be sure to test board combinations that you are not familiar with.
Use this calculator to determine the settings you need for your Kreg Jig and drill bit. It will also tell you what length screw works best for your wood thicknesses. Make sure to choose the correct joint type for your joint. Always test unfamiliar screw and jig setting combinations before using on your actual project. Do your edge to edge calculations work for my frame?
Thanks for all your efforts.
|
Shoulder Plane Replacement Blades Electric Diy Wood Engraving Machine Yellow |

X_U_L_I_Q_A_N
11.01.2021 at 18:52:28
VIP_Malish
11.01.2021 at 11:24:56
NONDA
11.01.2021 at 12:28:35
Sex_manyak
11.01.2021 at 11:55:37