How To Make A Frame Look Rustic 20,Diy Wood Projects Uk 50,Ball Bearing Drawer Slides Home Depot 5g,4d Wood Carving Machine Price Yahoo - Step 3
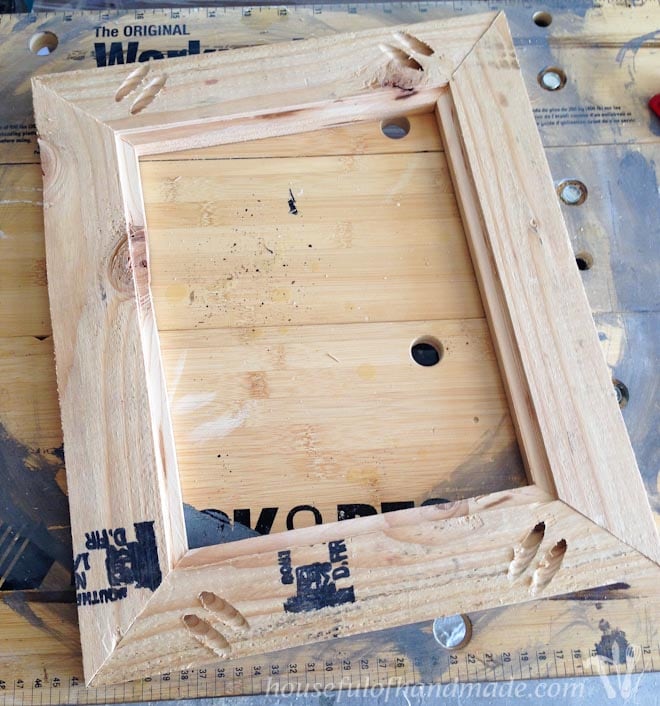
Allow the frame to dry completely. Brush a thin layer of dark brown stain over the picture frame; wipe most of it off with a rag after a few minutes. Dip just the tip of the paintbrush into the dark brown stain so very little stain is on the brush.
Flick the brush at the frame to create random dark spots, which will add to the weathered appearance of the wood. Kathy Adams is an award-winning journalist and freelance writer who traveled the world handling numerous duties for music artists. She enjoys exploring foreign locales and hiking off the beaten path stateside, snapping pics of wildlife and nature instead of selfies.
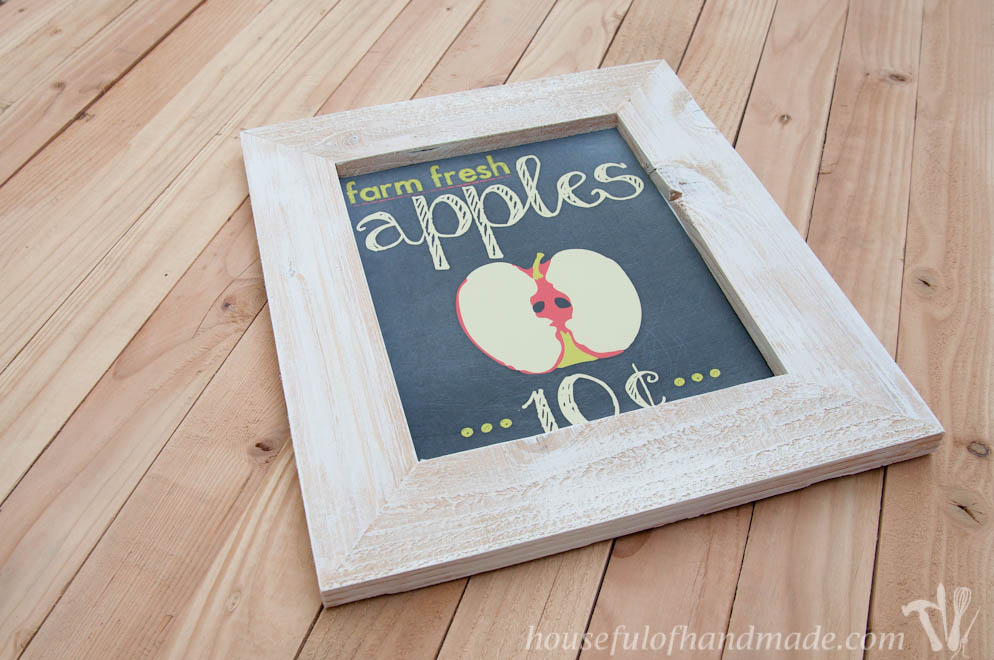
By Kathy Adams. Related Articles. Using your paint brush, paint the entire wood portion of the frame brown. Make sure you paint the edges because they will be seen upon display. If you want a softer look allowing the wood grain to shine through, add a small amount of water to your paint.
You can also rub off any of the excess paint to give it the appearance of a stain. Using your pruner cut your twigs down to fit the sides of your frames. Begin with the longest sides first, and then work toward the smaller sides. When cutting your twigs cut them at an angle so they meet together in the corners of the frame.
Take the twigs you have cut and place them around your frame to ensure you have enough to cover the entire picture frame. Starting from the outer edges and working your way to the center begin gluing your twigs. Start with your longest side, placing glue onto each end of the twig. Hold your twig firmly in place until the glue sets; this should only be about 20 to 30 seconds. Repeat this process on the opposite side of the frame, and then move to the outside edge of the top and bottom portion of the frame.
Once you have the outer edges taken care of repeat the same sequence until you cover the entire frame, working from the outside to the inside and all the way around. Using your discretion take any remaining twigs and fill in the holes to give a cohesive look to each side of the frame, remember this is rustic so it does not to be perfect.
This step is optional, but if you feel confident in your craft skills this is where you can add the wow factor. Taking acorns and small pine cones that you have collected from your back yard or local nature center begin adding embellishments to the corners of your picture frame.
If you want to add color, this is also the time to do it. Look for silk leaves in reds, oranges and rust tones at a craft store and add these with a few acorns to the top center of your frame. This is a fun, easy project that is almost completely free for you to create.
Finish off your rustic design with pictures of your family outdoors, or a favorite rustic landscape. We welcome your comments and suggestions. All information is provided "AS IS. All rights reserved. You may freely link to this site, and use it for non-commercial use subject to our terms of use.
View our Privacy Policy here. Toggle navigation subscribe. Written by Tabitha Puckett. To ensure our content is always up-to-date with current information, best practices, and professional advice, articles are routinely reviewed by industry experts with years of hands-on experience. Thanks for sharing at Share the Wealth Sunday, we hope you stop by again!
Love your project. Thanks for joining us at the Inspiration Spotlight party. Off to peK at some more projects. These frames look gorgeous! It looks really effective and easy enough to make : well done.
This is such a great project! Love the look! Really gorgeous, would love to see big ones too! Absolutely adore this idea!!! Looks so gorgeous, I might pinch this idea for our hallway!! What a fabulous DIY!! Thanks a lot for joining us at the Family Joy blog link up party.
What a great project. I need to make some of these. I am pinning! Thanks for sharing this easy project. I would love it if you would share this project at a link party I am co-hosting. I hope to see you. Have a great week. These frames turned out absolutely beautiful. I hope you will share them with us at The Crafty Corner link party :.
These look so nice--rustic and tidy at the same time. It would be a good project to collaborate with the hubby on! I've been looking for a DIY as simple as this! I'll have to try it out. Thanks for sharing! Stopping by from Create and Crave. These are very attractive.
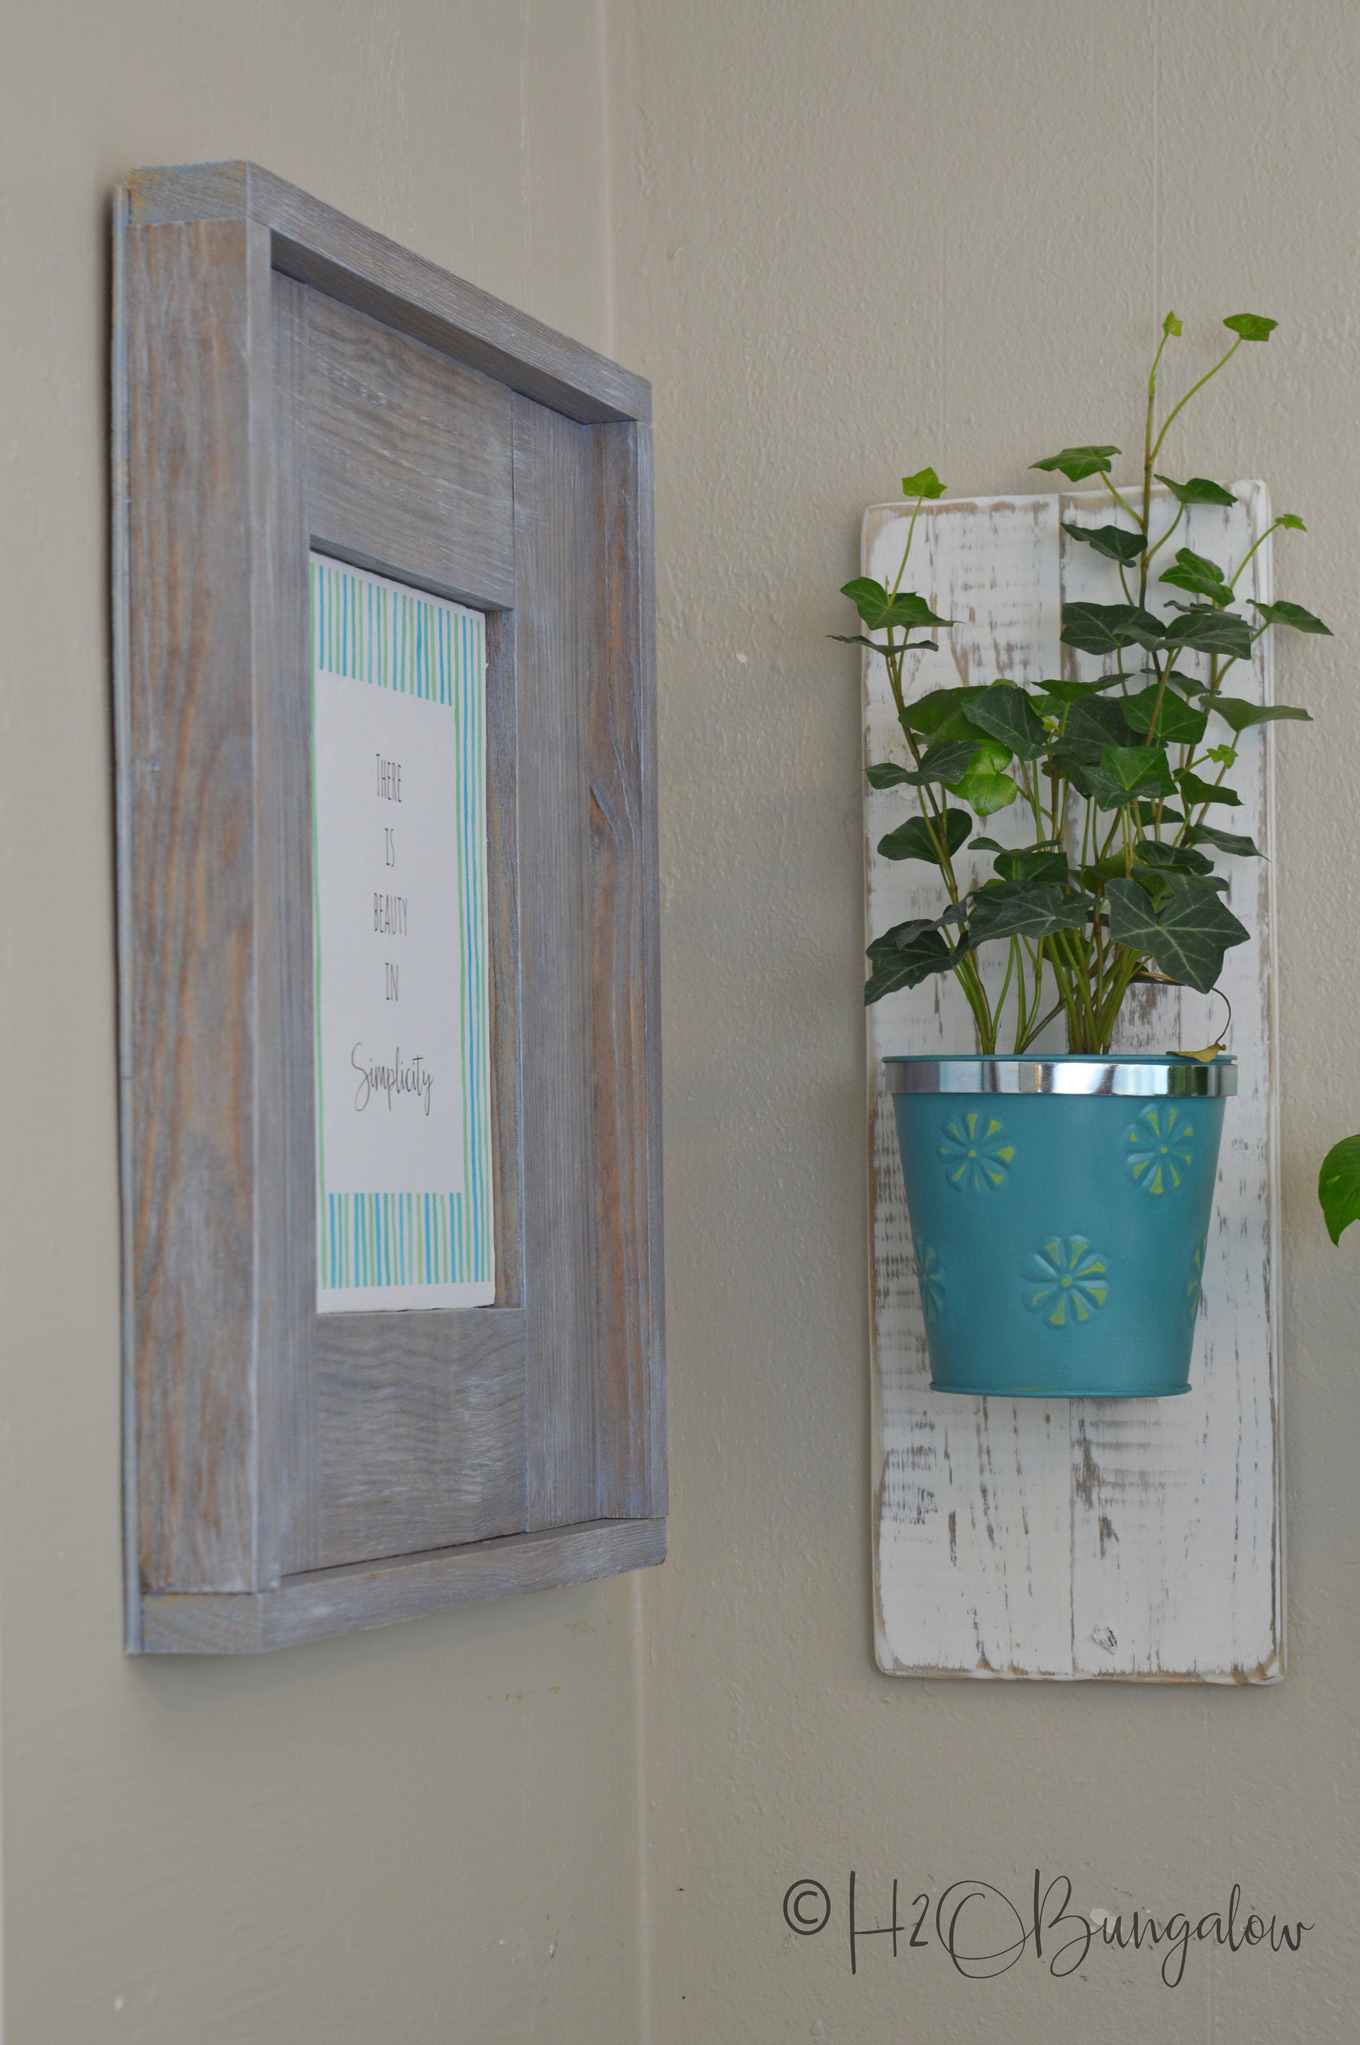
You did a great job. Feel free to come share it at a linkup today! Hi, after you put the first stain on and wipe off, how long did you wait to put the gray stain on? I did it immediately If it starts to feel really sticky just leave it an hour or so and you can come back to it. Otherwise, just give it a good 48 hours to dry when you're done with all the coats of stain and you'll be fine! I absolutely LOVE this and can't wait to try it! I was wondering where you bought your picture mats?
Looking for the most cost-effective option! I want to make these. I was wondering what size did you cut them down to? You said you cut them down more after you bought them?
Just wanted to know do I can get it cut to the right size at the store. Thank you! Hi Katie! Cut them whatever size works for your space - mine are 22 inches long! I can't remember why I cut them a bit shorter I think it just looked better Love your blog!
What great projects in the linky party! I'm not sure that this is the right thread to comment about the Disney trip giveaway, but what an awesome prize for one lucky reader!
My family had the most magical vacation ever at Disney World about 5 years ago. What I loved most is there was something for everyone, it truly was a whole family vacation. My kids were almost to little to remember the trip, so we are hoping to go back next year.
I'm excited to experience Disney Magic again with a teen and tween. I don't know how I haven't seen your site before - you are so talented!!! I've chosen this project as my favorite from Link Party Palooza and it will be featured on all 5 of our sites at this week's party! Thanks so much for linking up, and if you ever want to contribute on Somewhat Simple, we'd love to have you!
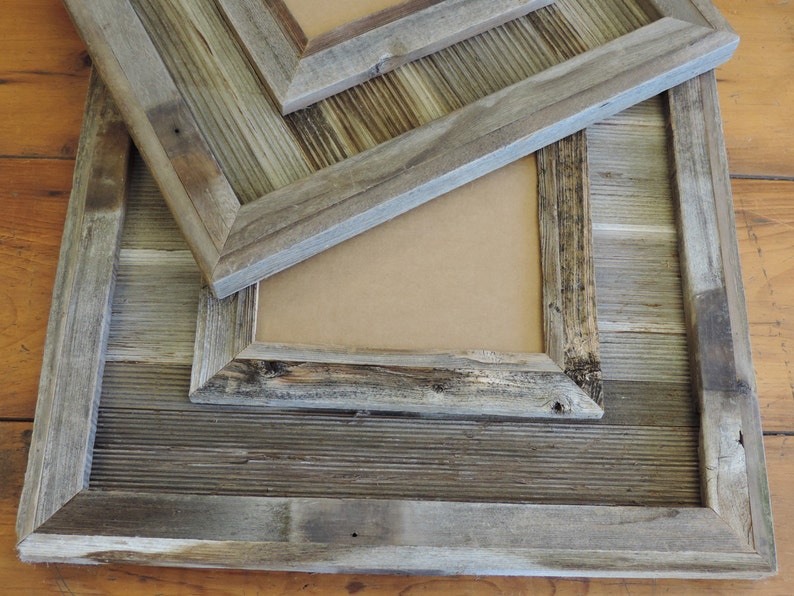
Have a great week Stephanie Dulgarian. Love these frames, especially your details and step-by-step photos in how you made them. I didn't pay attention to the size for my 1st attempt too small but still love how it looks. Your short video and replies to comments were also helpful. I love your picture frame idea. I made 5 of them! I showed my friends and now they are making them for their house. Thanks for sharing your idea and instructions.
Thanks so much, Jack! I'm so glad you made them and shared with your friends! I hope you all love these frames as much as I do Love these frames and am going to give them a shot tomorrow.
This will be my first real project like this, so please forgive my dumb question. Did you glue the 7 boards together or does the back brace board hold them together?? Thanks for the info and the video tutorial!
Wish me luck! Hi Emily! Not a dumb question at all! You will find that the back brace is generally strong enough to keep them together but you can absolutely add glue to the sides of each board Also, wipe off any excess!
Good luck and I love if you would share how it goes! So rustic and elegant at the same time. Loved the video - have a question: in the video you show the brace being glued down on 6 planks, but your finished product on the living room wall has seven planks??
|
Under Vanity Storage Drawer 15 Carving Kit Cvs Zip Code |

hmmmmmm
31.01.2021 at 20:35:42
ANTIXRIST
31.01.2021 at 20:27:55
Tenha_qizcigaz
31.01.2021 at 22:57:24
NELLY_FURTADO
31.01.2021 at 16:41:21