Dresser Drawer Runners Tutorial,Diy Steam Bending Wood Used,Soft Close Drawer Slides How To Fix Qq - Review

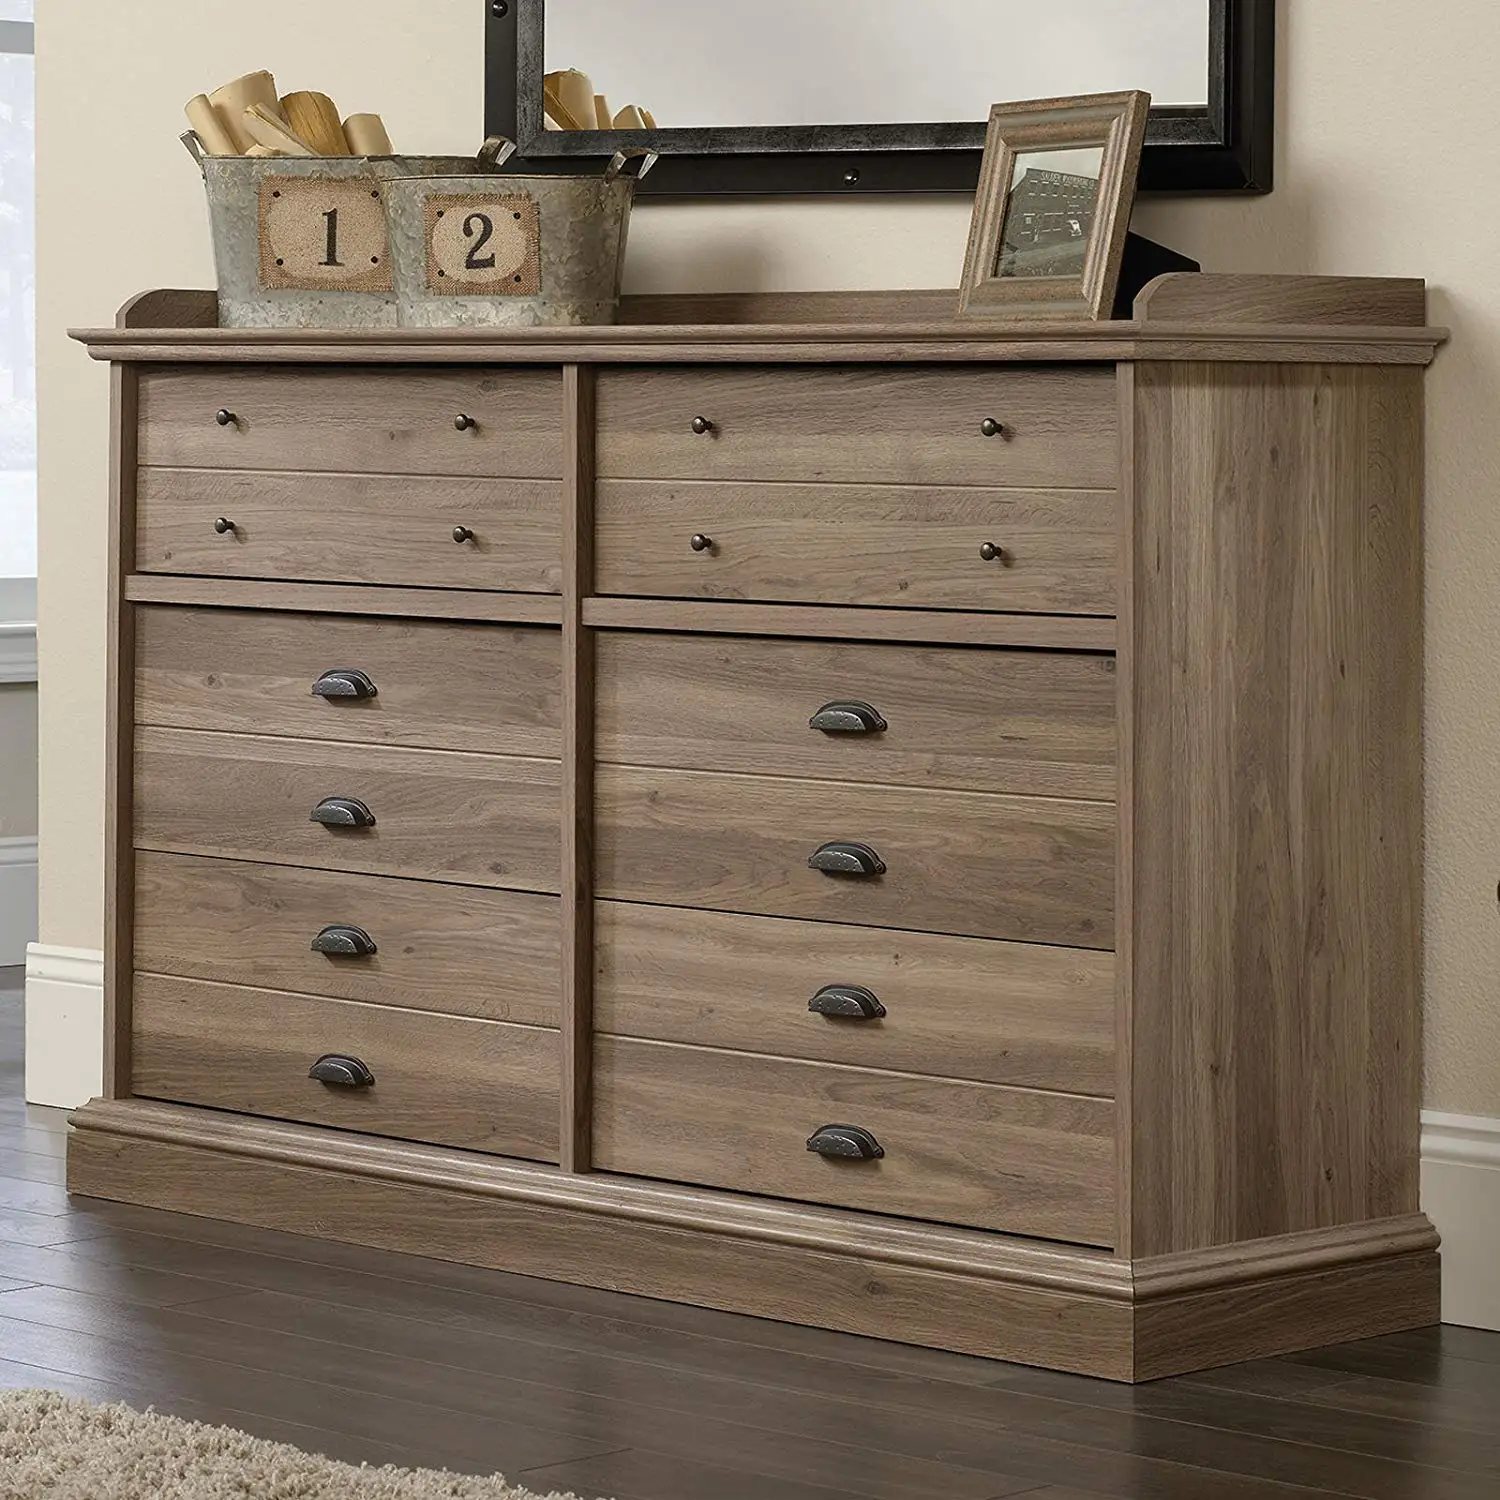
Facebook Pinterest Instagram Youtube Twitter. Friday, August 9, - building plans. I'm sure this happens to you too. You somehow come across a great dresser find it at the thrift store, curb, attic, etc. Its solid wood and has great lines. Then you try to pull out one of the drawers. Maybe the problem isn't coming out, its trying to put them back in. Either way, you've got some messed up drawer slides. Never fear! I inherited a great, Broyhill dresser from my brother when they were moving a few weeks ago.
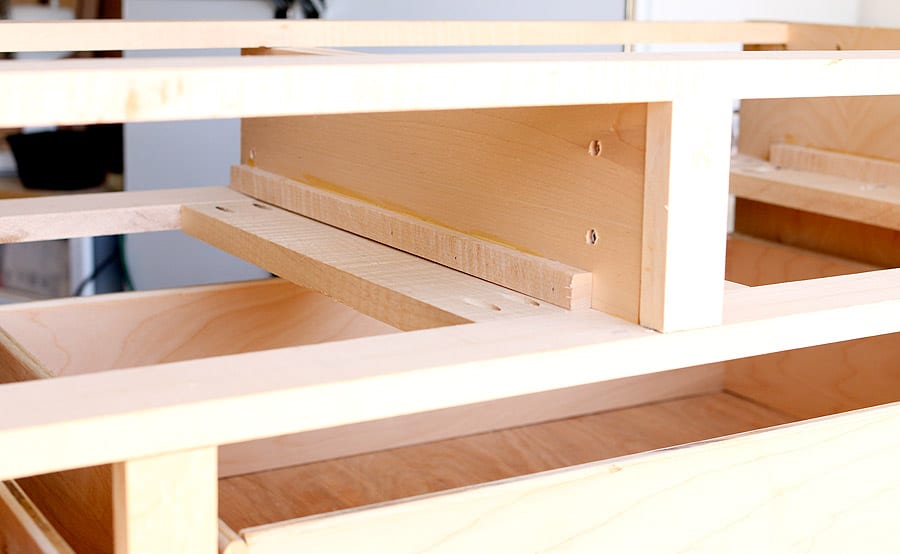
Actually, it came out of my sweet niece Morgan's room. And screwed to the dresser frame were plastic, t-shaped rails. Since these were the pieces that needed to be recreated, I carefully studied the size and shape, taking measurements on all sides. I 'll show you how I created 3 replacement rails. To fabricate the rails, start with a 2x6, approximately as long as your dresser is deep, and a table saw. Take measurements of the stem. Cut a channel on either side of the stem width.
Continue to move the fence in and pass the blank through until you've reached the outside edge or removed most of the material. Break off any remaining wood and clean up the cuts with a chisel and some sand paper. Your blanks should now resemble the shape of the original rail. It's usually okay if its not perfect, but close. The rails are counter-sunk on the dresser frame a bit, so you need to cut some of the stem to account for that. Place the rail where it will be mounted to the dresser frame and mark with a pencil where frame ends.
Place the rail perpendicular to the fence and adjust it so your blade lines up with your pencil mark, taking into account the blade width. It may look a little rough until you clean it up with a chisel or if you're careful, a utility knife. The little pieces clean up easily. I know I made the steps sound hard and detailed, but I promise I wasn't hard at all! If you are familiar Dresser Drawer Runners Guide with your table saw and have some scrap wood, you'll never buy replacement drawer slides again!
Let's be friends! Follow along, so you never miss a post. Linking at:. Common Ground. Newer Post Older Post. Ronda Batchelor August 9, at PM. Holly August 10, at AM. Unknown August 14, at PM. Unknown August 15, at AM. Amy Ellis August 17, at AM.
Angela August 18, at AM. After the frame was assembled, I added a little decorative detail to the sides. I simply nailed 1x2s at the top and bottom of the side panel, then I used some cove molding cut to fit to line the inside of these frames. At this point, everything so far was going to be painted white and everything else following this will be stained. So I went ahead and painted this frame before moving on to the next step.
So once the paint was dry, I moved on to all the inside details. The first thing I did was install two more 2x2s into the middle at the top and at the bottom.
I used some 1x3s for this and test fit everything together before staining I used Minwax Early American Stain for this them and installing.
Then, I could add the middle divider between them. Now, it was time for the drawer slides. To do this on the sides, though, I had to add some more scrap wood spacer blocks where the slides needed to mount. But in the middle, I could mount these slides directly onto the panel. The trim detail on the front made everything else a little more complicated. At this point, I had forgotten that the library had requested that all the drawers and doors on this piece I was making be able to lock.
In order to do that, I needed to install some more 1x3s between each drawer. Then I could finally install the drawer slides like shown.
Use a circular saw to cut off the sides from the drawer face. Pry apart the sides from the back. Cut off tenons from drawer sides and discard the drawer back. Measure the length of the drawer face and the height of the drawer sides from the routed groove.
Pre-drill and screw into place the new plywood drawer front into the back of the drawer face. So, you need the wood on each side to be the right thickness so the attached metal slide sticks out far enough.
Measure and mark level the position of the slide that goes Dresser Drawer Runners Manual on the inside of the dresser. Attach with the provided screws. Slide into place the part of the slide that goes on the actual drawer. Mark the height and depth of that part of the slide from the opening and make corresponding marks on the outside of each drawer side. Attach the part of the slide that goes on the drawer and test fit it into the drawer opening.
It is normal to have to make some adjustments. The slides need to be level and straight on both the outside of the drawer and the inside of the dresser and they both have to be positioned the same depth on both sides in order for the drawers to slide in and out smoothly. If you would like to know how to strip wood finishes, you can check out.
To see this completed dresser along with the products and method I used to stain it , go to. Great tutorial however I found that the new format of multiple pics — jumping from one pic to the next was way too fast.
It made me dizzy and did not provide enough time to read the instructions. At first I thought that there was something wrong with your site. Hi Nancy!
Thanks for your feedback. I will consider adding a pic collage as well. All of the instructions that are on the pictures in the the animated GIFs are in the written instructions above each image. So, the images just provide a reference for what it looks like.
I have found that lots of pic collages can make details hard to see or read a text on them, hence my desire to create these animated GIFs. Hey Ishtar! I have them currently set to 2 seconds… would 5 seconds be better? Much longer than that and I worry that people might not stick around long enough to see the pictures rotate…. Such a cool idea, Rachel! Have to agree the gif is waaaay too fast! Also, would you consider text on collage as well?
It is frustrating to have to scroll back and forth read description…then look at photo, repeat. Again, you are so clever! I found the GIFs very effective at 6 seconds. It gave me time to think about each step and understand how it related to the larger project.
Very nicely done. The pictures kept flipping around. Looks like a tute I could use on a dresser I have with sagging drawers reminds me of my kids when they were learning to walk — lol. I changed the GIFs to 6 seconds between each picture… thanks for your input and I hope that helps things. Good tutorial and very inspiring for me. I had been living for 8 years with a huge oak 9 foot dresser with wooden slides and I got sick of the way the wood would rub together and create sawdust all over my clothes.
A dresser is something most people use every day so over time it got quite annoying. I went though the process a little differently in that I installed all the ball bearing drawer slides into the inside frame of the dresser, and when I had all the width measurements just right I was confident enough to rebuild the drawers.

|
Lathe Supplies Uk Us Easy Woodwork Projects 71 Carpentry Supply Store Near Me 90 High Accuracy Digital Tape Measure Vector |

Arzu_18
08.08.2021 at 11:53:25
ZaLiM
08.08.2021 at 20:15:37