Craftsman Radial Arm Saw Recall Video Github,Year 9 Woodwork Worksheets,Best Rap Quotes For Instagram Captions Tab - Reviews
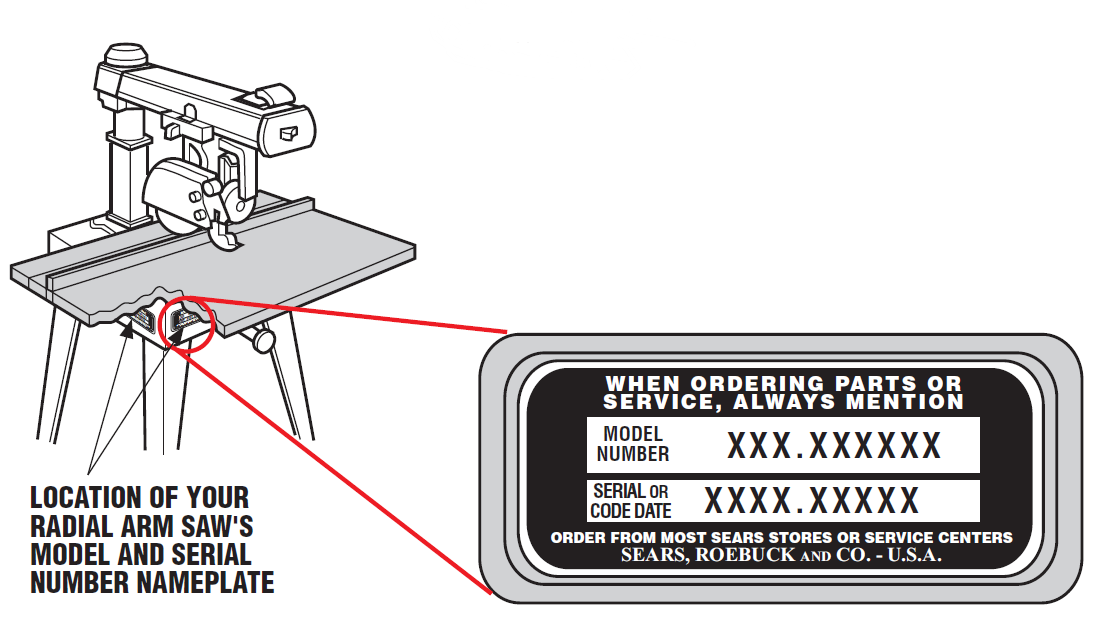
Next Page. Also See for Craftsman Related Manuals for Craftsman Saw Craftsman Summary of Contents for Craftsman Check Alignment of Arm and Blade using Laser Basic Operation of the Radial Arm Saw Types of Cuts Switch and Switch Key Causes of Kickback Avoiding Kickback Page 4 Servicing requires extreme care and knowledge of the system and should be performed only by a qualified service technician, For service we suggest you return the tool to you nearest Sears store or repair center for repair.
Always use original factory replacement parts when servicing. Never yank the cord to Keep the saw power off until you are ready to use it. Your radial saw has been set up at the factory to operate efficiently on a V AC single voltage circuit, However, if heavy duty operation is required, the circuits are overloaded, or the circuit is low voltage, Page 10 The blade is "outside" the to the carriage arm, motor.
Pushstick A device used to feed the workpiece through the saw blade during cutting operations. Rabbet A type of cut that gives a notch in the edge of a workpiece. Page 11 Resin Asticky, s ap-based s ubstance. RipCut Ina radial s aw,a cutmade withthebladeparallel t o thefenceandperpendicular tothearm canbeacross or withthegrain ,Theteethpointupatthe pointof contact w iththewood. Sawblade Path Theareadirectly in linewiththeblade-- over,under, behind, o r infrontof it,Also,theworkpiece a reawhich willbeor hasbeencutbytheblade, Thedistance thatthetip ofthesawbladetoothis off setfromthefaceoftheblade, WARNING:Toprevent a ccidental starting that couldcausepossible serious personal injury, Page 12 A, Handwheel Soc, Hd, Star Washer Page 13 Check aH bose parts from the box with the Hst bebw.
Use the instructions on the following pages to assembb. AH fasteners are shown actual size. Saw AssemMy not shown B, Leg Stand AssemMy not shown Use the instructions on the following pages to assemMe. AH fasteners are shown actuaUsize, TaMe Support A. TaMe Support Rails Page 15 The following tools are needed for assembly and alignment. They are not included with this saw.
Page 17 Io Turn poweroffandwaitfor blade to stopbefore moving workpiece or changing s ettings. I'Unplug sawbefore changingthebladeor servicing. Parasuseguridad, leayentienda e l manual delpropietario antes d eoperar l asierra. The arm can be raised or lowered to change the blade height or swiveled left and right for a miter cut.
A yoke fits into Page 19 See Figure 9D. Check with your nearest Sears retail store. Page 20 Located on the left side of the arm on the carriage cover. See Figure 9C. The powerful induction motor has a capacitor start, it is mounted in the yoke and rotated with the bevel index knob and bevel lock lever.
See Figure 9B. Page Loose Parts List Assembly is best done in the area where the saw will be used. When you remove the saw and hardware from the packing materials, carefully check the items with the Loose Parts list. If you are unsure about the description of any part, refer to their illustrations. For your convenience, all fasteners have been drawn actual size. Page 23 4 Iockwashers 5t16 in.
Page 24 [] Pick up the yoke assembly and carefully slip it onto the carriage track below the arm. Keep it parallel with the arm so bearings slide in smoothly. There are holes in both sides of each support. The long side of each support with the slotted holes fits against the saw base.
The yoke clamp keeps the yoke from rotating on the carriage when you want the saw blade to be station- ary. Use this procedure to check and set the yoke clamp. Page 28 [] Replace the rear cover and rear cover screws. The purpose of this procedure is to check whether the inner coJumn tube is snug in the housing and to remove any looseness. Page 29 [] Rotation Check: To check the rotation, hold the front of the arm with one hand and grasp the top of the column support with the other.
Press the arm to the side. Page 30 Loose carriage bearings permit the blade to wander slightly while cutting, which will result in a poor cut and more wear and tear on the saw. Use the following steps to check for tightness and to then adjust the bearings if needed. Page 31 [] Move the arm to the opposite side and repeat the above procedure. When the opposite side is level, recheck the first side to make sure that it is still accurate and even.
Page 32 [] Snap the U-clip onto the front edge of the saw base. Line up the hole in the U-cfip with the saw base hole just to the left of the center notch in saw base. See Figure 23B. Page 33 [] Tighten the thumbscrews to clamp the table sec- tions into place. Page 34 See Figures 26A - 26C. Ingbert St. Ingbert,Pilsen St. Katharinen St. Katharinen Or Cologne St. Leon-Rot St.
Peter-Ording St. Valentin St. Wendel St. Jobs in the spotlight. Elberfeld, Wuppertal. Gutenberg, Rhineland-Palatinate, de. Flexible Arbeitszeiten. Attraktiver Verdienst. Sie sind Ihr eigener Chef. Amazon Flex LieferpartnerSie suchen nach einem lukrativen Nebenverdienst mit EA — German speaking.
Administrative, personal and executive assistant. Frankfurt Am Main. Live in Carer. Gesundheits- Und Krankenpflege Weitere: Personal. Innenstadt, Bochum. Softwaretester - VB. Engden, Lower Saxony, de.


|
Raised Panel Bits With Back Cutters Zip Router Table Fences 3d Workbench Cookies 90 |

apocalypse
28.11.2020 at 19:46:44
IMMORTAL_MAN666
28.11.2020 at 23:10:28