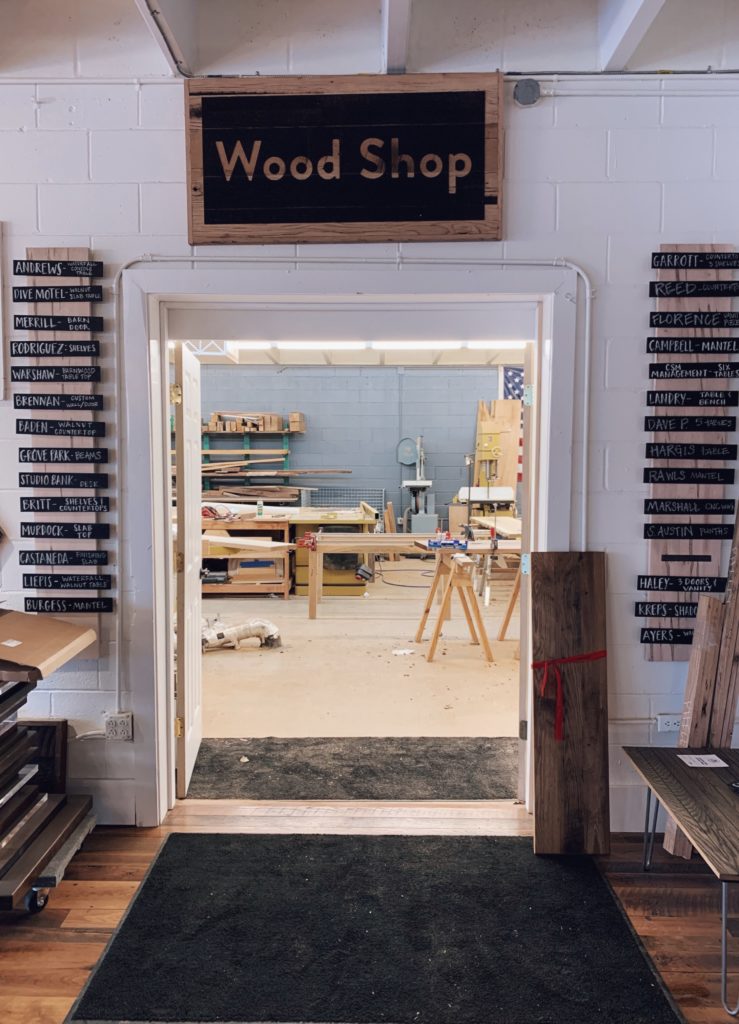
Wood Workshop Nashville,Free Woodworking Plans Christmas Yard Cutouts Inc,Kreg K5 Master System Home Depot Online - 2021 Feature
Special Note! If you don't have a mask, don't worry we have you covered! You can purchase a mask at the studio when you arrive. Projects with this symbol have optional upgrades.
Select a ticket for this workshop Pick Your Project Workshop. Porch Planter. Create this! Easter Blessings - 22 x 22 x 0. Family Farmers Market Trio - 12 x 24 x Floral Bunny Pattern Trivet - 8 x 48 x 0. Workshop Full All seats for the workshop have been booked before you were able to claim this seat. The plans With the slab dry and ready to work, I found some great plans on Wood Magazine website. These plans were a bit unconventional as they called for 45 degree angles. Usually a Preparing the wood This project started with the Grizzly band saw to make the initial pieces.
Watch the process here. Important Note: always use a high quality mask when using walnut. Next remove any metal - so you don't mess up your machines! The old nails and staples were removed but the holes become part of the story.
You need something attached to the wall with supports that the actual shelf will slide into hiding the support attached to the wall. Or you can use that support as part of the shelf. Here is how I did it. Disclaimer up front: I purchased a Festool domino for the purpose of building tables. So I decided to expand my horizons and use it to create floating shelves.
While this build will use this tool, I will suggest another option at the end of this post. The principles will apply to both this main option and the one at the bottom. Because I am using the , I am using the 12mm x 90 Domino for great support and extension into the wood. Step 1: Find a stud in your wall To start it is very important that you know where at least one stud is located in your wall.
Knowing where the stud s will determine where your domino holes will be placed. Because I only have one stud in this range, I will use wall anchors for the other two wall connectors. Step 2: How to know where to place the dominos Now that you know where your stud is you can determine where your dominos will be located. I used 3 dominos with the center one being normal size and the other 2 being 3mm wider.
This allows for a slight bit of movement for minor adjustments when installing. I use my speed square to mark a line entirely across the wood for reference.
Step 3: Setting the holes with the Festool I set the Festool to 70mm depth and height to 26mm and cut all three holes from the back of the shelf.
This is the piece you will attach to the wall. These boards will go back together exactly as you ripped them so I always put a letter or a number on the insides for both boards and make sure they cover each other when I put them back together. We needed something that matched her size and personality. She is in love with her babies therefore building a wooden doll stroller was a perfect gift for her. Bayne Custom Woodworking is a participant in the Amazon Services LLC Associates Program, an affiliate advertising program designed to provide a means for sites to earn advertising fees by advertising and linking to Amazon.
Starting with plans from Ana White Ana White plans have worked well in the past for me and I figured she would have something to use as a starting point for building a wooden doll stroller. Choosing the best wood for toys Poplar is my favorite wood for toy builds because I get the lumber at a reasonable price from a rough cut lumber yard.
But it also means that I have to do a little more work to get the correct widths that I need for projects. First, I Wood Workshop Melbourne Question cut the 2 sections of poplar to length.
Then I used pocket holes to attach them and give me the width I needed. Transferring the plans to the wood After drawing out all the straight lines, we used a flexible ruler to draw the curve and connect the top and bottom points. There are a number of things I use in the shop when it comes to curves including my imagination. I have been known to use buckets, coffee cans, soda cans, etc.
This wooden doll stroller gave me plenty of opportunities to use all my options! Cutting the pieces To cut the sides, I used my Grizzly band saw.
I cut on the outside of the lines. Then clean them up with my ridgidpowertools oscillating sander. To cut the width of the final pieces of the wooden doll stroller I used my ridgidpowertools table saw. I then used the same saw to cut the angles needed for the foot and head piece. These angles allow the pieces to fit the bottom properly. The doll stroller handles were cut to length.
Then I had to figured out where to drill the handle holes on the upright pieces of the stroller base. Smoothing edges with a round over bit and hand sanding When all the pieces were cut and sanded I used my router table with a round over bit to round over all the edges. I then hand sanded all of the edges as well. I was able to find a nice set of plans to use here.
These plans for the shopping cart were done well and I was willing to support this small business by purchasing the set. I found them to be direct, well thought out and complete. There is nothing more I enjoy building in the shop than toys. Having 4 grandchildren allows me Wood Workshop Nashville 06 to build for birthdays, random visits and especially for Christmas. I remember the first Christmas gift, for our first granddaughter, was a set of cedar building blocks. At the time she was 6 weeks old and spending her first Christmas with us here in Tennessee.
Since then there have been many sets of blocks and other toys built. Choosing the Project The process starts with asking the kids what they want, usually happens during our annual family vacation in September.
I really need to get these answers sooner as they get older and the gifts become more elaborate and time consuming. Now that there are four grandkids, I have to save up vacation days so I can get Fridays in the shop too. That really helps me complete the Christmas gifts and customer projects. But I purchase my wood from a local lumber mill. I had plenty of rough poplar on hand so I used that for the sides. I used pocket holes to join them and adjusted the size just a bit so I only needed 2 pieces.
I found wooden spoke wheels at Woodworks LTD. They worked perfectly for this application. A hammer secured the first hub cap. Placing a wheel next to the hub cap and then a washer between the wheel and the cart, I slid the axle through the cart and added the washer. Added the wheel and placed a mark for where I needed to cut the length. I then used my jig saw with a metal cutting blade to cut the axle to length.
I used my hammer to tap the second axle cap on the axle. Then just repeated the process for the second axle and finished the shopping cart. Using pocket holes would not cause an issue because the paint would cover them. However I still needed to fill the By Roger Bayne 1 0. It might be just the plans you need for your next build! All 0. Children's Wooden Toys 0. Family Stuff 0. House and Home 0. Tips and Tricks 0.
Wood Projects 0. Tips and Tricks. By Roger Bayne. Wood Projects. The Newest Tools in the Shop November 22, However, one of the issues I have coming out of shoulder surgery. Send us an email through our contact page and. By Becky Bayne. Tips and Tricks Wood Projects.
Mobile Carts for the Workshop November 12, Plans for a Workshop Mobile Cart How do you manage the workshop projects when they are large and heavy? Projects Wood Projects. The Porter Cable jointer was used next to even.
The first step when working on reclaimed wood is to carefully separate the pieces. DIY Floating shelves February 18,

|
Woodworking Down Under Free Plans Dog Projects To Build In Javascript Queues |

Alsu
24.05.2021 at 20:13:18
tatlim
24.05.2021 at 11:37:35
gagash
24.05.2021 at 12:55:46