Under Workbench Drawer Kit 05,Mallet And Hammer What Is The Difference Graph,Craftsman Router Table And Router Driver - And More

High-quality handles included with each drawer and optional locks are available. The 16" long Stackbin roller bearing drawer is the perfect add on accessory for any workstation.
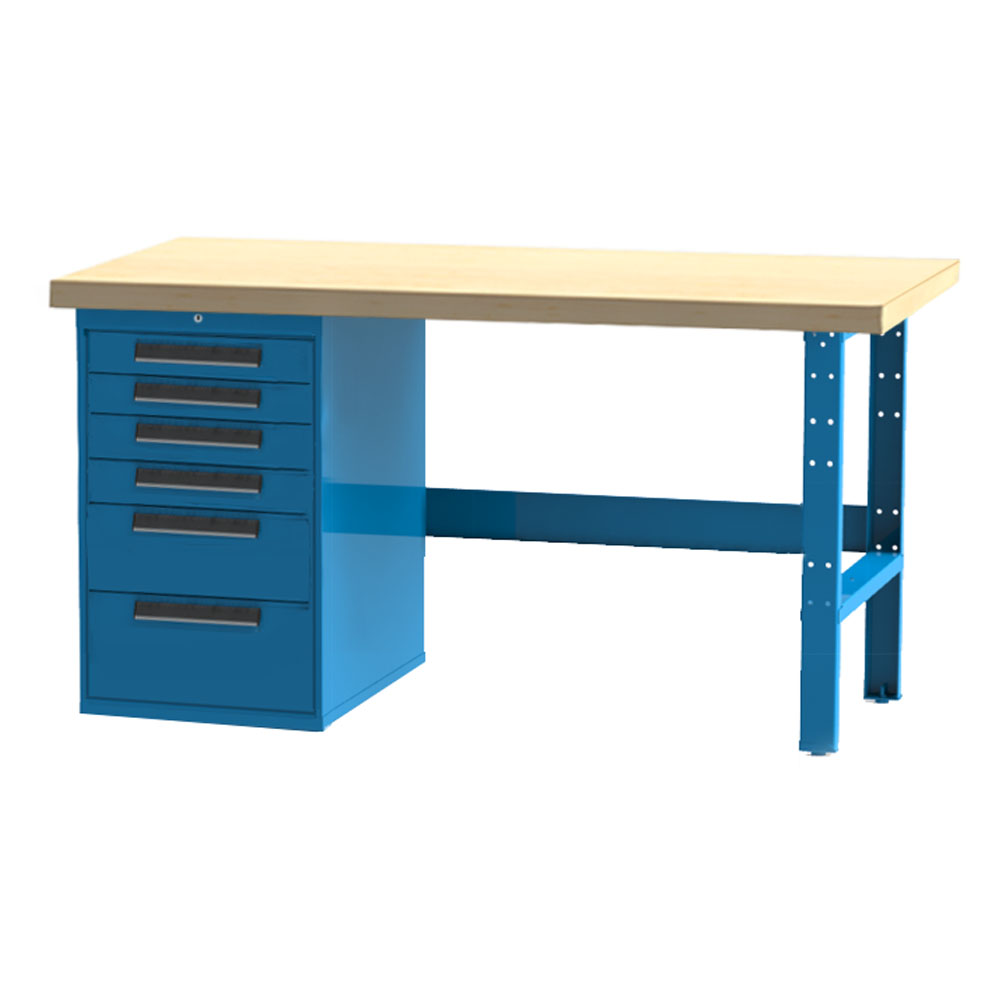
These drawers have the This series of workbench drawers are offered in 3 different heights with a file drawer option as well. All roller This drawer pedestal is configured with 6 3" high roller bearing drawers and will mount to the bottom of any This drawer cabinet is configured with 4 5" high roller bearing drawers and will mount to the bottom of any This drawer pedestal is configured Under Workbench Drawer Kit Games with 2 11" high roller bearing steel drawers and will mount to the bottom of This drawer pedestal is configured with 2 5" high roller bearing drawers, and 1 11" high roller bearing drawer.
This drawer pedestal is configured with 2 3" high roller bearing drawers, along with 1 5" high, and 1 Cabinet pedestals are available individually and will bolt to the bottom of any existing worksurface. All units include a cylinder This divider kit is made for our 3" and 5" high x 16" long roller bearing drawers. I used the maple ply for this project. I attached the dividers via pocket hole screws, or brad nails where there was something to nail to.
If you want to do more than one set of drawers across you will also need to add a divider between them. Take your time to be sure that the areas on either side are even. Okay, this is the tricky part: Check that the width is the same at the front and back. Adjust the dividers to get those distances the same. If the problem is exceptionally bad you can use spacers. Lawless Hardware. They are rated at lbs, which is, as you might surmise, well over what I actually needed.
The shorter back will allow you to slide a drawer bottom in place. I opted for thicker ply to make these extra sturdy. Pocket hole the drawers from the front because they will be covered with a face, and at the very back where they will not been seen.
Jigs are a life saver for this process. They made this process a breeze, and most likely definitely saved me from pulling my hair out. The other tip I will give you is to save yourself a good deal of heartache and purchase full extension ball-bearing drawer slides. They are pretty well the greatest thing since the invention of power tools. Because this was the number one area of concern for a good number of people when I mentioned I was going to do a drawer tutorial, I decided to put this part on video.
Hopefully it will help more than writing it all out. The common, and quite useful trick, is to use playing cards to set the gap all around the drawer faces. Because my drawers are inset this was a bit dicey. So I glued up the drawer faces, set the spacing with cards, and let the glue dry overnight. I was then able to do all of the bottom drawers, then set the top drawers after completing the first row.
You can see the problem in the photo below, where I was dry fitting all of the faces. This is also the case with the hardware installation. For the drawer pulls I used this little trick…. The problem with homemade drawer jigs is that they are not versatile for many sizes of drawer, and they wear down quickly. What I like about this jig more than others on Under Counter Drawer Kit Key the market is that it is functional on the small upper drawers as well as the larger drawers at the bottom row.
The jig has spacing for common drawer pull lengths, and a center line to ensure you are placing the pull correctly. The stop at the top allows you to quickly set the jig for each drawer and repeat the marks without having to readjust. Rockler includes a handy center punch to mark the drill positions, which you can see me using here.
All 16 drawers were done in no time with this jig, a job that would have taken all flipping day without a jig. The pulls I used are also from D. Lawless hardware. I love their hint of copper that adds a little pizzazz to a workshop. The hard work is done. Give yourself a pat on the back for being pretty darn incredible. Now for the organizing part. This project was the result of a trip to Rockler that I made not long ago.
While checking my eye caught the Lock-Align Drawer Organizer system , an interlocking system of rubber grids that hold bins and dividers and can be cut to fit any drawer. The Lock-Align organizers customize easily and have the miraculous effect of making everything easy to find. A beautiful, perfect revelation. There really are not words for how happy this upgrade makes me.


|
Rockler Woodworking Frisco Tx Grizzly Woodworking Dust Collection Systems Inc Ornate Wood Frame Mirror Under Drawer Drawer Slides Review |

X_5_X
01.08.2020 at 18:45:42
skazka
01.08.2020 at 21:12:18