Router Table Attachment For Table Saw Example,Vuetify Drawer Under Toolbar Queue,Universal Soft Close Cabinet Door Adapter Damper Off - Downloads 2021
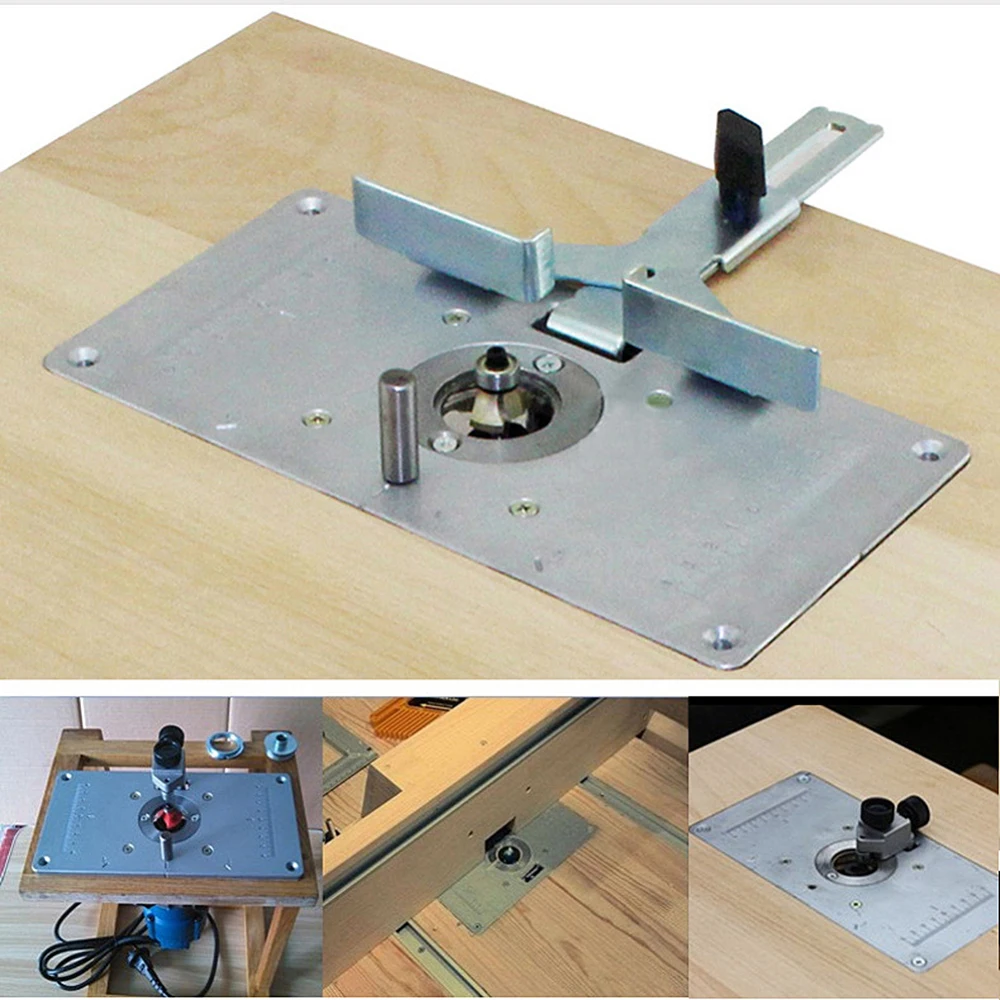
Important note: This table was built for a specific 10" saw model, so the dimensions and connections may vary somewhat for your saw. As a general rule, you should plan to make the tabletop as wide as the extension being replaced and as long as the front and rear rails can sturdily support. Sometimes, the extension table can be slightly longer than the metal extension it replaces. Making sure router table attachment for table saw example top edges are flush, glue and screw the strips to the tabletop.
Sand the top surface of the banding flush with the top of router table attachment for table saw example plywood tabletop. Using contact cement, center and adhere the plastic- laminate to the top of the tabletop assembly A, B, Router table attachment for table saw example. Before drilling, double-check that the top surface of the extension table will be perfectly flush with the top sur face of your saw table.
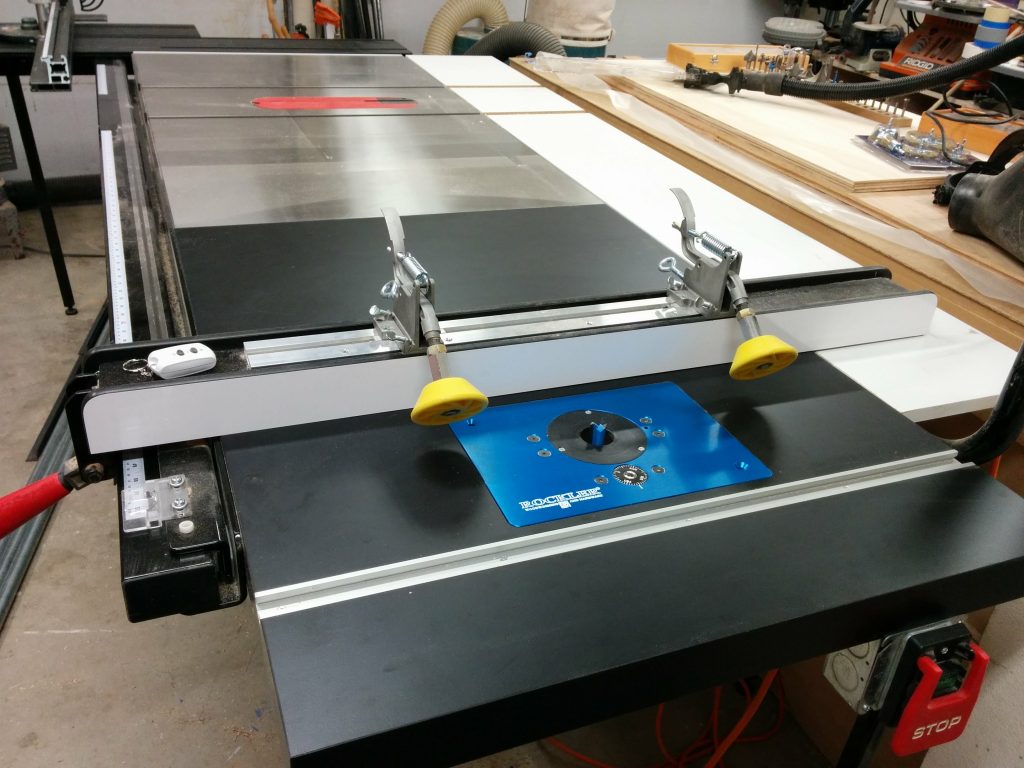
See the Front View drawing on previous page for reference. Fasten the extension to the saw table. Remove the extension table from the saw table and drill the guide- rail mounting holes where fod. See the End View for reference. STEP 4 Measure the distance from the top of the saw table to the centerline of attahment existing hole. Transfer that dimension to the table extension. Drill the forr holes through the banding.
Quick View. Add to Cart. JessEm - Installation Template. View All Router Accessories. You must be logged in to write a comment. Log In. Find a Store. My Account. My Cart. Go to Home Page. Mobile Navigation. Same Day Shipping Find a Store. Search Go. Topics Cabinetry. Choosing Hardware. Dust Collection. Friends of Woodcraft. Getting Started with Woodworking. Make Something. Pen Kit Atatchment Chart. Press Releases. Resin Casting. Shop Talk. Woodcraft Magazine. Woodworking Adventures.
Constructing the tabletop assembly Note: The letters referenced herein refer to the illustrations on next page. Mounting the extension to the saw table 1 Follow the four-step drawing below to mark the mounting holes in the tablesaw extension. STEP 1 Mark and transfer the centerlines from the saw-table holes to masking tape. STEP 2 Position the extension table against the saw table, and transfer the marks.
Router Accessories Quick View Item Quick View Router Table Attachment For Table Saw Wrap Item Write Comment You must be logged in to write a comment. Learn More. Customer Care Talk to a friendly customer care representative to help with your purchase.
Talk to an Expert Get advice on the latest products and help with your projects. Sign Up. Connect With Woodcraft. Accessibility Options.

|
Used Lie Nielsen Hand Planes Makita Multi Tool 18v With Battery And Charger Light Horizontal Band Saw For Logs Java Child Lock For Kitchen Cabinets 5th |

QAQASH_007
21.08.2021 at 22:44:24
strochka
21.08.2021 at 20:15:37
boks
21.08.2021 at 16:30:45
AHMET
21.08.2021 at 20:23:43